


Mother’s Day is timed very appropriately as various creatures currently embark on their spring preparations for new life. Therefore we’ve chosen to show our appreciation for hard-working parents by looking at how some of them raise their young within the animal kingdom.
Grey Seals – Halichoerus grypus
Come autumn each year, an exciting event begins that in certain places in Britain, can be observed closely by the general public. It is the grey seal pupping season.
From around September until November, female grey seals haul themselves onto land in order to give birth to their young. At the same time, males follow with intentions of mating.
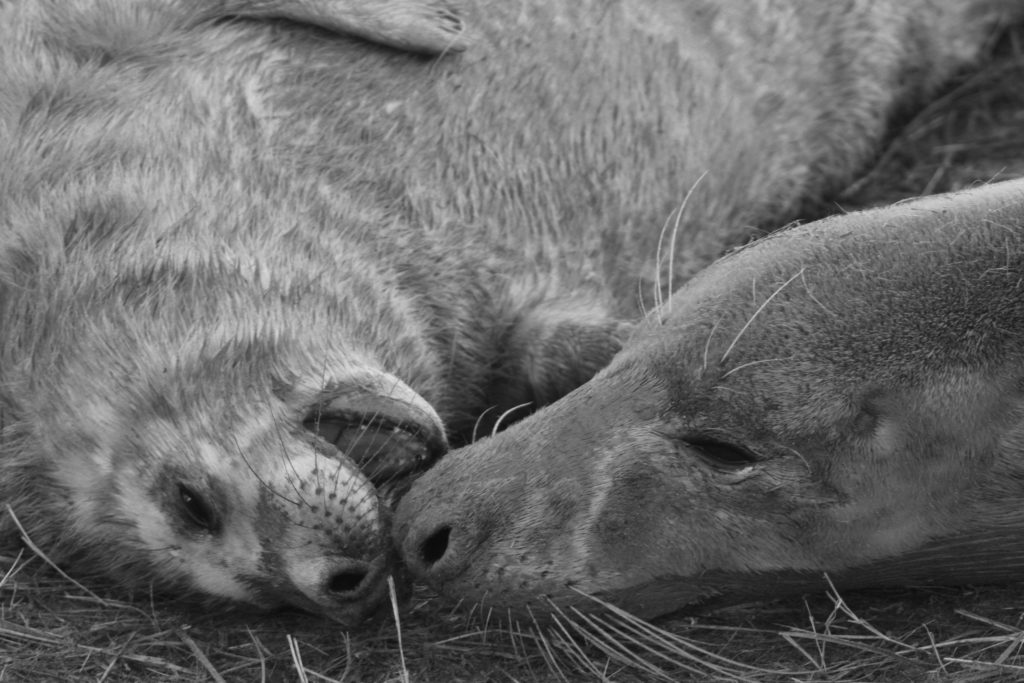
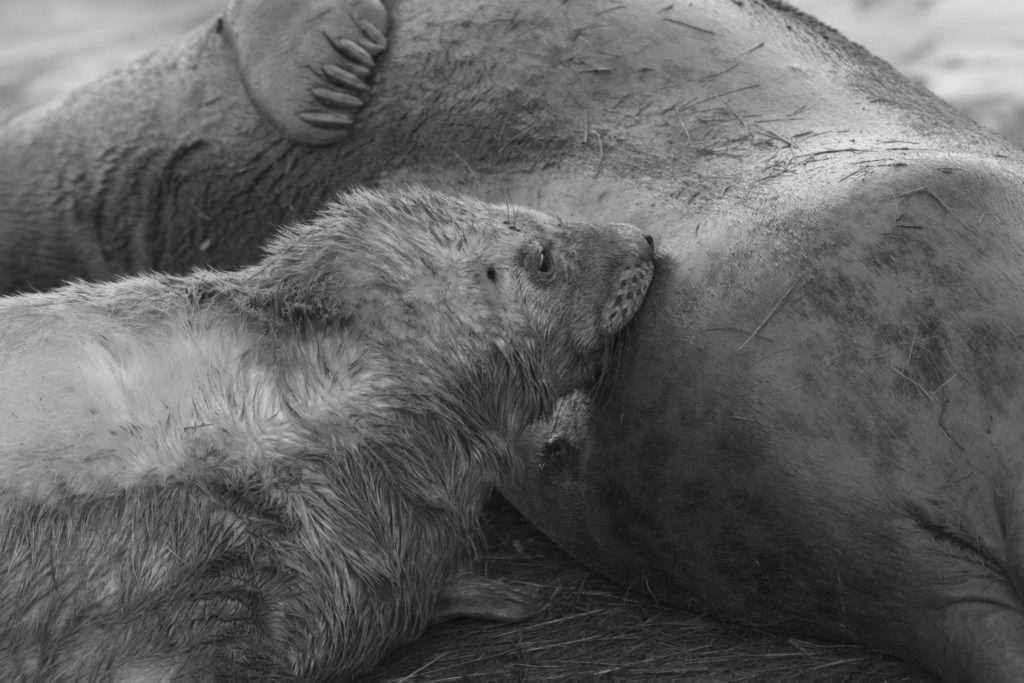
The mothers and pups have relationships that are endearing to watch whilst the youngsters suckle for their first three weeks or so. During those weeks the mother’s fatty milk helps the pup gain around 2kg of weight each day. As a consequence, after starting out their life at roughly 14kg, the milk helps them to triple their weight; preparing them for their time at sea.

With their mother’s help, the pups go from cute, white, fluffy youngsters to impressive adults that are prepared to embark upon their own adventures.
Kittiwakes – Rissa tridactyla

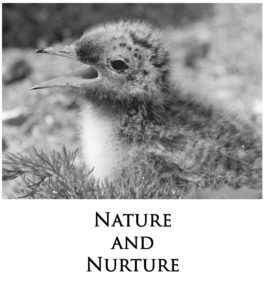
The kittiwake’s onomatopoeic call is enough to alert you to their presence within a seabird colony. At the right time within the season, it shouldn’t then be long until you see that fluffy chick sat beside them. Each year the males return to their previous nesting sites and call-out to females to join them. If a male and female were successful the previous year, they may pair up again and begin breeding quite early.

The kittiwakes make a comfortable nest that often contains mud, seaweed and grass. Their chicks (normally two of them) hatch after 25-32 days of incubation. They should be in relative safety with the steep cliff keeping away some predators, whilst neighbouring kittiwakes provide further protection.

The chicks can look forward to regular meals of regurgitated fish, however, when they are about 33-54 days old, it’s time for them to fledge. They need to learn quickly in order to survive but if they get it right, they could live until their late twenties!

Coot – Fulica atra

I never found coots to be very interesting birds until I saw them at the nest. Suddenly a character emerged that was hidden before. The chicks were vibrant and the parents proved attentive.
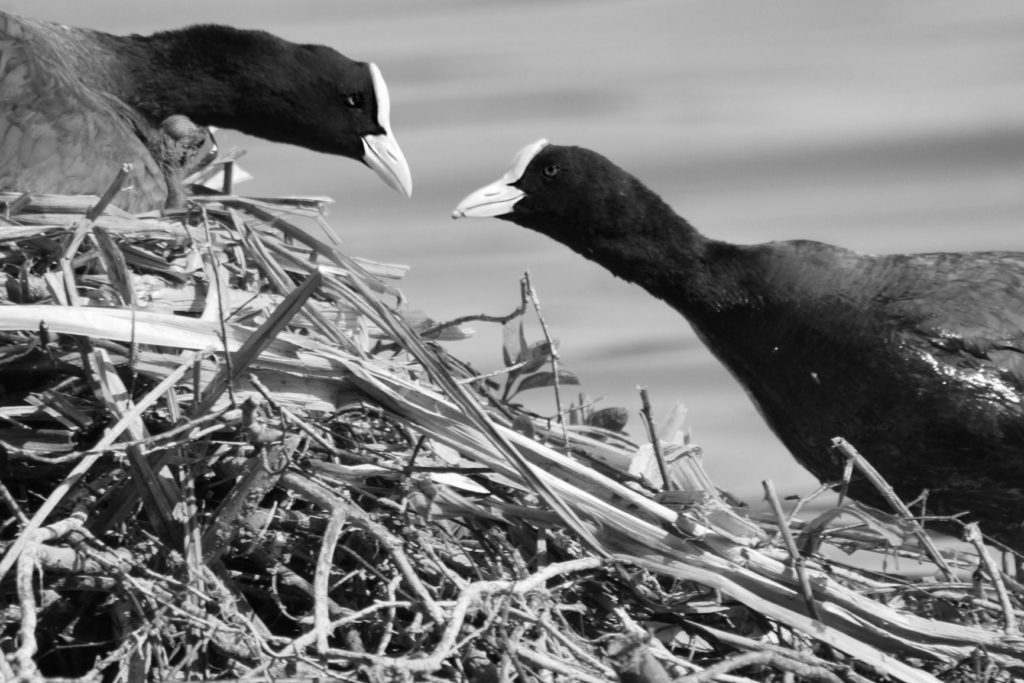
Coots are easy birds to find and their nests are large and therefore simple to spot. The parents are busy in the breeding season, caring for up to ten eggs at a time and perhaps as many as 3 clutches in a year.
Sadly many of the chicks may starve or be predated by birds such as herons or gulls. If they’re lucky they’ll be about ready for independence at around 2 months old. We can then enjoy watching even more coots floating about on our local lakes.

Starling – Sturnus vulgaris
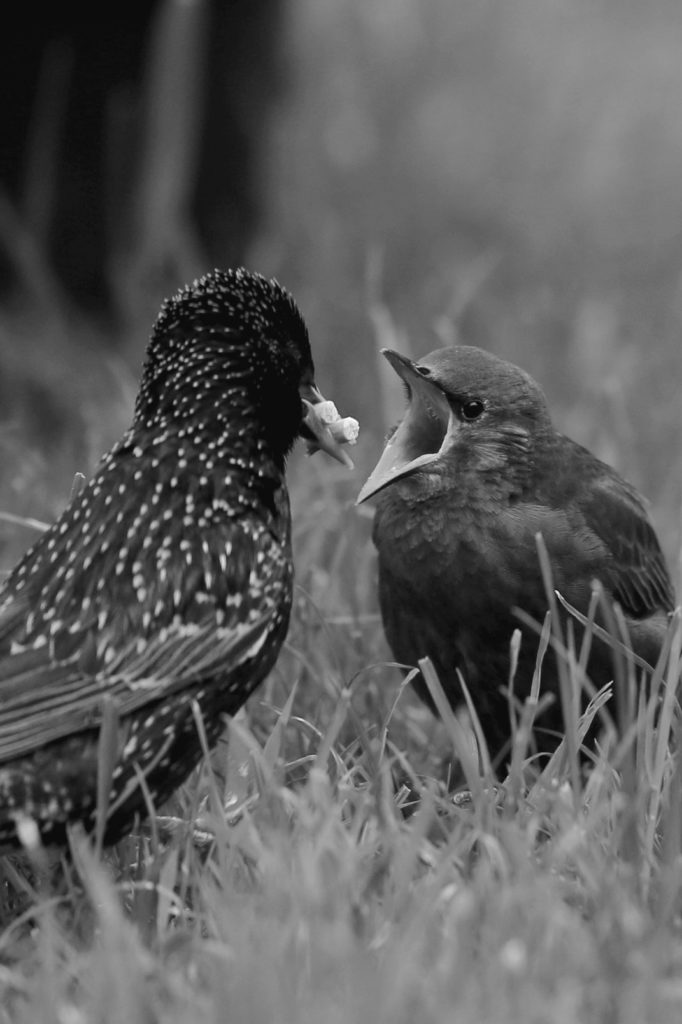
If you have starlings in the vicinity of your home, you will likely know when the young have fledged. Suddenly gardens fill up with boisterous, squawking birds that demand food and water at a faster rate than anyone can provide it.

Welcome to spring! It took those young starlings only 12 days to hatch and about three weeks to fledge. The male will have built the beginning of the nest in a hole or cavity and the female finished it. She will have done most of the incubating of her 4-6 eggs and the effort she and the male put in mostly pays off. Around 70% of the eggs that were laid turn into successfully fledged starlings.

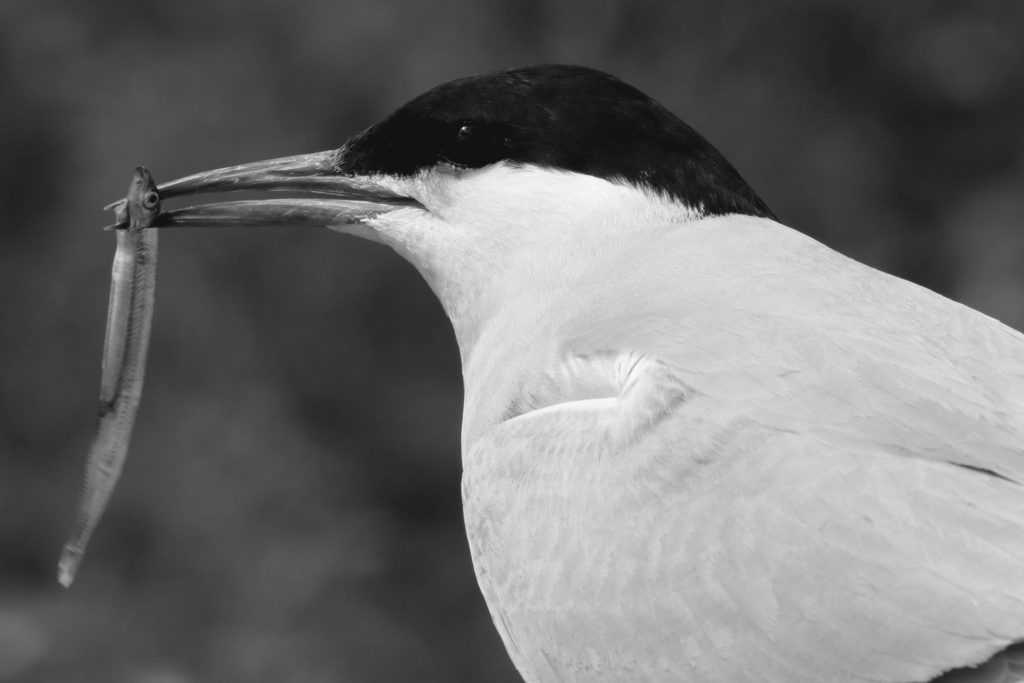
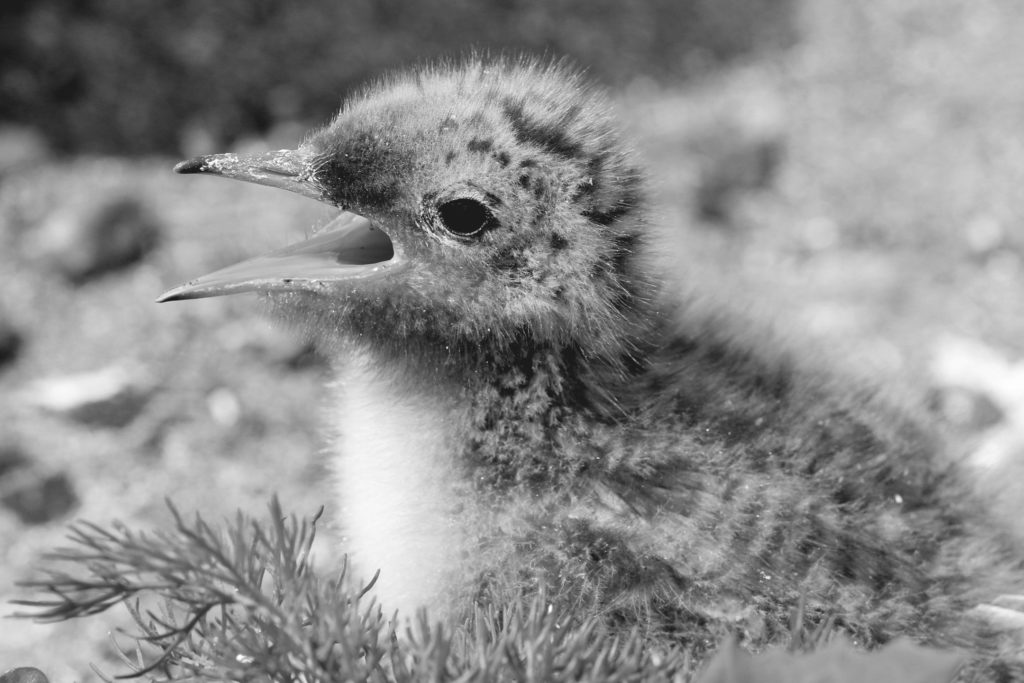
Arctic Tern – Sterna paradisaea
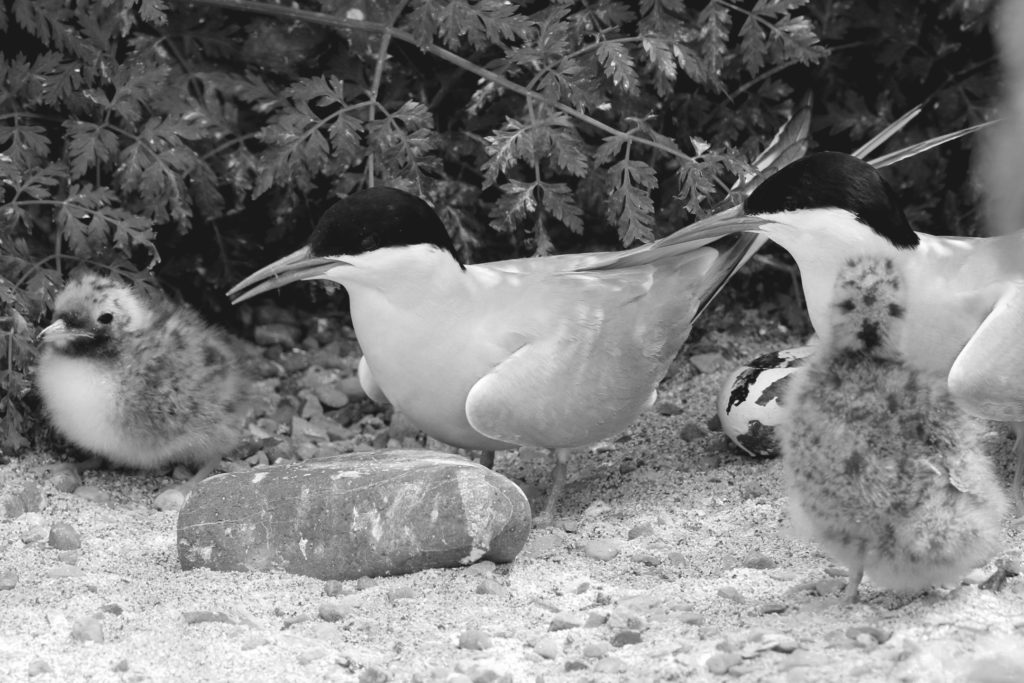
If you have received the attentions of an Arctic tern, you will understand they’re not to be messed with. The breeding season begins with flamboyance as the male tern calls loudly whilst flying over the colony with a fish. A female will show that she’s interested by involving herself in an elaborate chase. The terns ‘strut’ about on the ground before passing the fish between them.
They prefer to mate with previous partners and after one or two eggs have been laid, they share the incubation. After 20-24 days, their camouflaged chicks emerge from their eggs. The parents provide them with prey, often at the cost of the adult’s own health and weight.
There are many predators about within a bird colony, so the chicks must learn to hide. Those that survive are able to fly when they are around 21-24 days old. The parents and chicks take to the skies together so the adults can continue to provide their chicks with food for another month at least.
Humans and Other Animals
The wonderful thing about parenthood within the natural world is its variety. All of the creatures we’ve mentioned above, receive some sort of care after birth or hatching but some species go above and beyond.
The ultimate sacrifice must be that of some spiders because they give their life so that their young can eat them. It sounds horrific doesn’t it! Although this attentiveness to the needs of their young may not be any more important than that of humans. As humans I believe we may be unique as we support our children throughout their lives and remain an important part of their survival.
Almost anyone can pick up a camera and take a photograph but what is required for that photograph to turn out well? For years I claimed that it didn’t matter which camera you use. I thought that how well a photograph turned out depended entirely on the photographer. This may have a little bit of truth to it. My nan loved taking photographs but many of them were missing people’s heads. If you gave her a modern-day, top-of-the-range camera, I doubt that it would have magically improved her composition. However, on the flip side, I spent years using my Canon EOS 50D (a camera released in 2008) whilst claiming that it still took perfectly good pictures. It wasn’t until I received my Canon EOS 7D Mark II and a nice new Canon lens that I learnt differently.

The temptation when getting any camera is to pop in the battery and start using it without actually reading the manual. Whilst the manual looks long and boring, working through it with your camera in hand can actually pay off when you’re in the field.
When taking photographs of wildlife everything can happen very quickly, such as the action that you don’t expect but that makes the very best photographs. This is why you want to be able to operate your camera without even having to look. It should be second nature; alike to finding your way to work whilst half asleep in the mornings.
For me, getting the Canon EOS 7D Mark II was extremely exciting but also a little daunting. There are a large amount of options within the camera that require exploration. The majority of my life as a keen wildlife photographer has been during the film age so the introduction of multiple menus has significantly changed the way that I view photography.
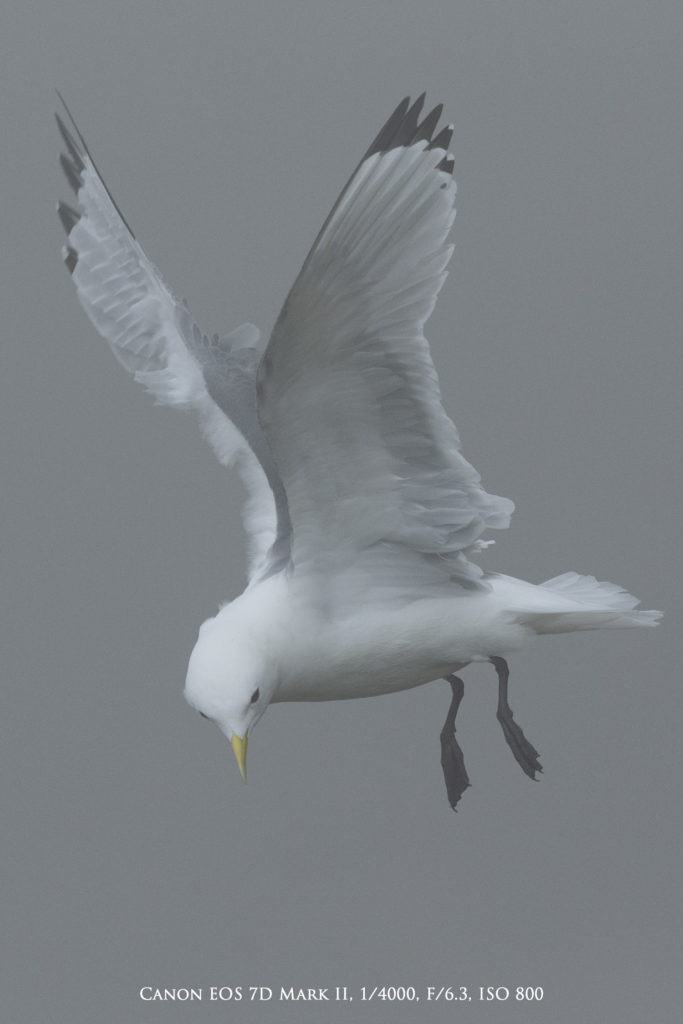
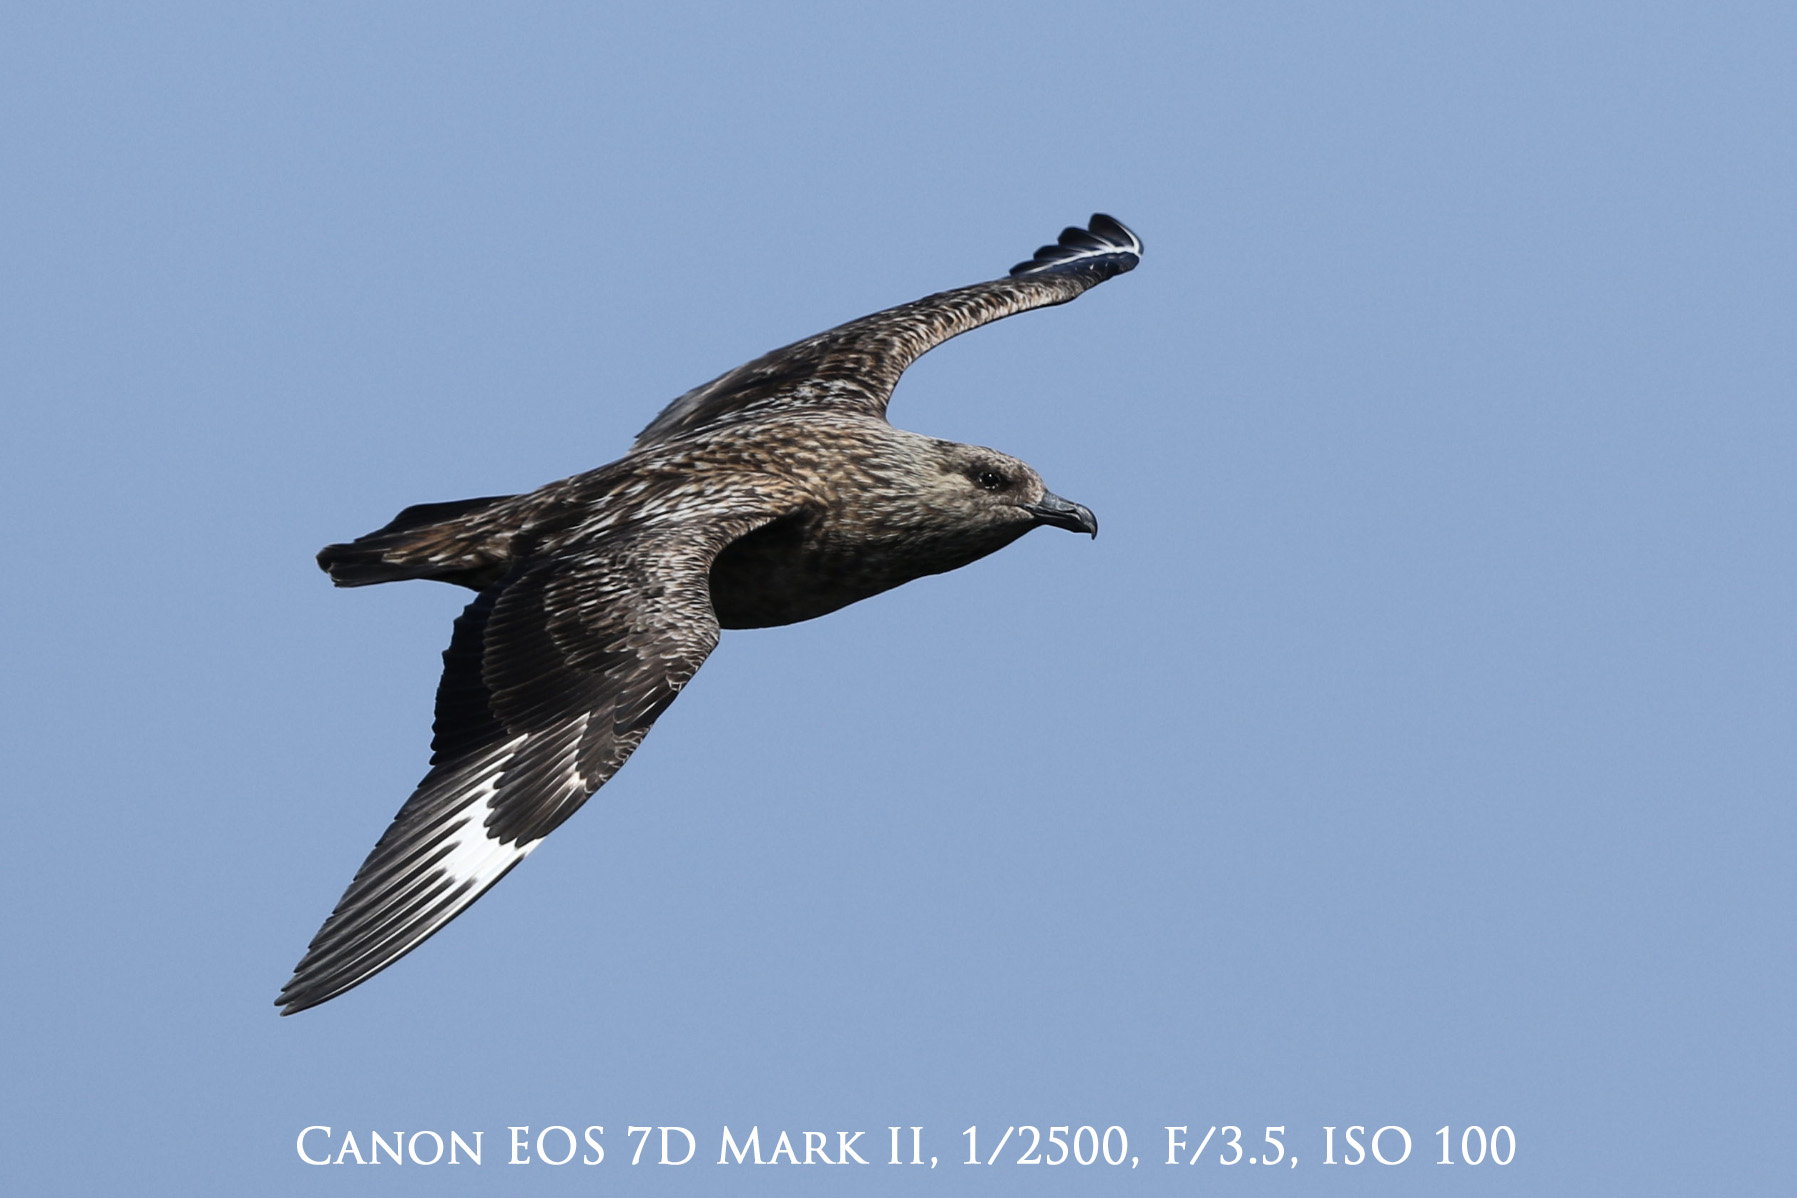
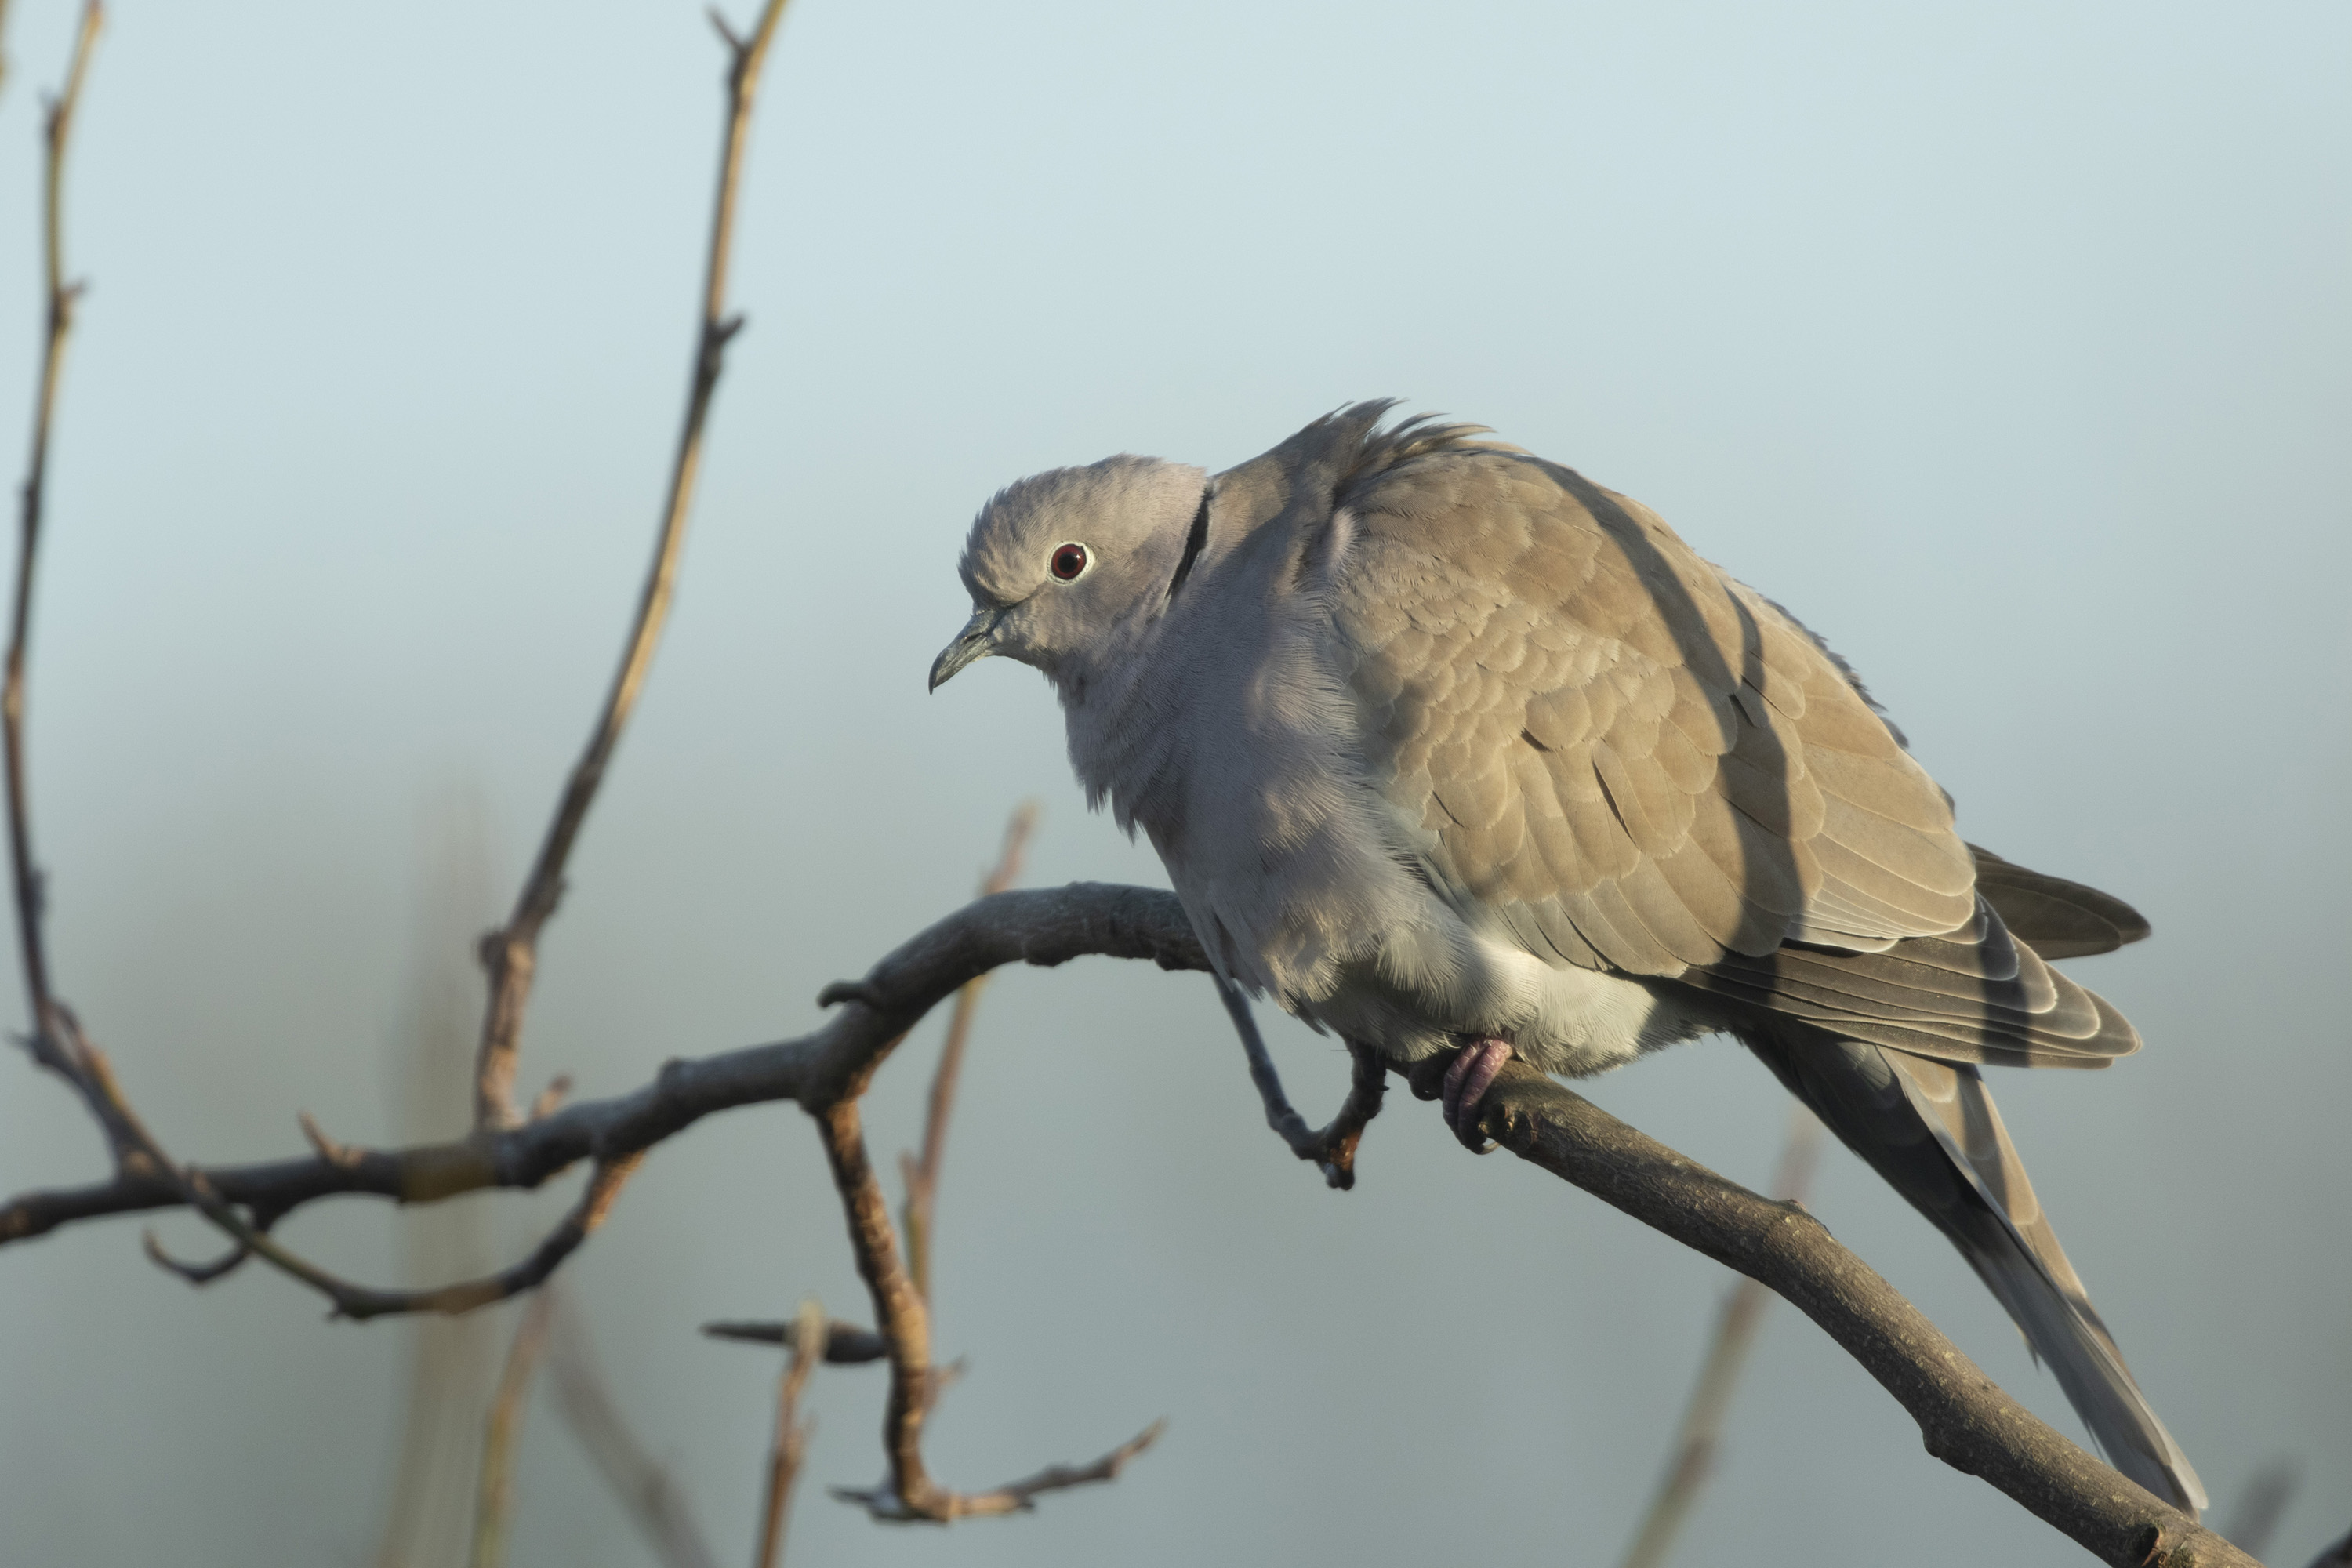
When using the new Canon camera, there were several things that jumped out at me. For starters the quality was exceptional. One of my first tests of it was at (RSPB) Bempton Cliffs in the East Riding of Yorkshire at around 5am when we were promised sun but found only thick fog. I wasn’t completely familiar with the camera by that point and yet still got shots that had me marvelling at how sharp this camera and lens combo could be.
The autofocus on modern-day cameras is there to make your life so much easier. The Canon EOS 7D Mark II has 65 autofocus points, which contrasts heavily with the Canon EOS 50D, which has just 9; a huge benefit for any photographer that has been achieved in just 6 years.
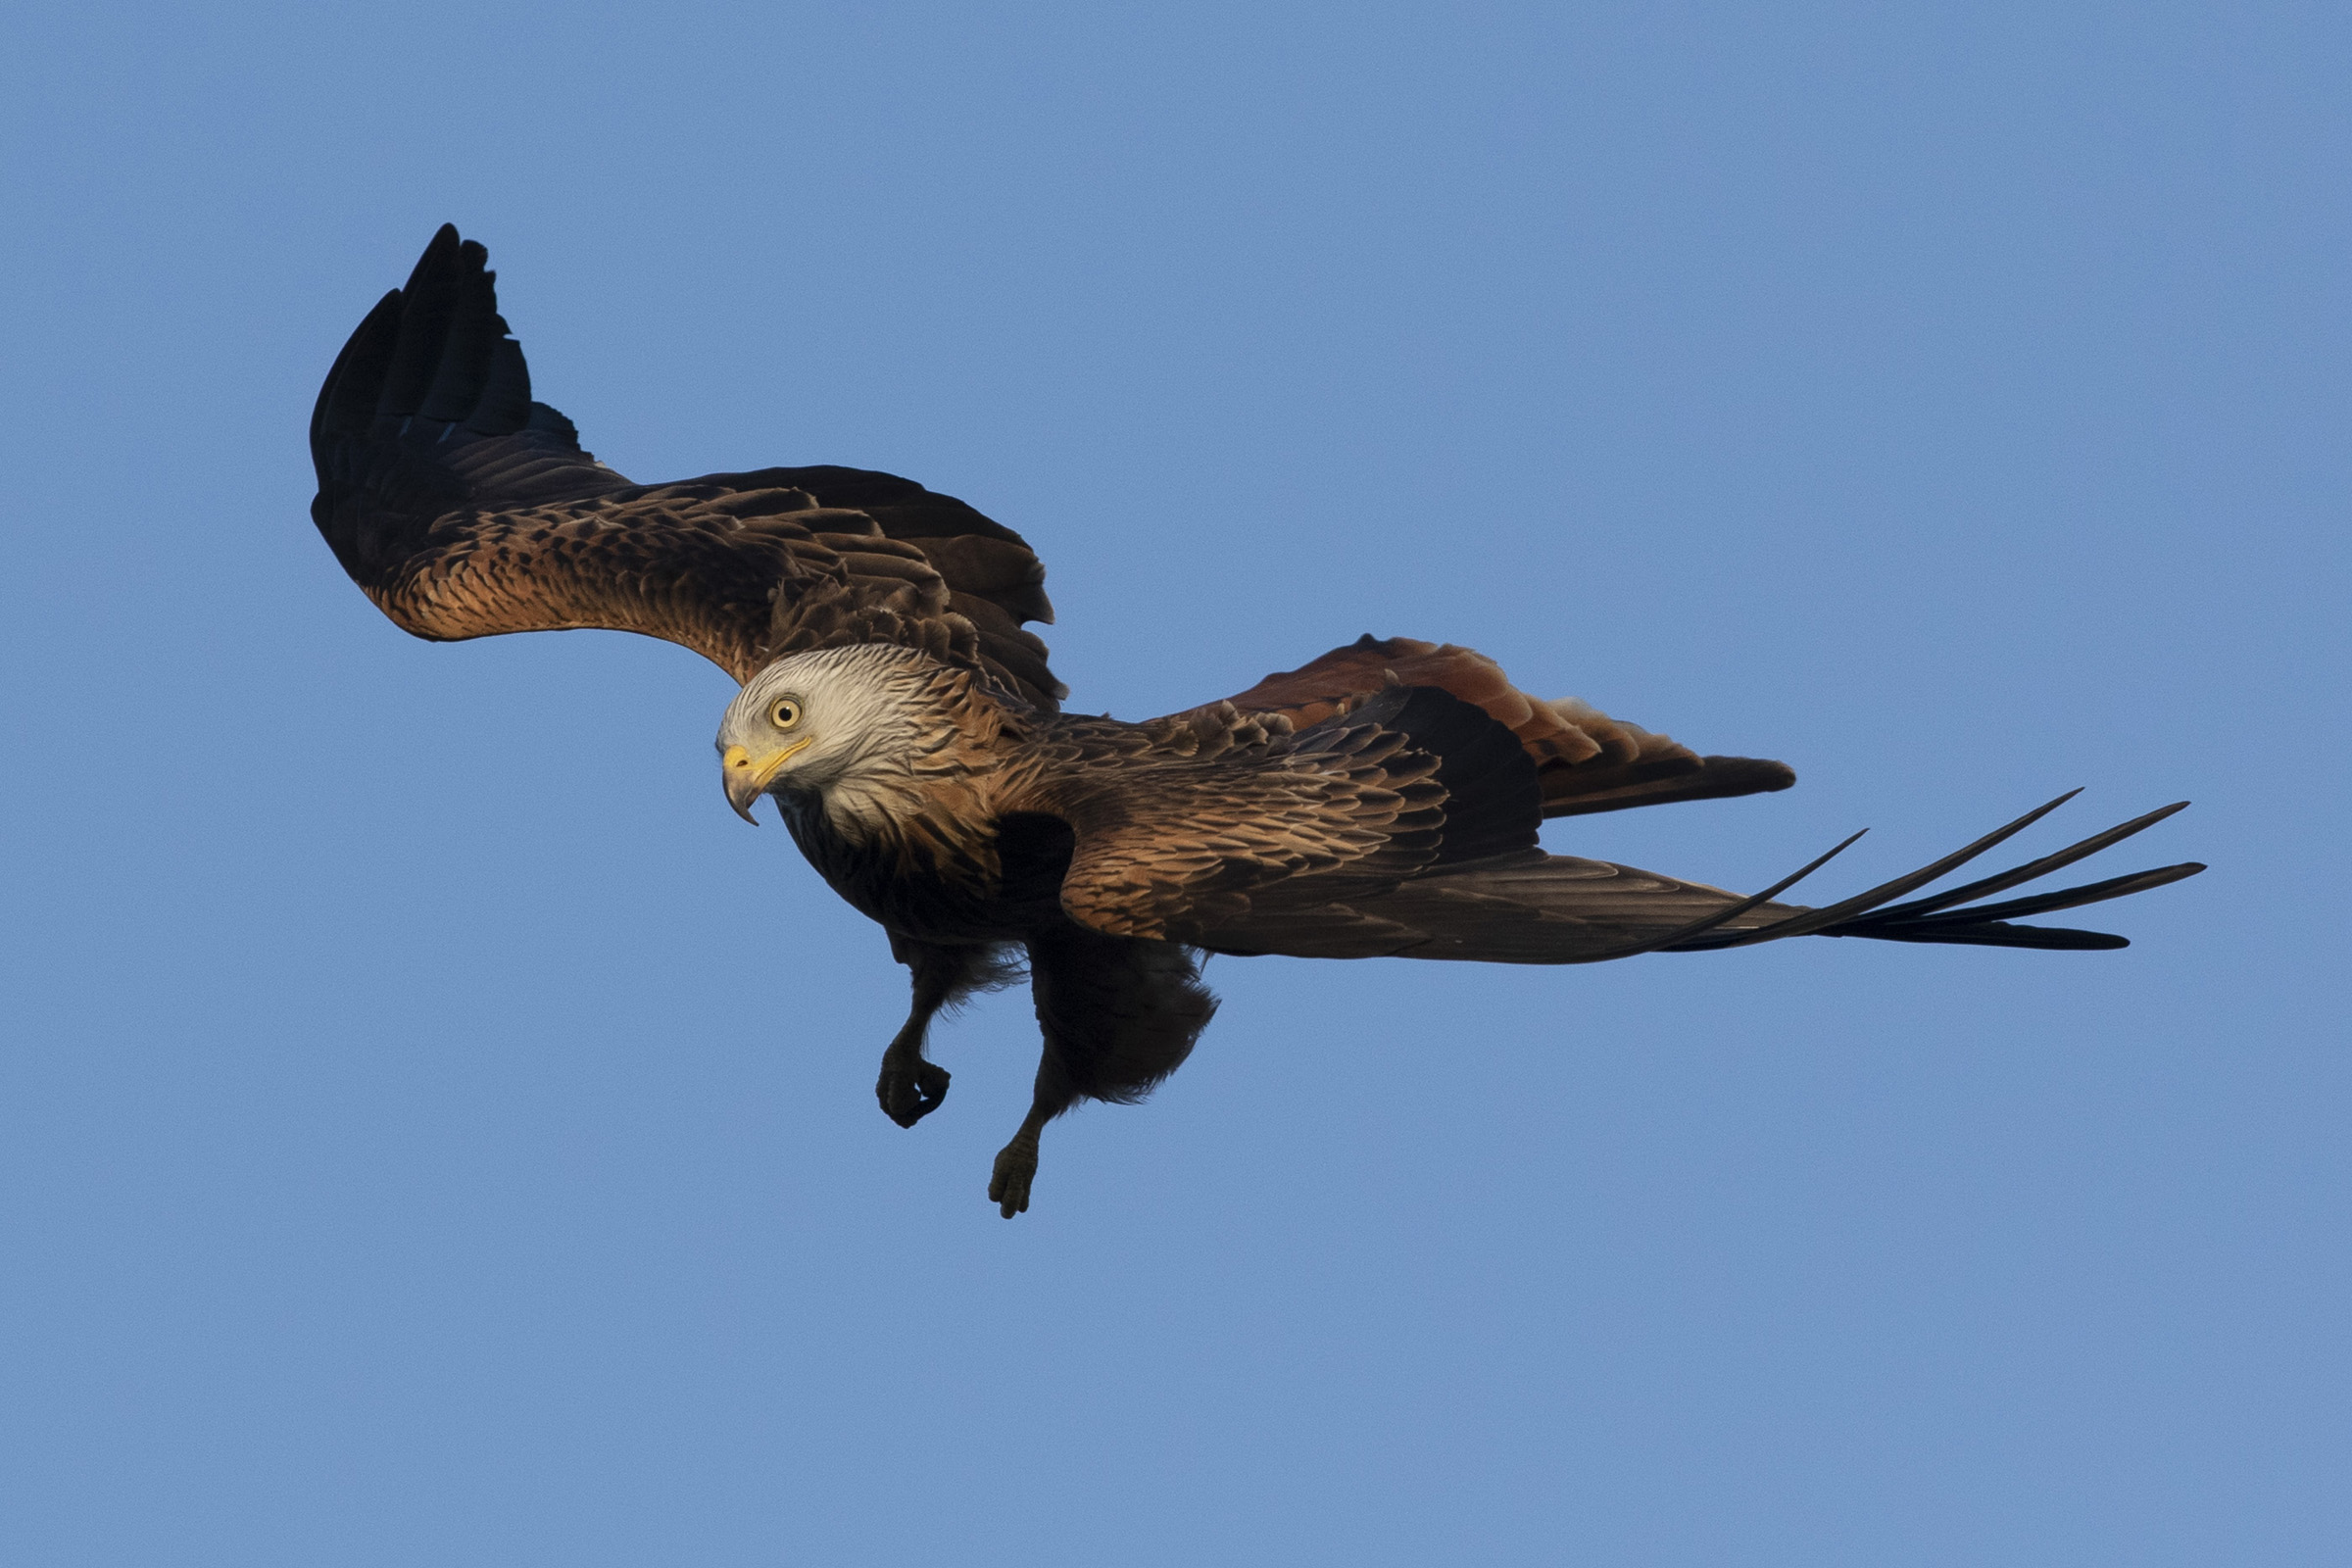
With technology advancing so fast, the average mobile phone can produce an impressive photograph, so when it comes to digital SLRs, the changes feel even more significant. When photographing birds in flight, for instance, the autofocus points and the use of AI servo really proves its worth. By keeping your finger on the autofocus button when following a bird or animal, the focus points follow the movement, which from my experience, allows you to come home with a memory card full of mostly sharp images.
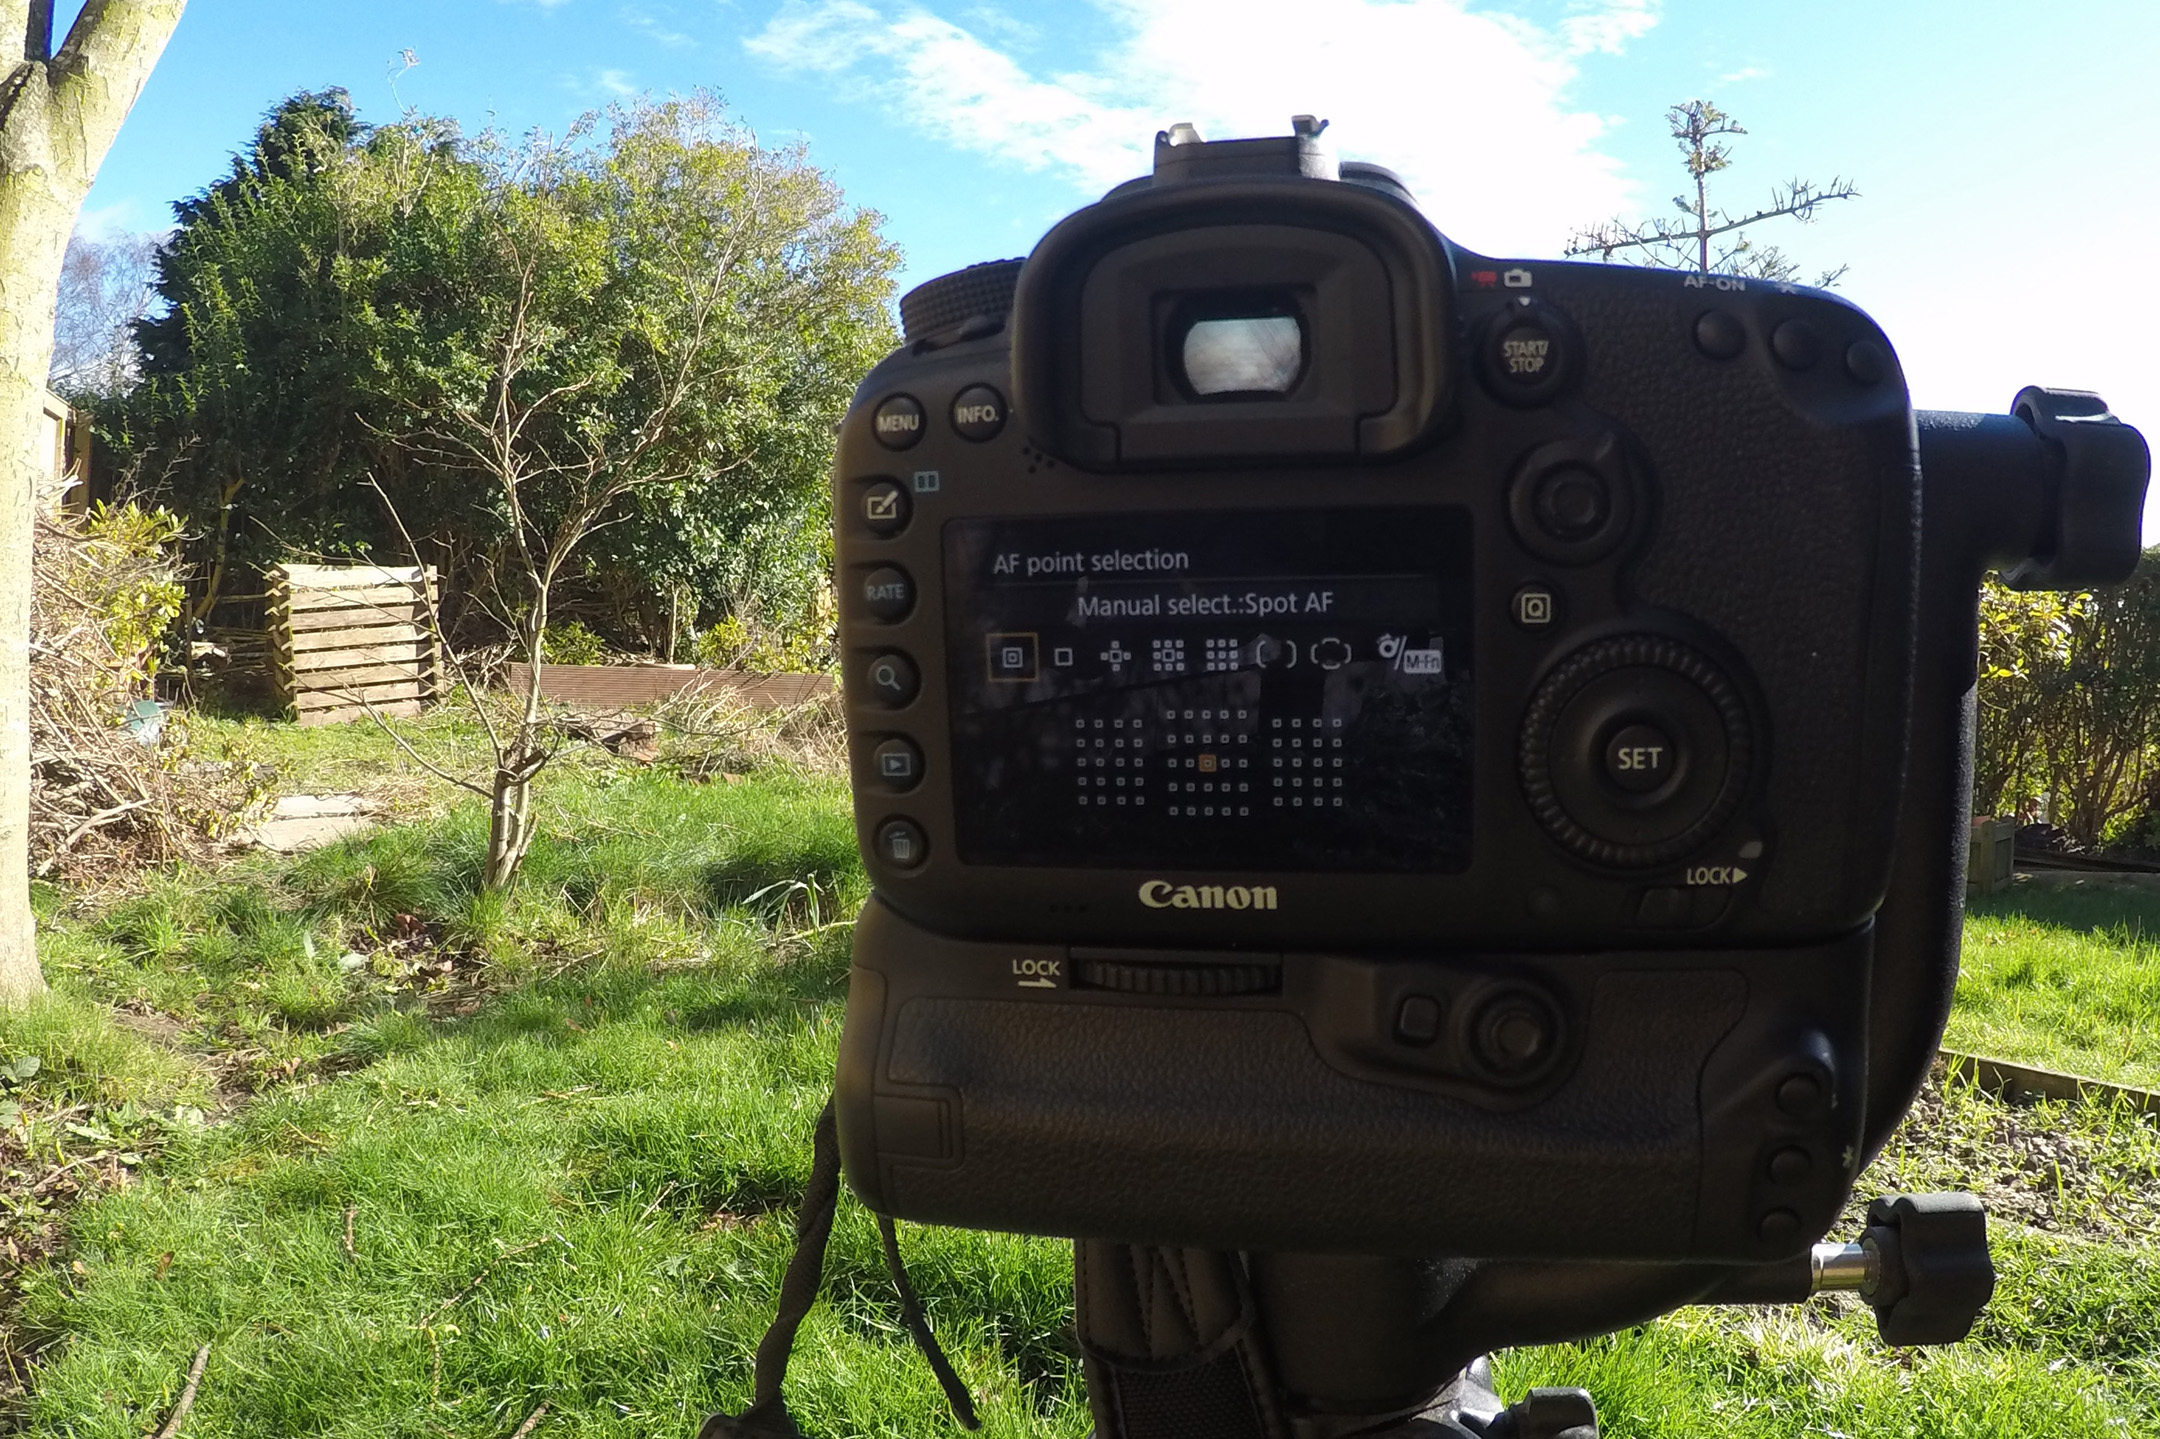

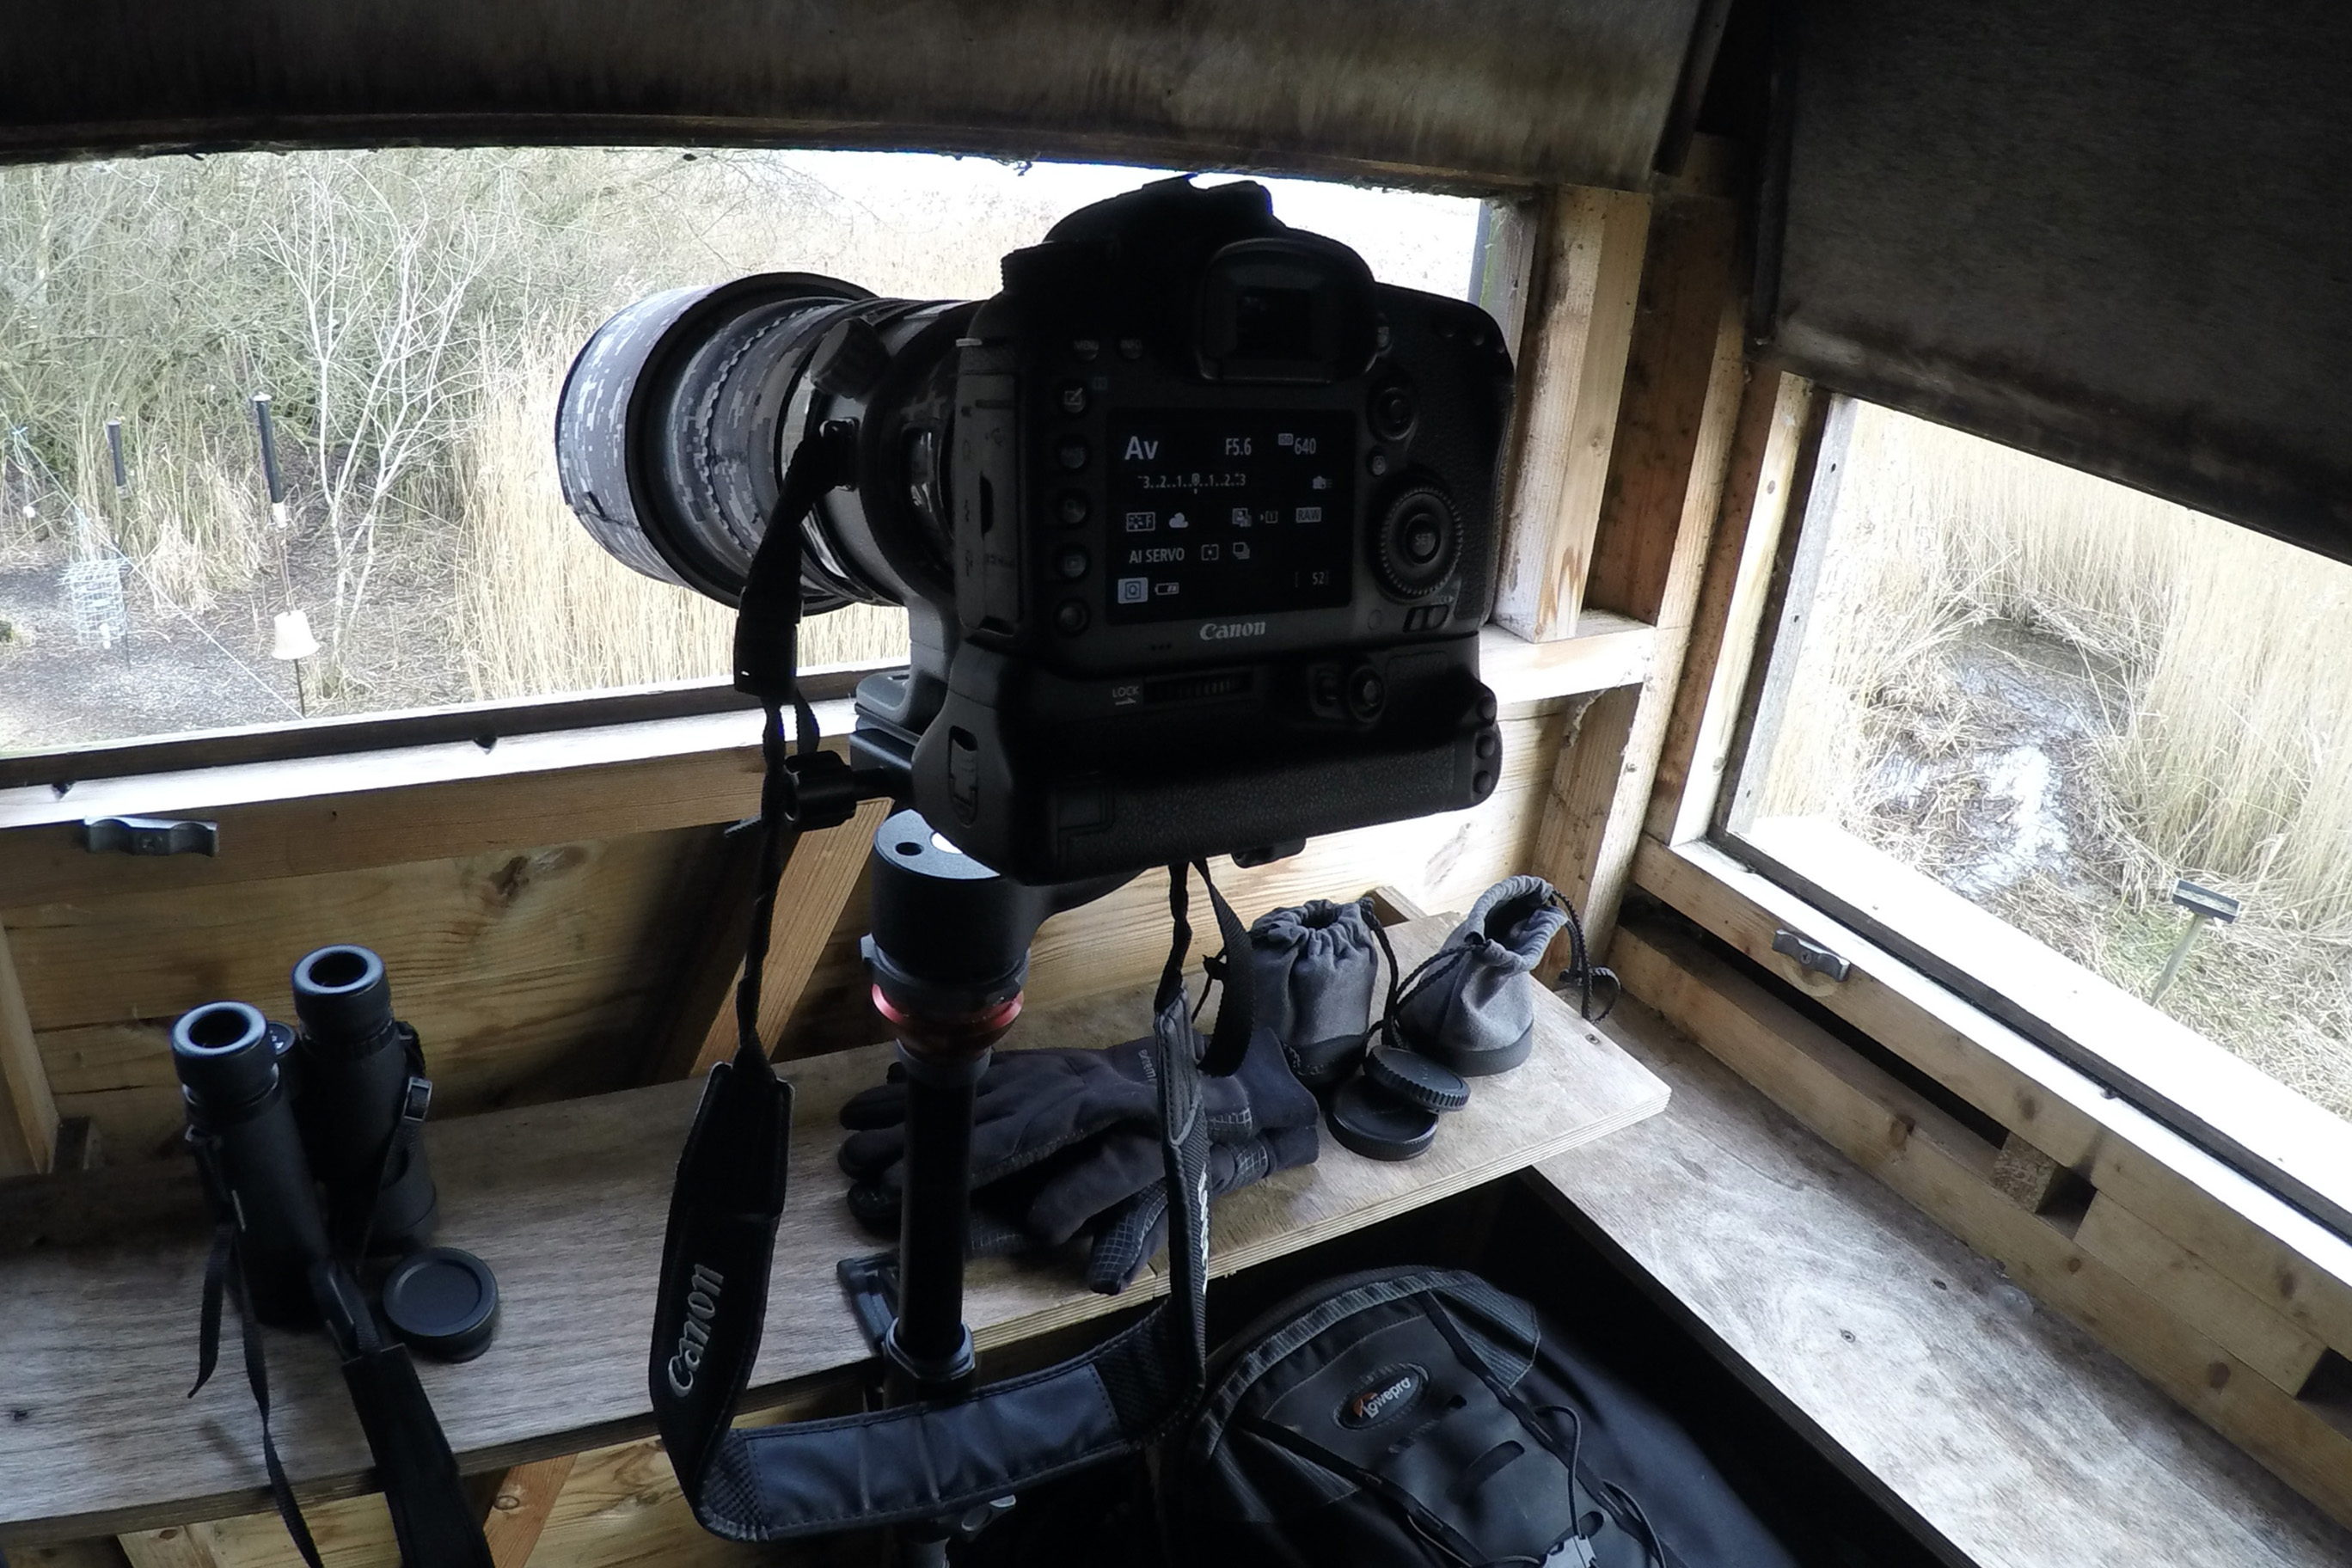
Before taking the camera out to photograph a particular subject, I use the ‘Q’ button to select each of the relevant options for shutter speed, aperture, white balance, ISO etc, though of course these may need to change throughout a particular photography session. This is where the quick function buttons come in useful. On the Canon EOS 7D Mark II there are buttons close to the shutter for white balance, auto focus options and the ISO. The AF point selection and ‘M-Fn’ buttons are within easy reach, which helps you to efficiently change the autofocus point you are using.

Many cameras will allow you to disable the autofocus on the shutter release (when pressing it halfway) and use another button instead. I use ‘AF-ON’ and what a difference it makes! It puts an end to those crucial moments when you’re trying to take a photograph but the camera is busy re-focussing on the wrong thing. The subject no longer runs or flies away whilst the autofocus zooms in and out repeatedly with the user rendered incapable of taking a photograph unless they switch the lens to manual. You can set this up on a Canon EOS 7D Mark II camera by entering the 3rd tab in the orange menu and choosing ‘custom controls’. This allows you to change the functions of various buttons on the camera. You’re likely to find a similar option on a variety of cameras.

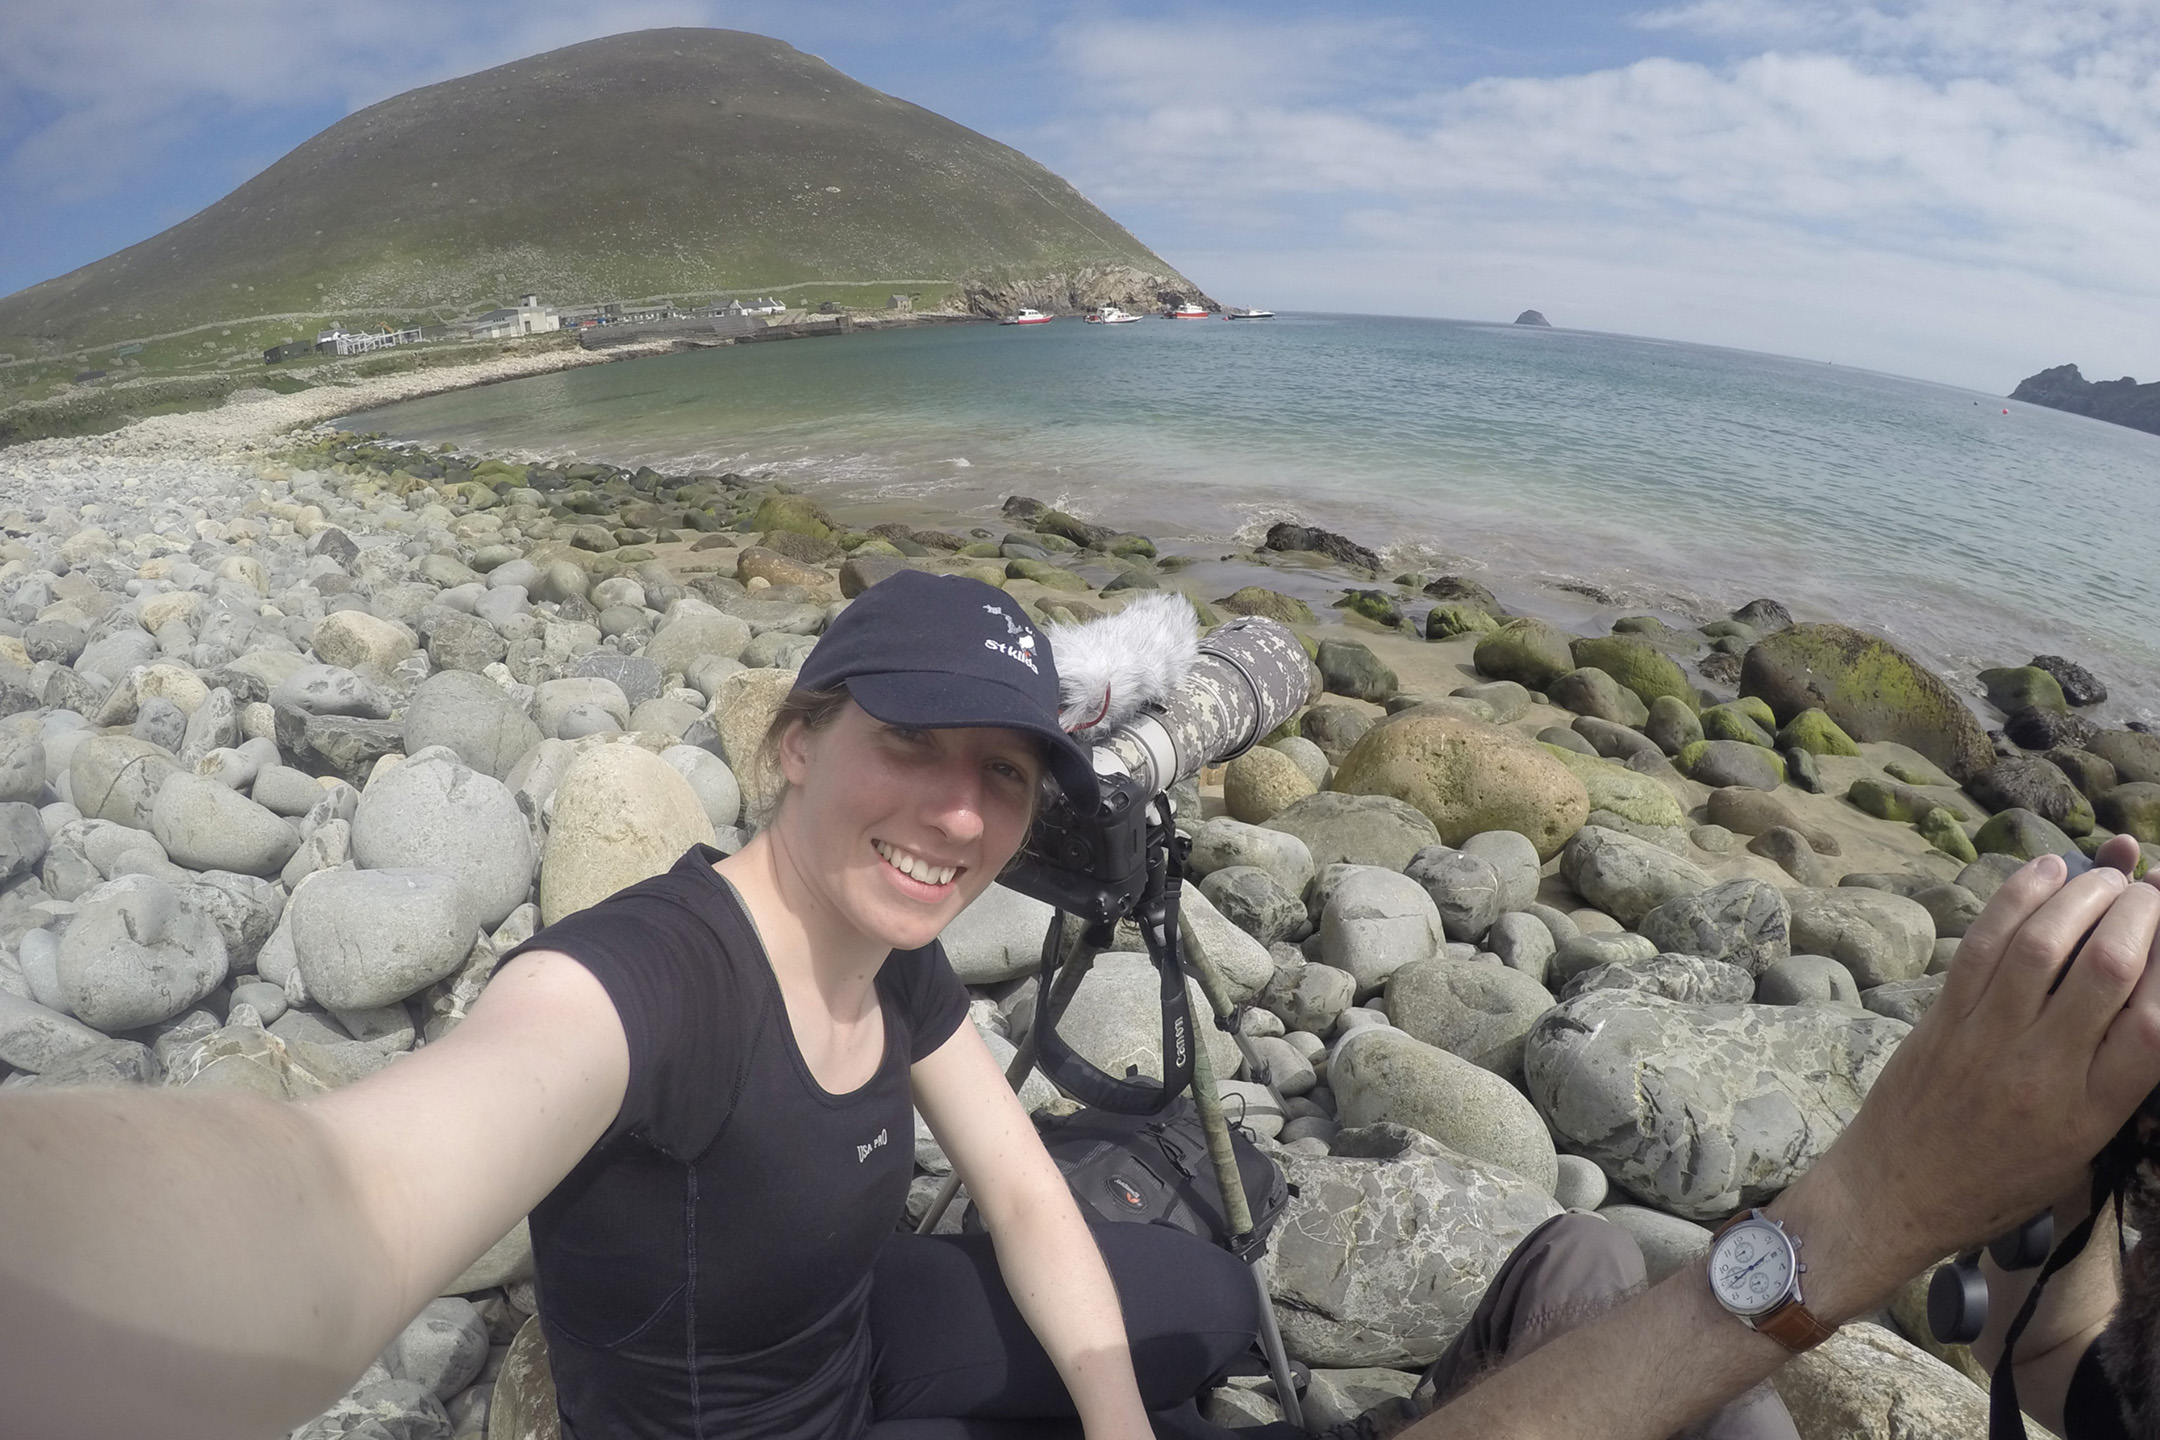
One of the biggest benefits to a later Canon model is reliability. Canon have intentionally made their cameras more dust and water resistant and I can definitely tell the difference. In 2015 I visited St Kilda, Scotland. Towards the end of the visit, the boat tours the stacs within the archipelago where thousands of seabirds breed each year. We had a few rainy days during our stay. I chose to protect my Canon 50D with a plastic camera cover. Condensation built, which resulted in the camera becoming unable to determine exposure. I tried switching to manual settings though this didn’t work and presented more challenges. I was trying to hold steady on the swaying boat surrounded with flying birds combined with dark grey rock and white cloud as their background, without any aid from the camera. I was heartbroken that within this incredible wildlife experience, my camera decided to break.
When I returned to St Kilda in 2016, I had my weather resistant Canon EOS 7D Mark II. The difference was phenomenal. No more unsolvable exposure issues, the images were sharp and I could capture behaviour I struggled to get before. The AF points and AI servo meant most of the images were in focus and all the hard work the camera did meant I could concentrate on holding steady and finding interesting shots whilst enjoying the moment.

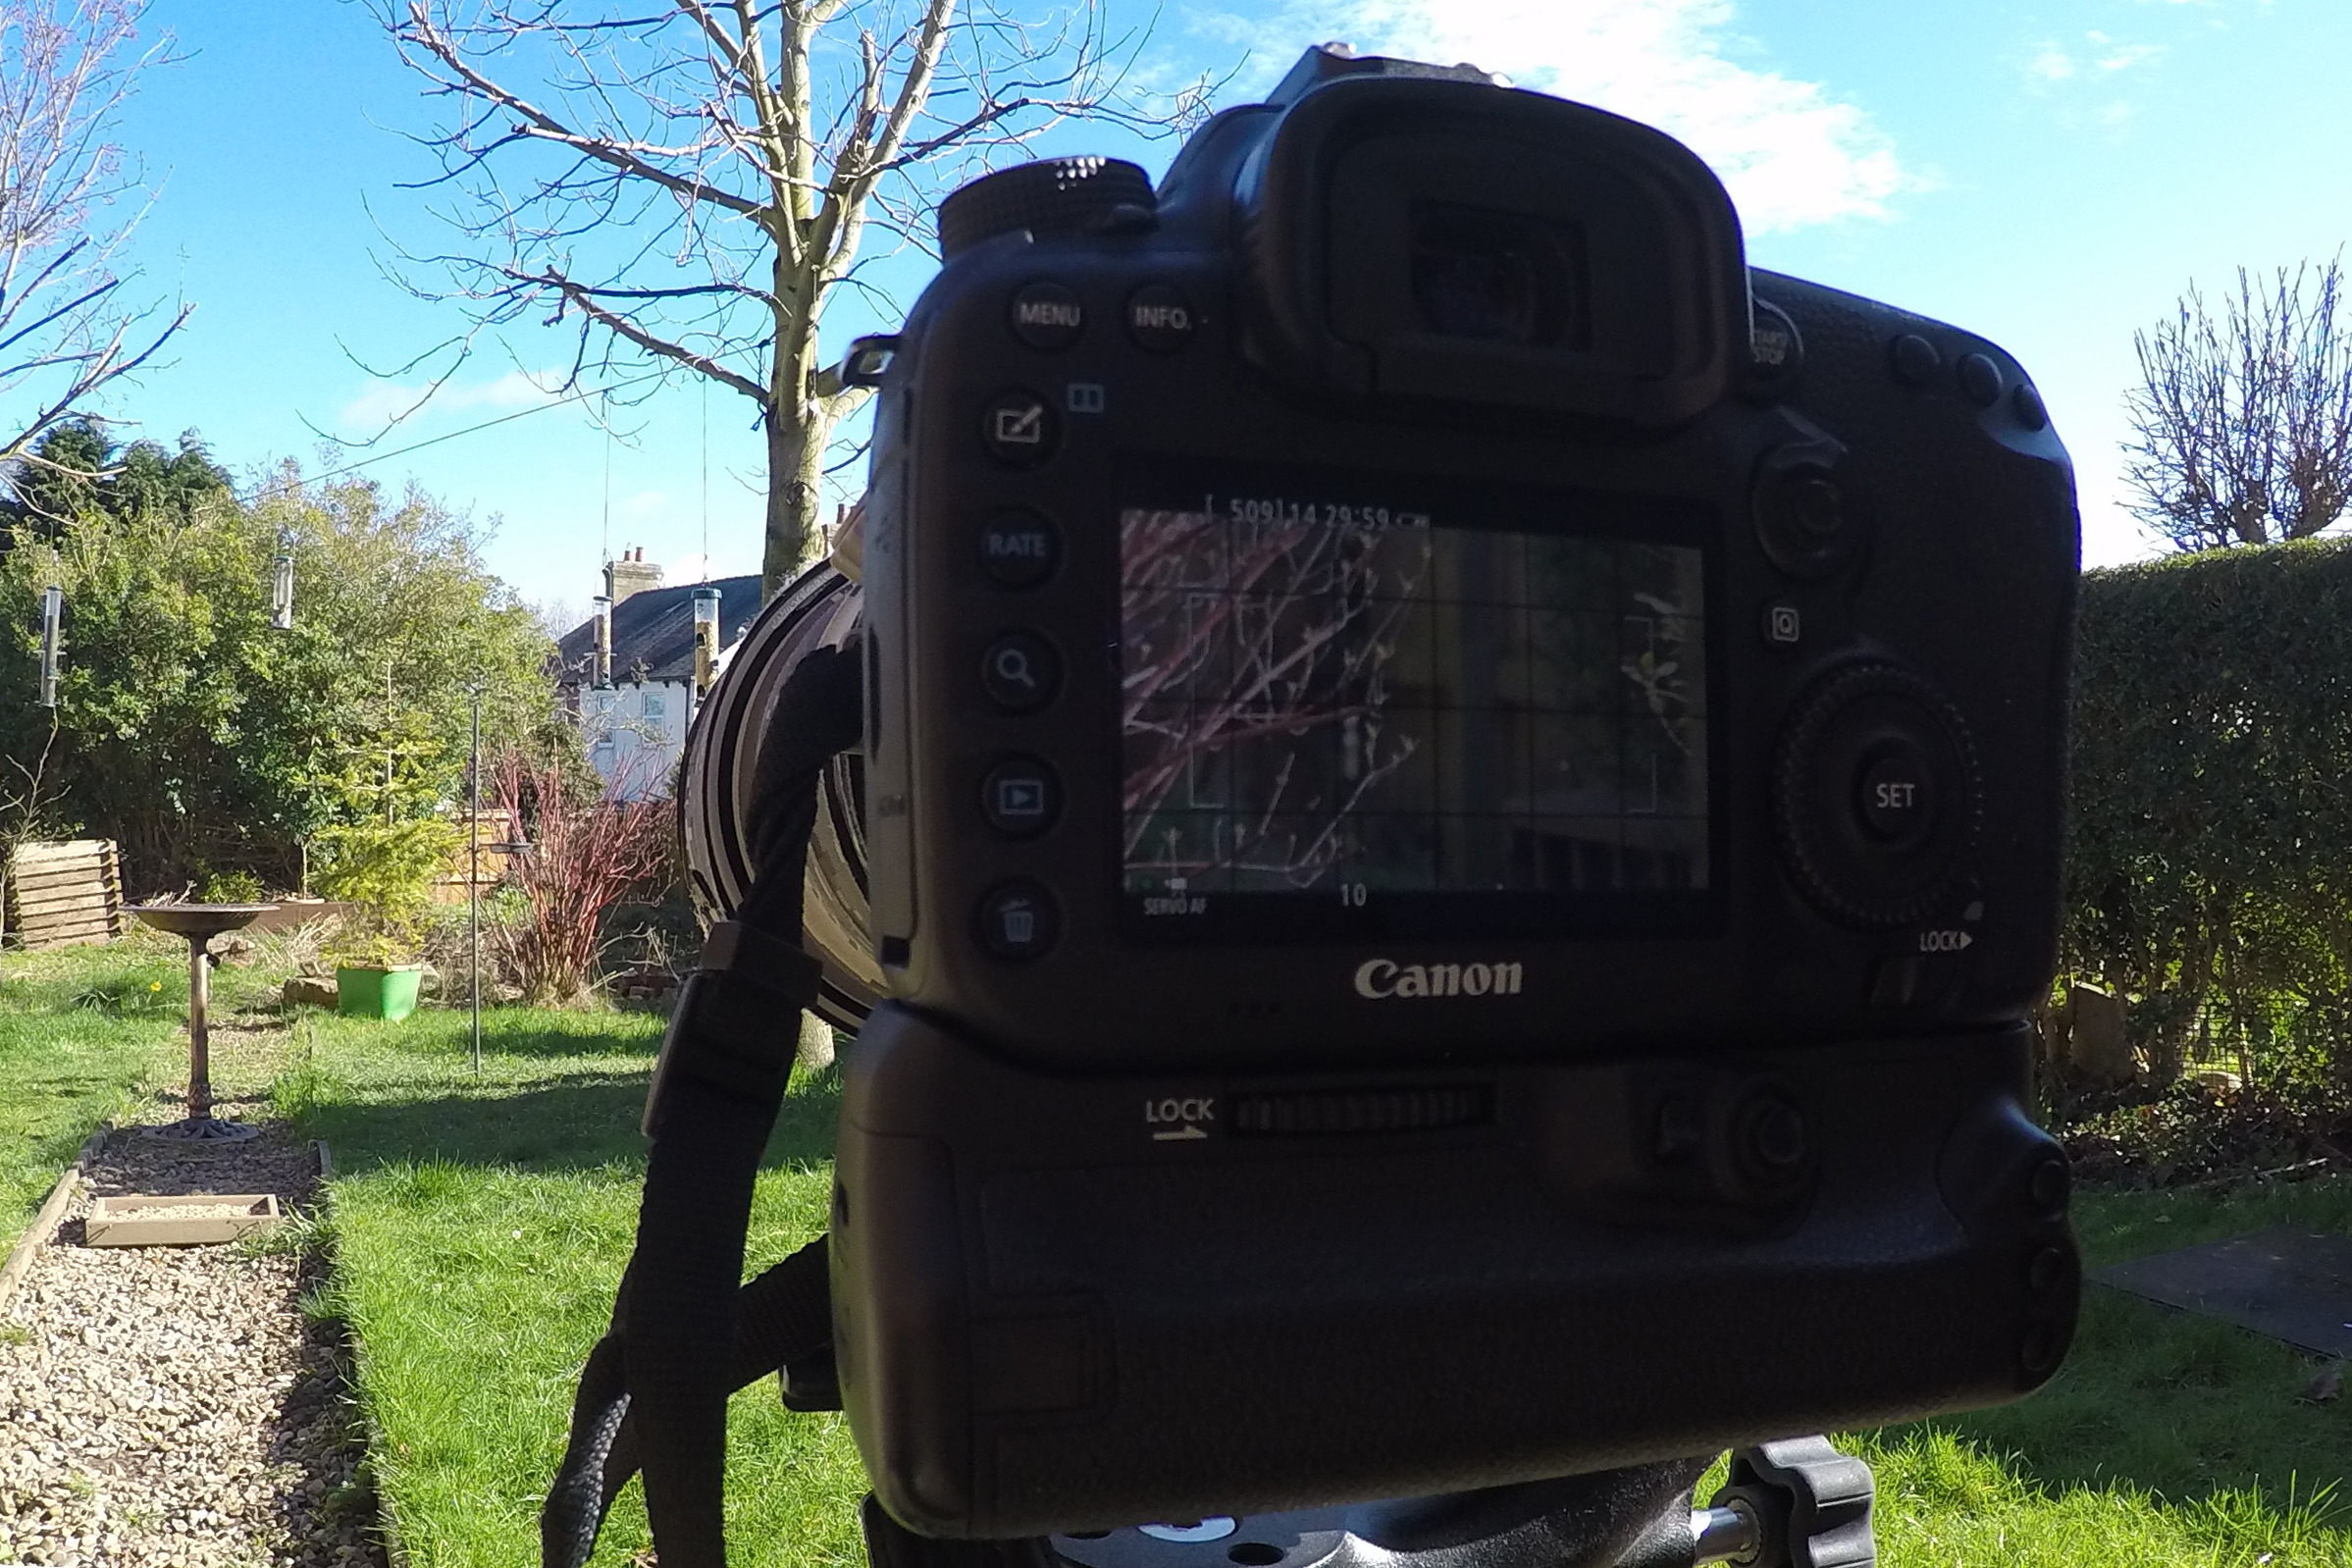
It’s easy to get lost in the moment when photographing a subject, so even after years of experience, it’s still possible to make a mess of that pesky horizon. I have heard photographers suggest that you check all 4 corners of a shot before pressing the shutter so that you know the frame only contains what you want it to contain. It’s not a bad piece of advice although when snapping away quickly during fleeting action, it can be difficult to multi-task. The only way to get good at it is practice. There is another feature in many cameras that can help combat the horizon issue though. In the same way that builders would use a level to make sure that their work is even and, well, level, many cameras have an in-built level that you can choose to activate within your viewfinder.
With the Canon EOS 7D Mark II, you would locate this in the 2nd yellow menu, under ‘Viewfinder Display’. By selecting ‘Viewfinder Level’ (show), you will then see a level within the viewfinder that has a series of black boxes indicating when the camera is crooked. The aim is to have just one single black box in the middle. If you get used to how and when to use this, you may never have to suffer with a crooked horizon again!
The Video Option
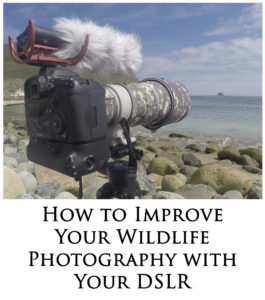
Still wildlife photography has always been my passion but when I saw that my Canon EOS 7D Mark II would have the option to film, I was delighted as it would give me a whole new perspective on wildlife encounters. The beauty of using a SLR camera to film is that you are still just carrying around a relatively light camera. I added a microphone to my kit and was ready to go.
Using a filming option on your camera can open the door to a whole new aspect of capturing wildlife with your digital SLR
There are times now when I have lost the light for photography and so choose to film instead. I have found that the footage looks good and professional in some cases; allowing you to easily load the video onto the computer and create a wildlife documentary of your own.
Sometimes you may find that you’re filming and the image you’re shooting would actually make a great still photograph. Canon have already thought this through. It’s possible to film and take photographs at the same time by pressing the shutter fully whilst filming. The film will temporarily freeze whilst the photograph is taken.
Having an external microphone is a great help. The internal microphone is quite good but not exceptional if you’re looking to have great sound accompanying your images. A ‘deadcat’ reduces the impact of the wind and microphones alike to ours have an option to reduce unwanted background noise further than the standard setting.

Updating Your Equipment
We have discussed a range of equipment in this blog entry. Many of the features we have talked about are relevant to a variety of camera models but we have primarily focussed on the Canon EOS 7D Mark II.
Changing to a newer model of camera can be a daunting prospect and so it’s important that before you buy, you make sure that it’s the right camera for you. We have found the Canon EOS 7D Mark II exceptional for wildlife photography, however there are newer models becoming available on a regular basis.

A tripod is a well-known essential piece of kit for any aspiring landscape or wildlife photographer. We’ve enjoyed our trusty Manfrottos for over ten years now. Within more recent years, we added a Manfrotto hide tripod (column clamp and levelling centre column) to our kit along with a gimbal-style head. The tripods have been reliable and are heavy, but we’ve not found them too cumbersome to carry about on a shoulder. The Wimberley gimbal-style head is fantastic. Until only a few years ago I personally used a ball-and-socket head. This was a good tripod head and suitable for the smaller lenses I was using at the time. However, it lacked the flexibility in movement that I wanted sometimes. I have not discovered any restrictions with the Wimberley head as yet and it feels unlikely that I will.
You may notice that all of the photographs of the Canon EOS 7D Mark II contain a battery grip. We cannot now imagine life without a battery grip. It’s a real comfort when you don’t need to think about replacing batteries all of the time. We keep them well-charged and never need to change them during a photography session.
The microphone you can see is Røde Videomic with a Røde deadcat. It is incredibly easy to use and produces good results.
Comments
We love to know your thoughts on our articles so greatly appreciate you taking the time to comment. We may be unable to reply directly but are in the process of creating a FAQs page to answer any questions. We currently check all comments before they’re posted so they do not appear immediately on the website.
Thank you for visiting www.embracenatureuk.com!
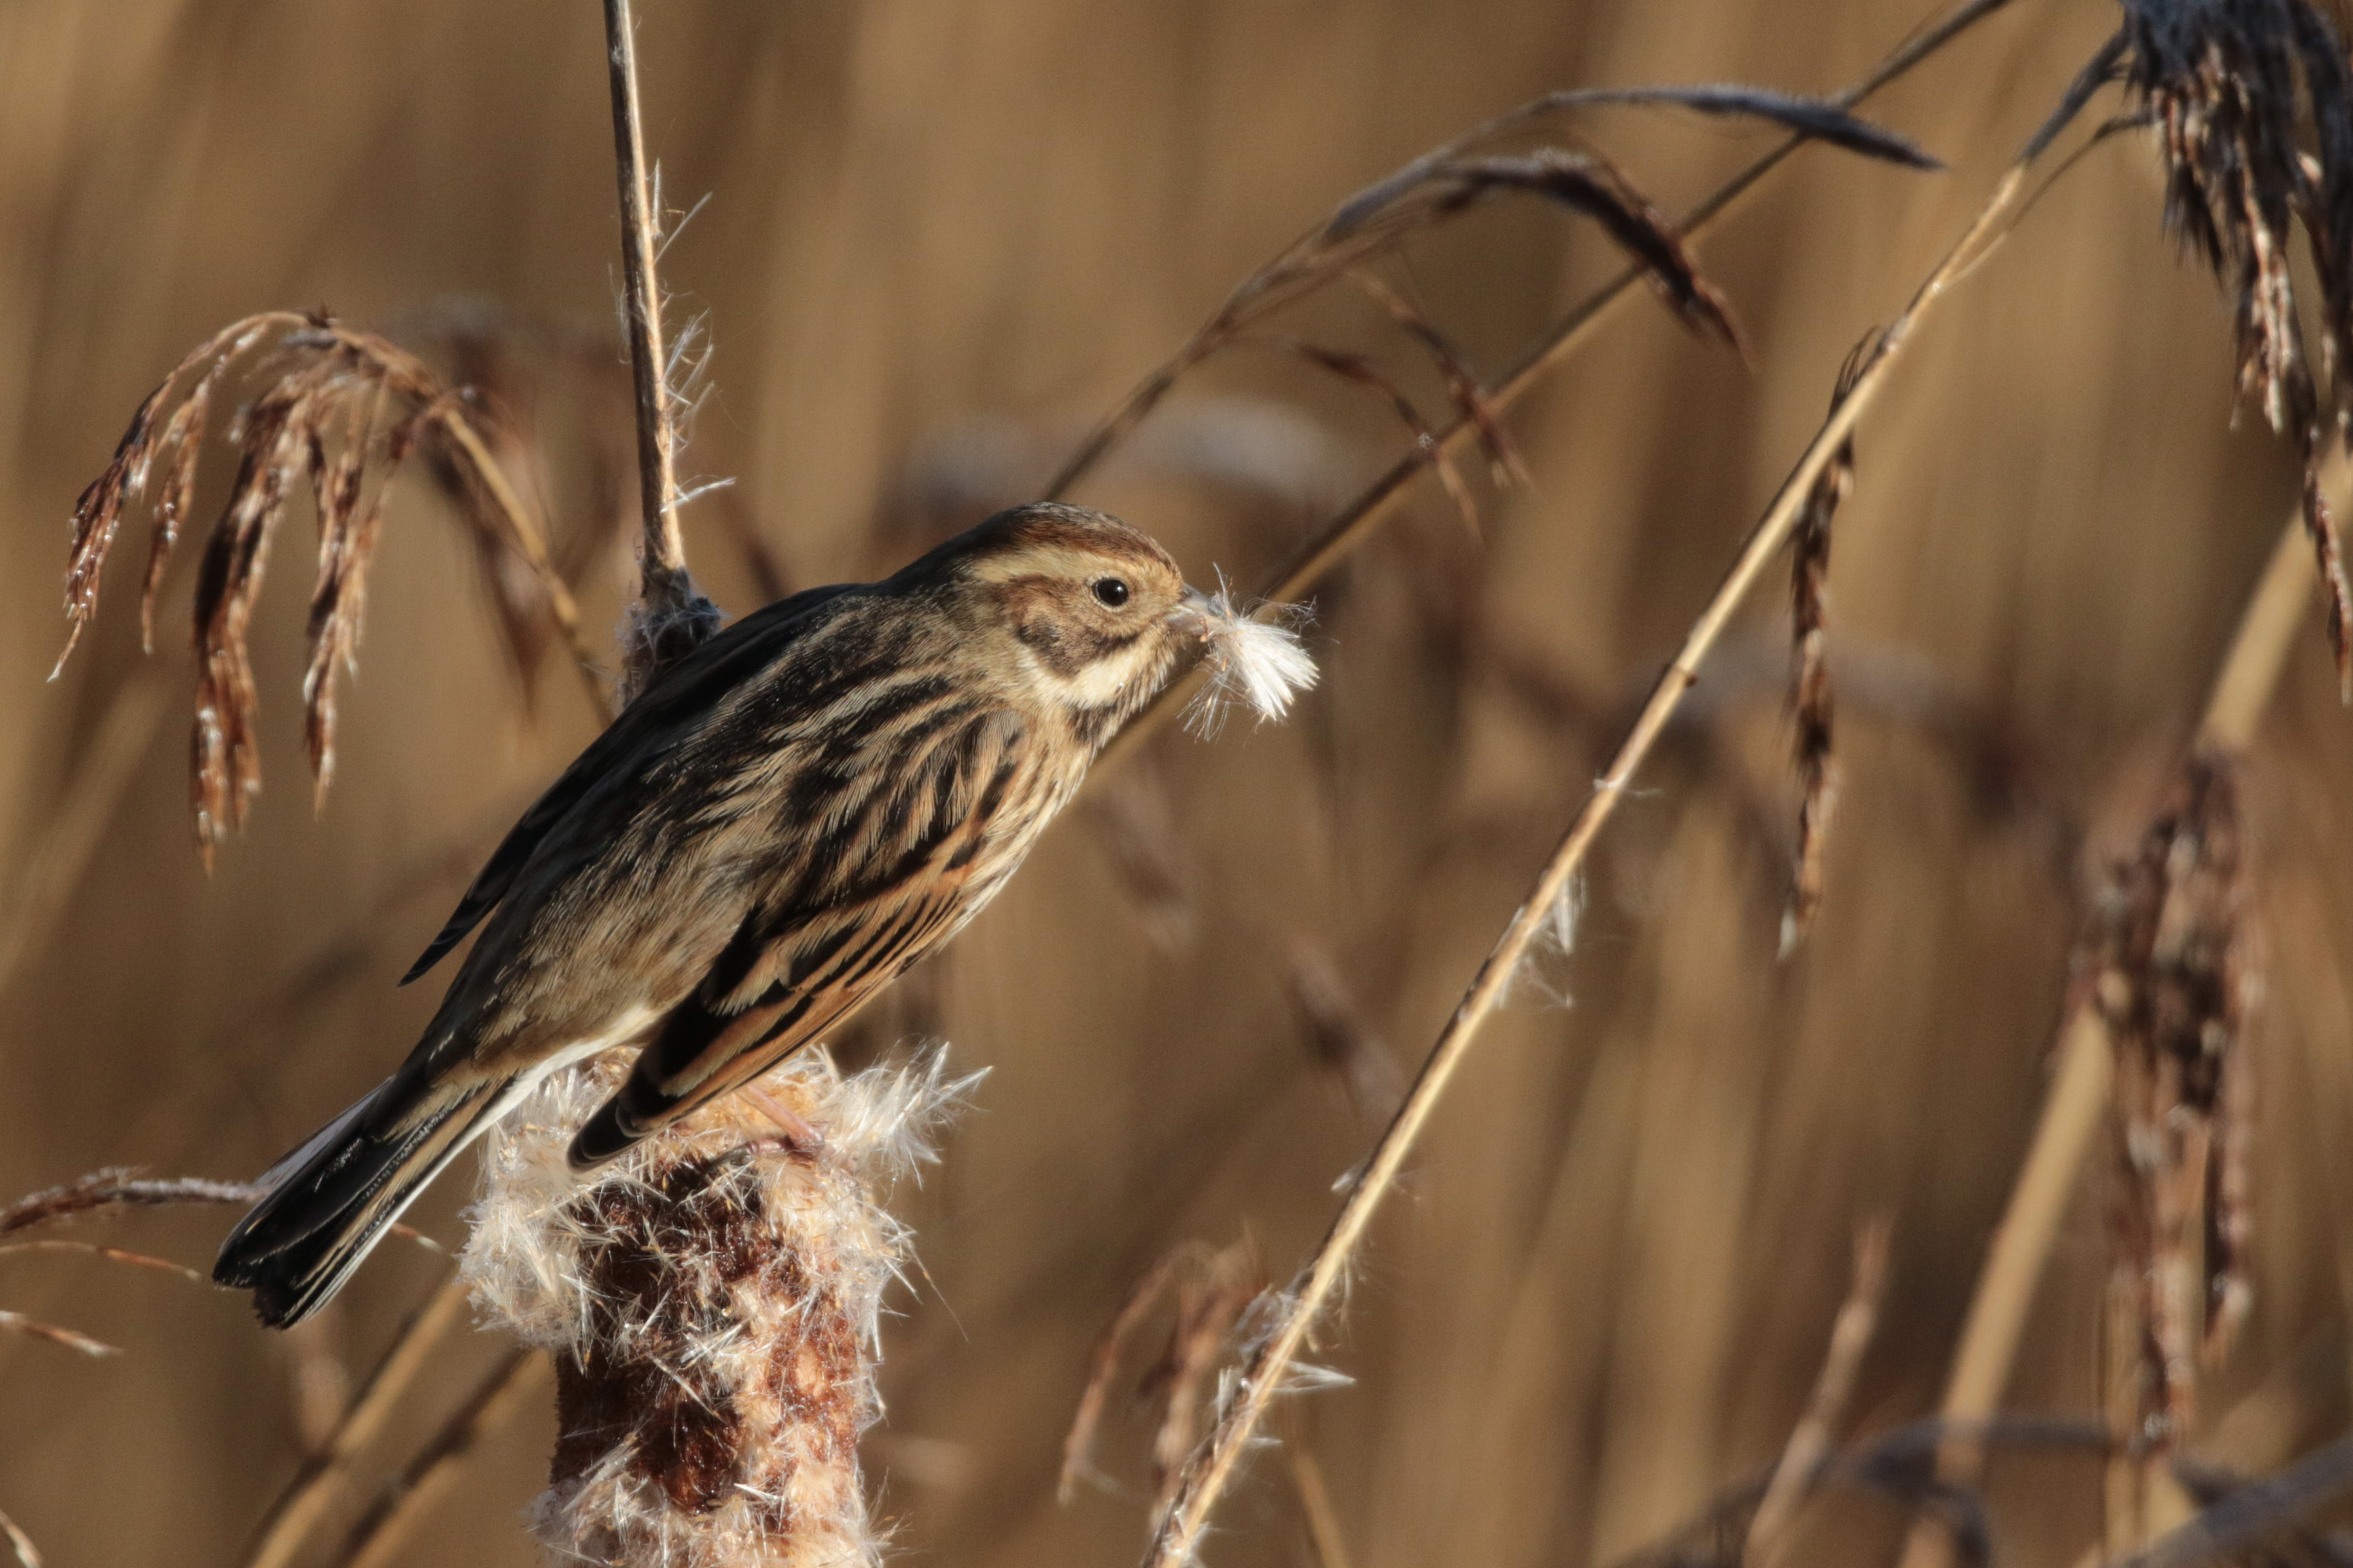
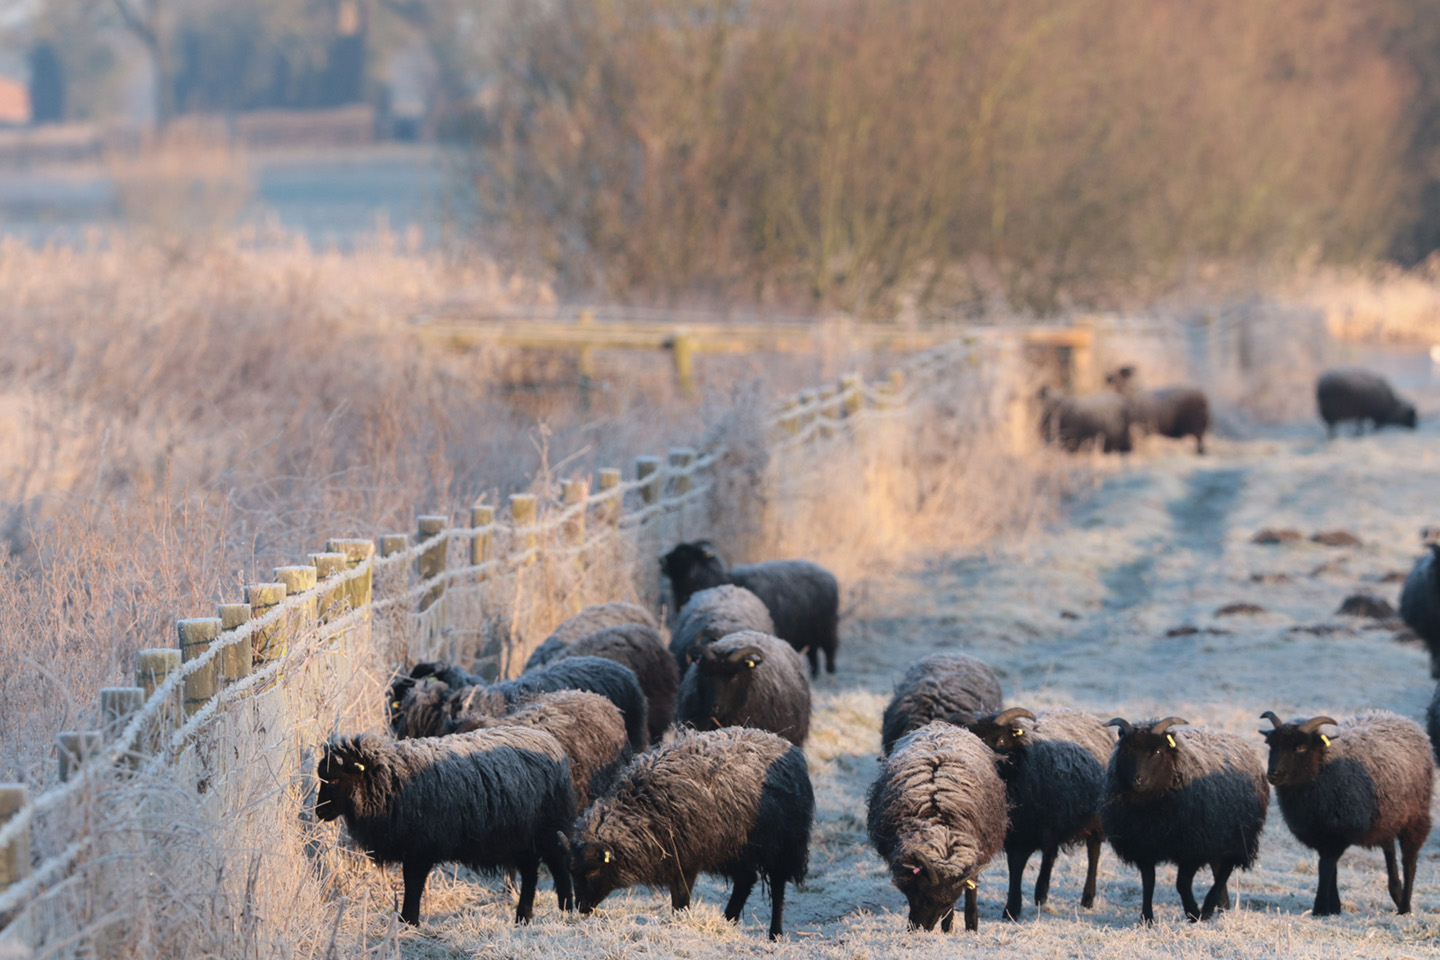
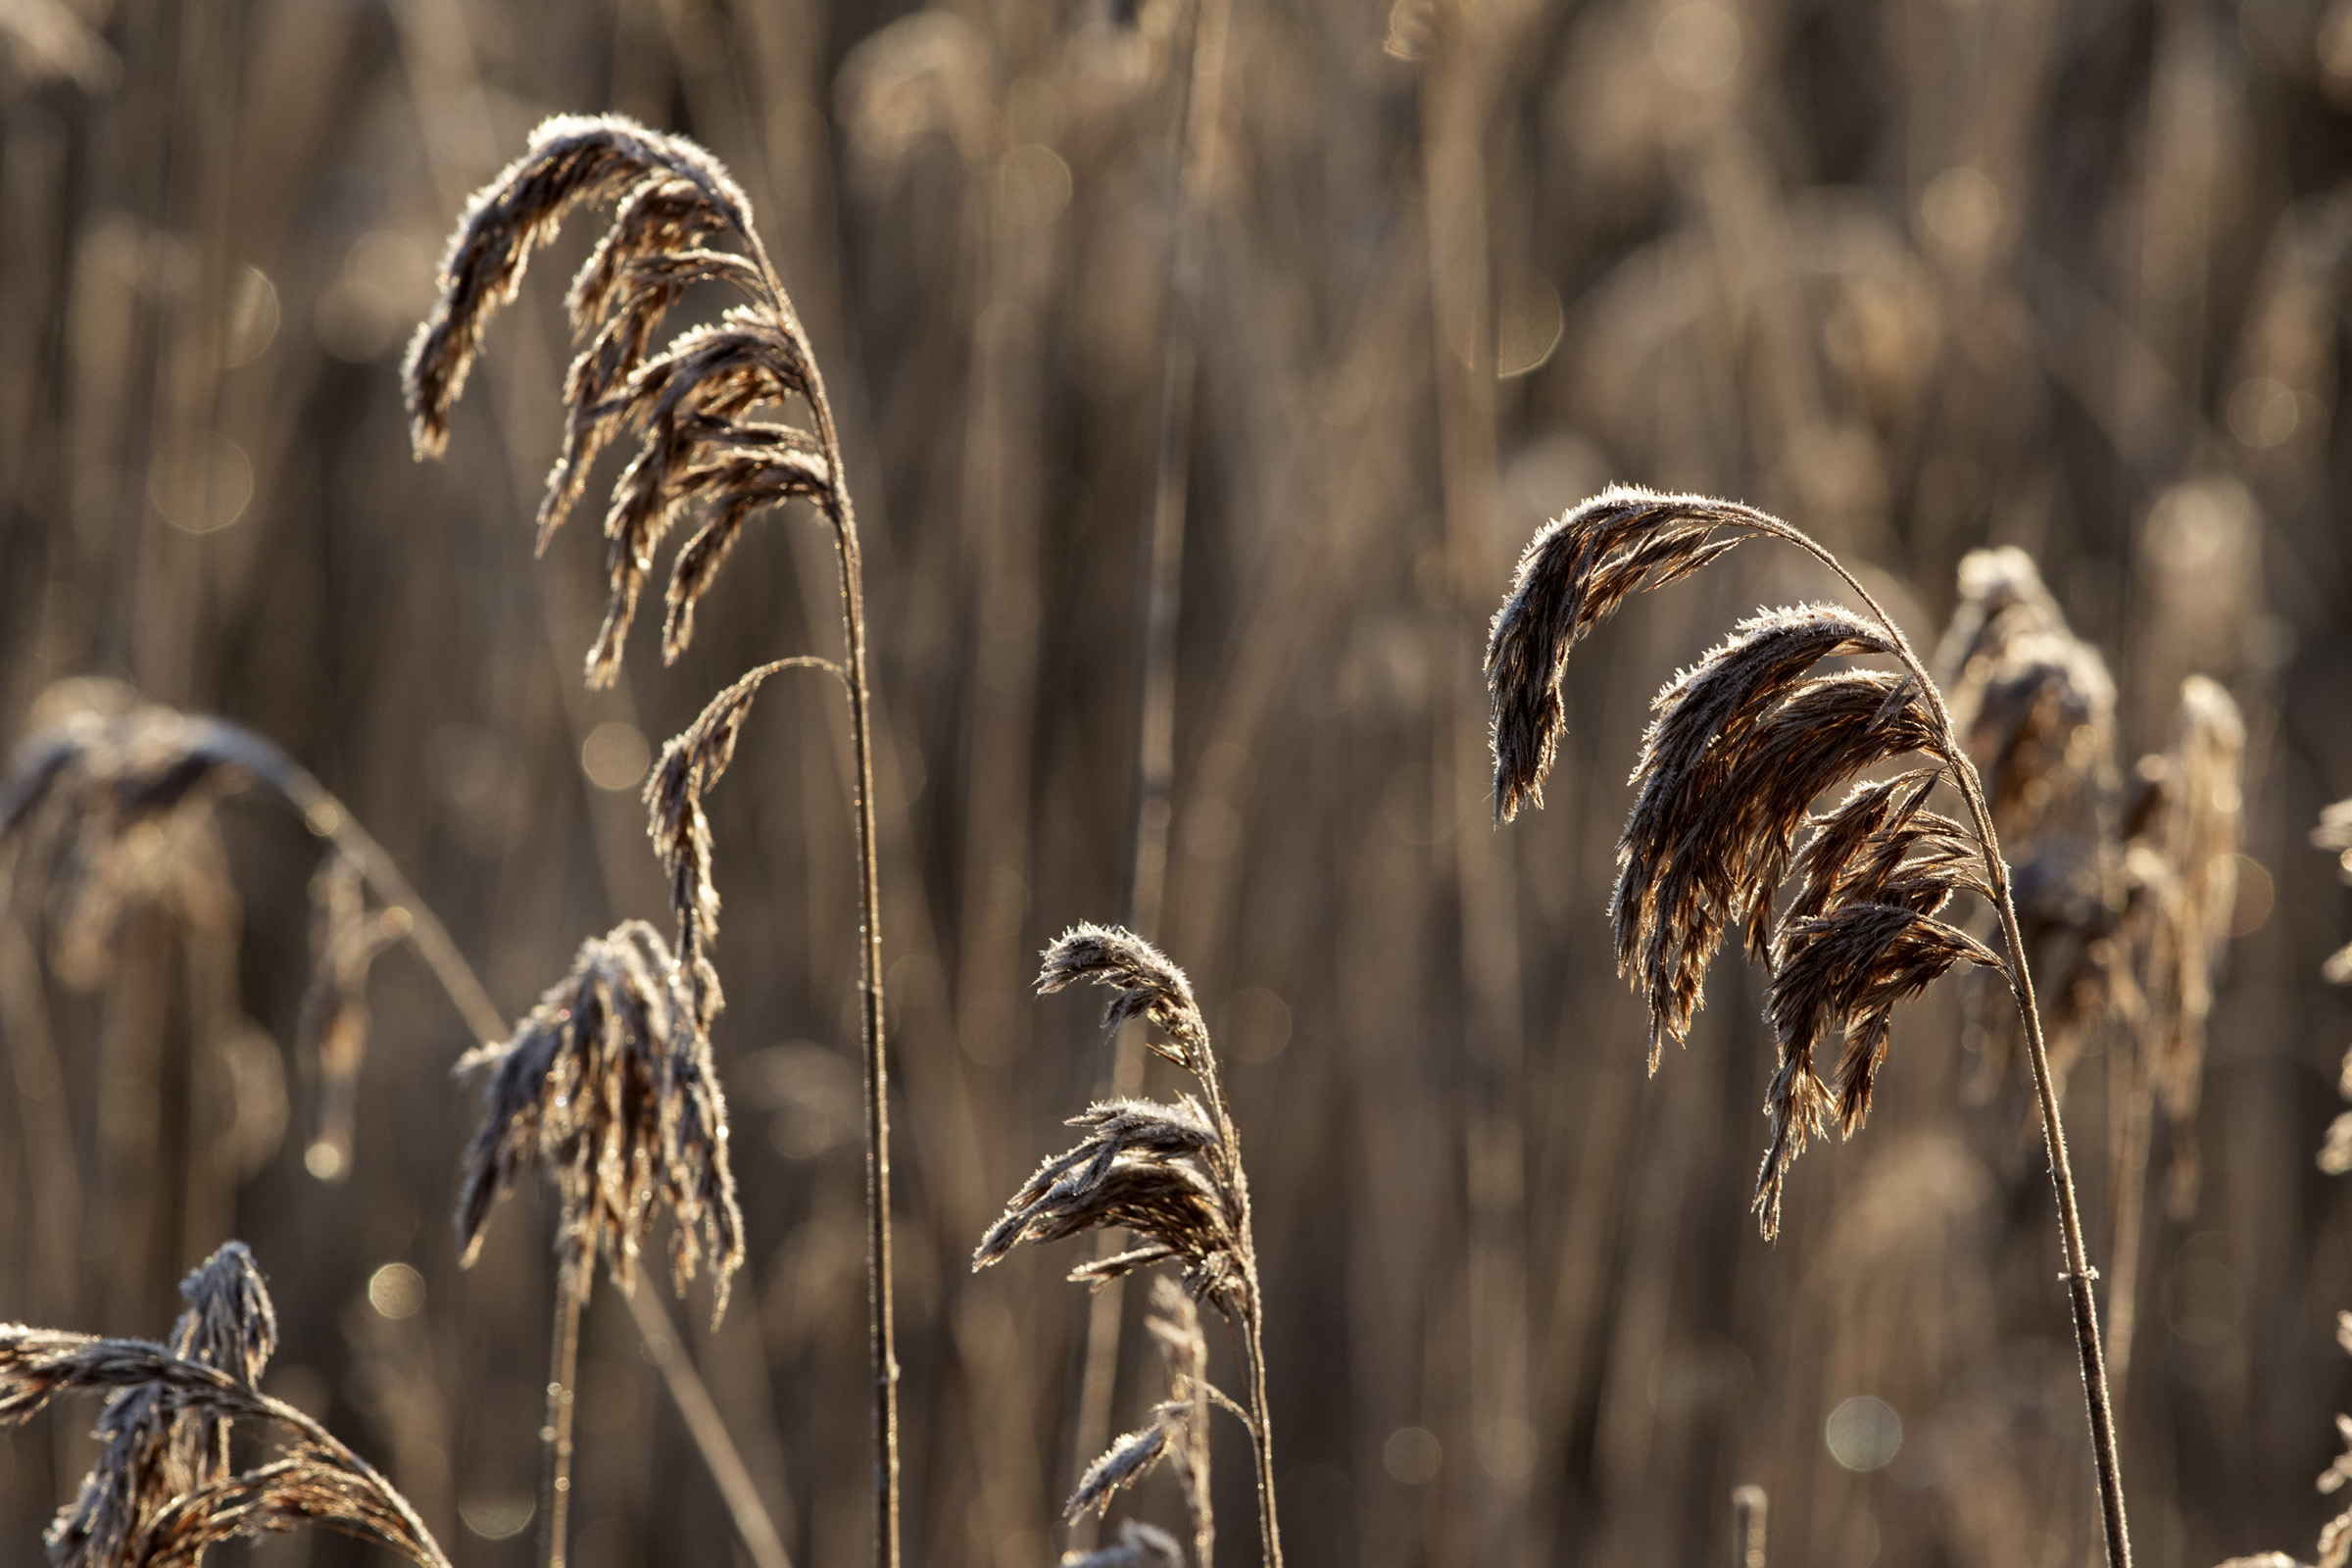
As the weather is bringing us promptly into an early spring, we wanted to remember some of the great species and places we’ve seen throughout winter. We’ve enjoyed watching many visitors in the the Embrace Nature UK garden and have headed out to nature reserves in the North and South of England to see some beautiful winter wildlife.
Winter makes for a great time of year to do some photography. This is because of those crisp frosty mornings and occasional sparkling cold evenings. If you’re lucky enough to have a layer of snow whilst the sun is shining, it can lead to some great photographic opportunities.
This is merely a snapshot of a wildlife-filled winter with an odd mixture of very warm and very cold weather. We’re looking forward now to seeing what spring will bring! Watch this space and in the meantime, we hope you enjoy these photographs that we’ve taken throughout the end of 2018 and the start of 2019….


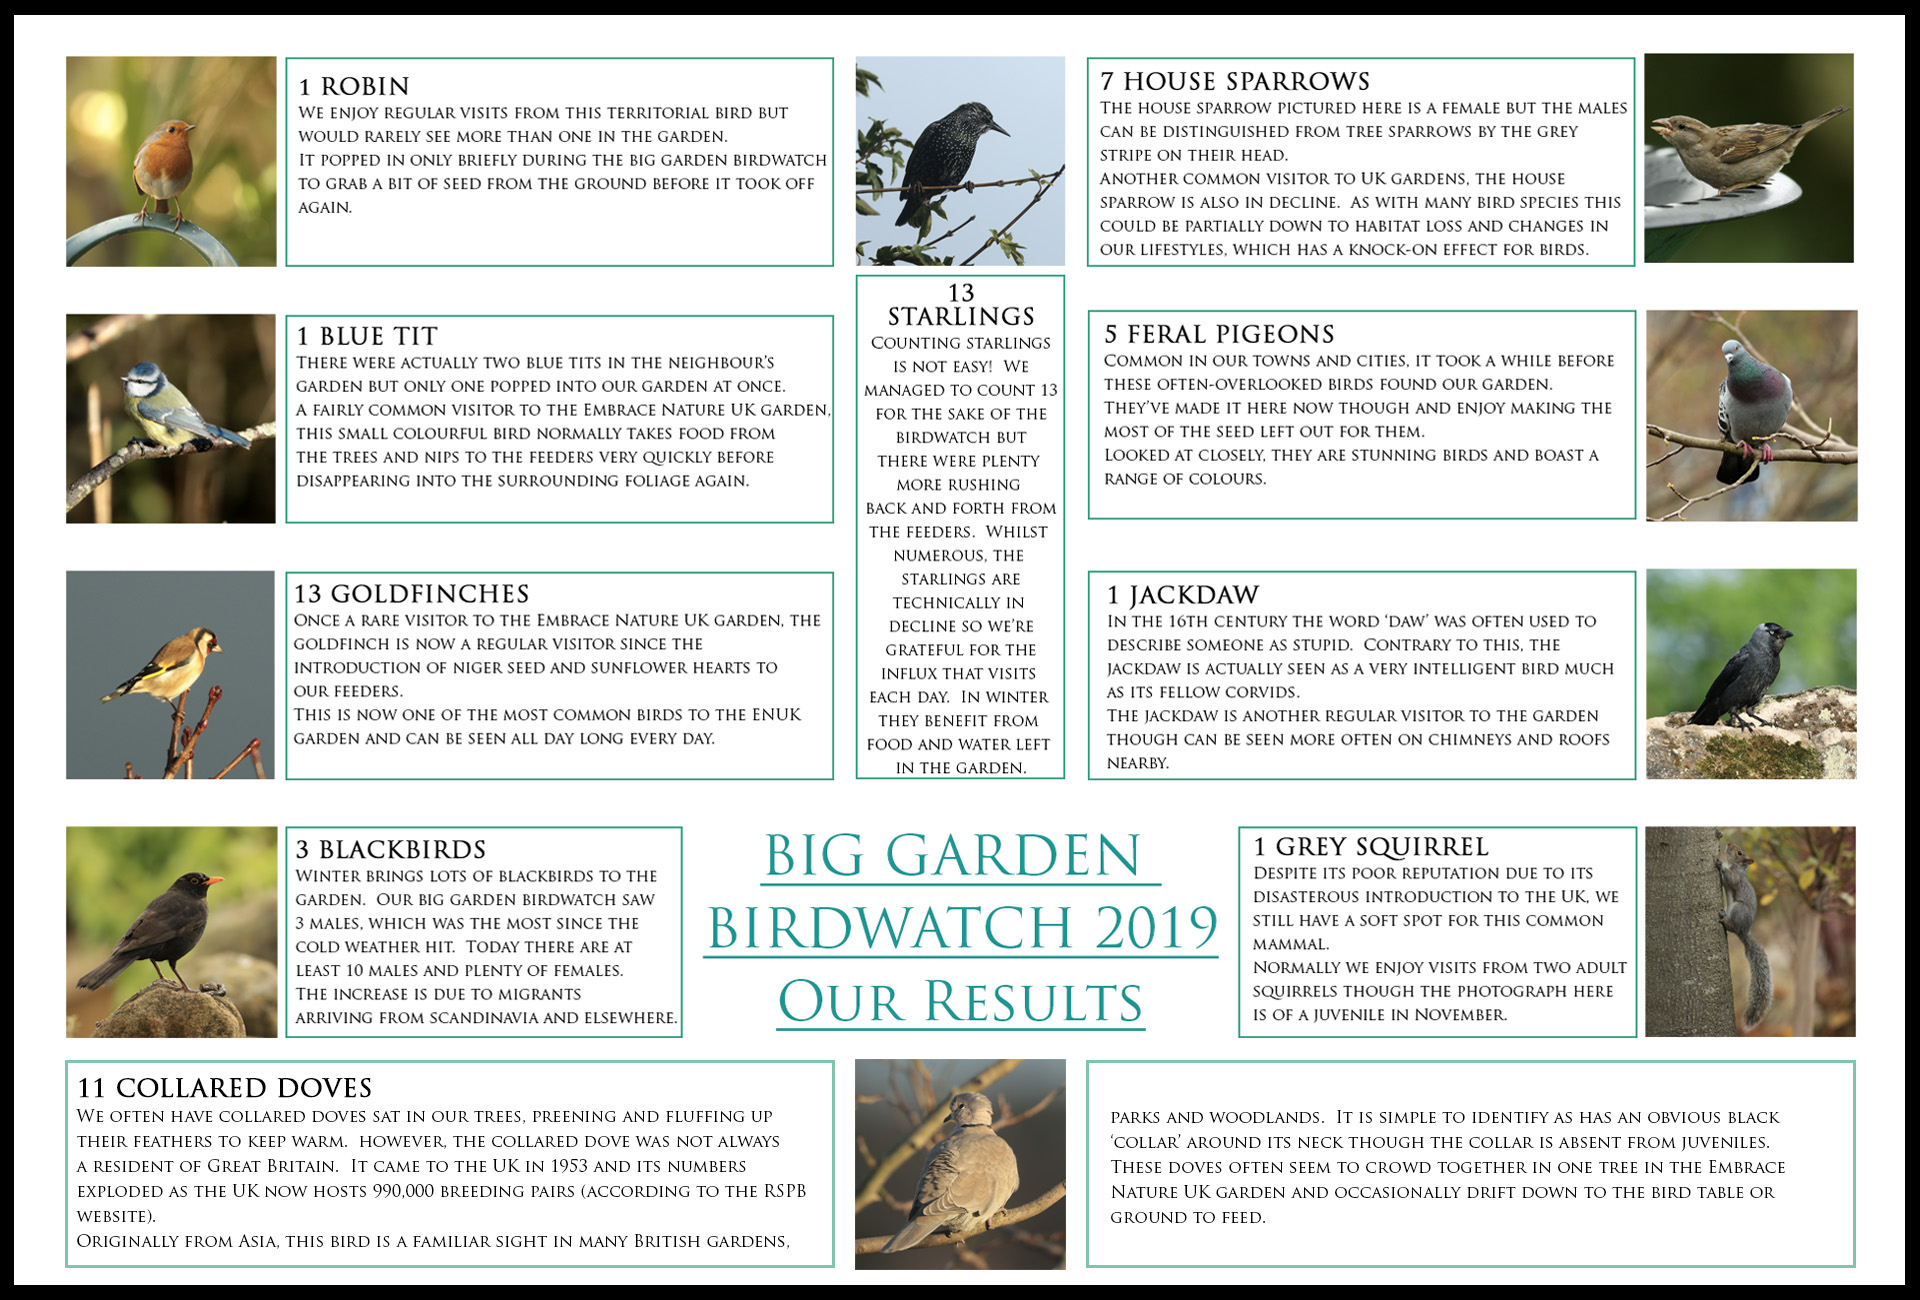
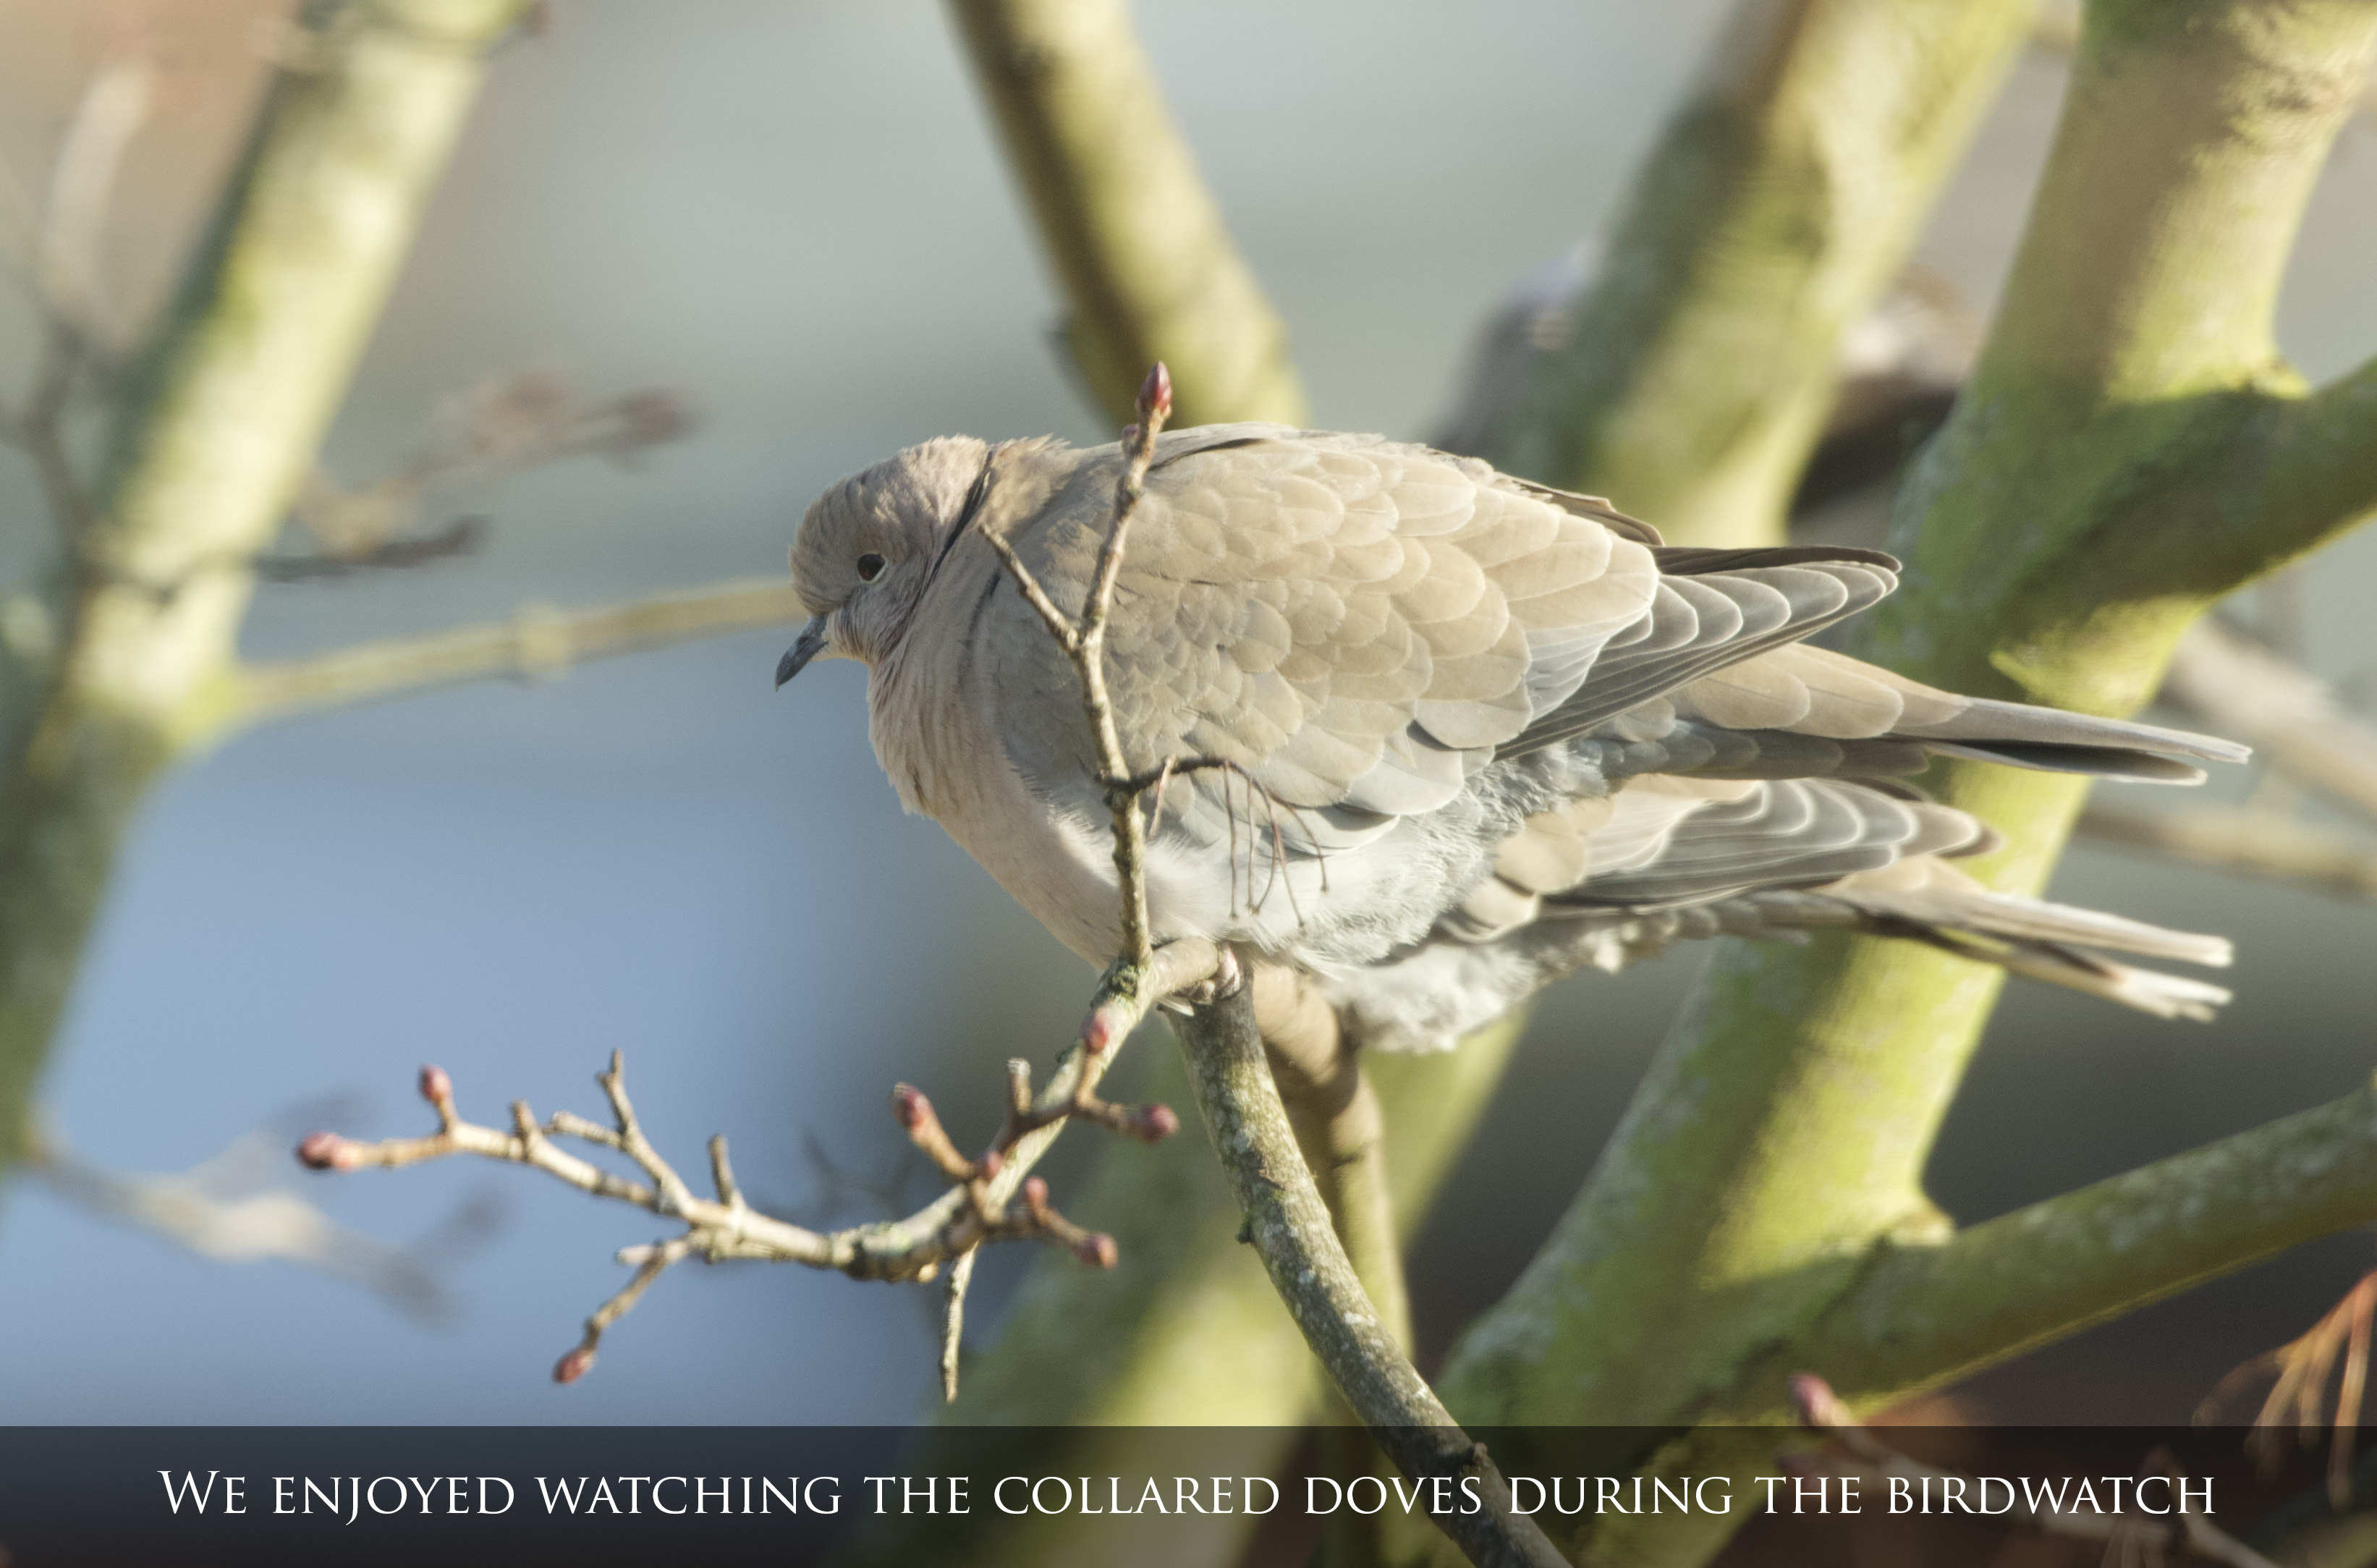
So that’s another year completed for our contribution to the RSPB’s Big Garden Birdwatch and what a year it has been! The great thing about the BGBW is that it gets you looking at the species in the garden now and has you reflecting on the visitors you’ve had in the past year.
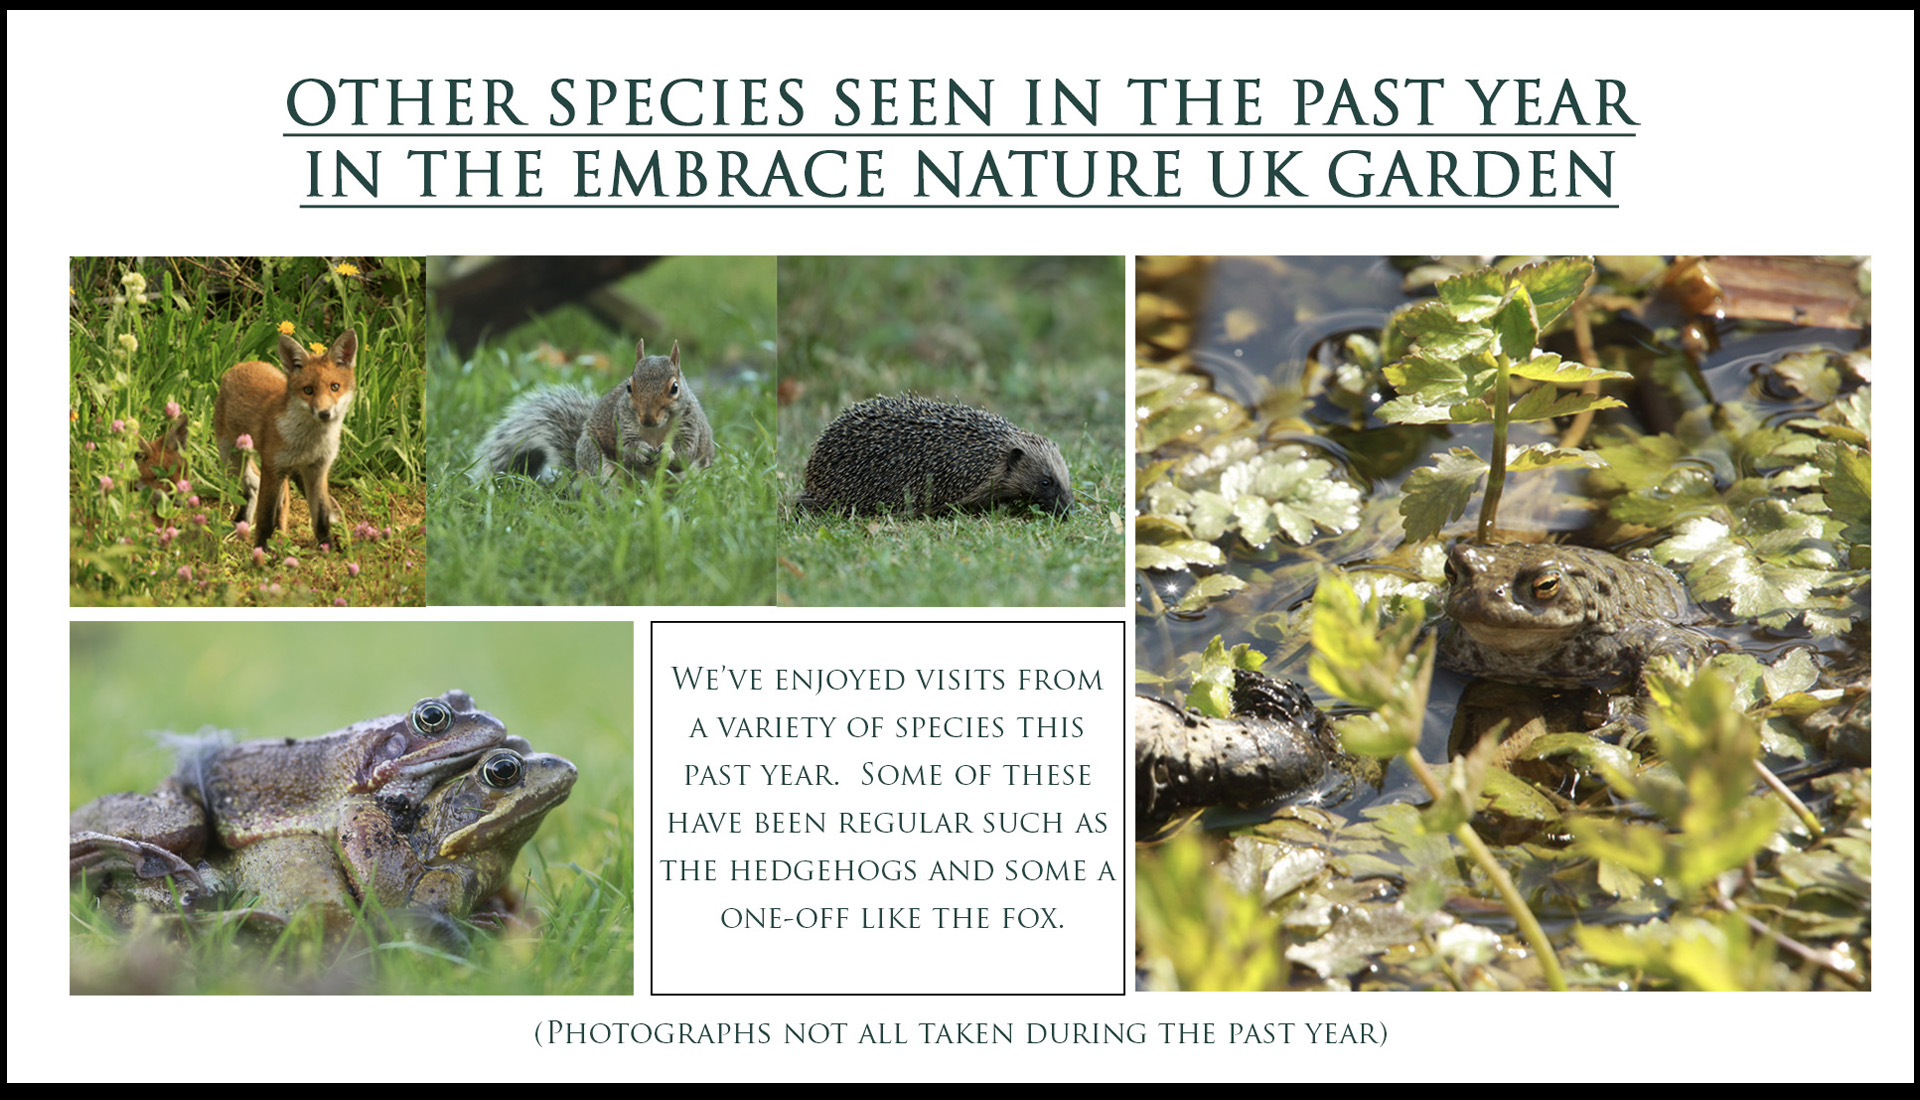
It’s been an exciting year for us in the Embrace Nature UK garden as we’ve welcomed more species than ever before and can enjoy daily visits from some of them.
Here are our Big Garden Birdwatch results for 2019:

2019 will see the Embrace Nature UK garden change more as we bring it closer to being a traditional wildlife garden. It will be exciting to see what the Big Garden Birdwatch 2020 will bring!
26th – 28th January 2019
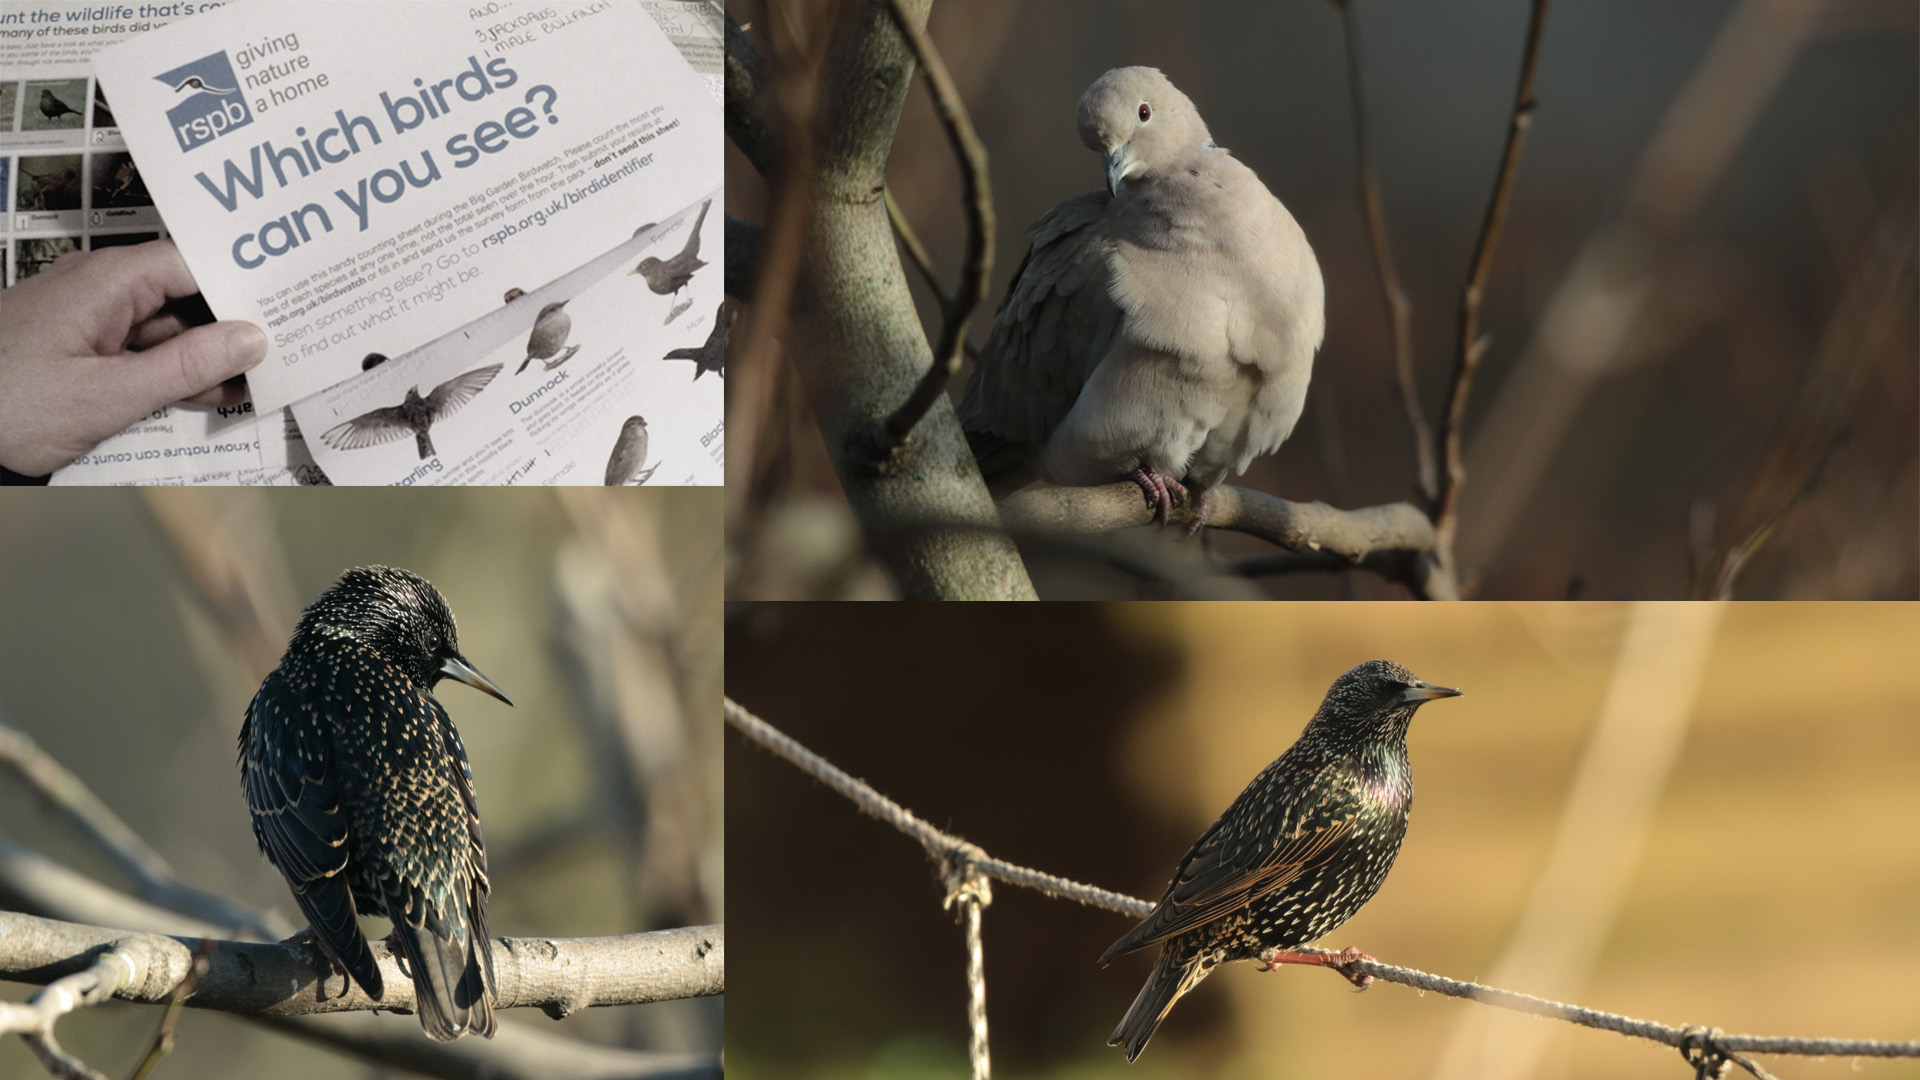
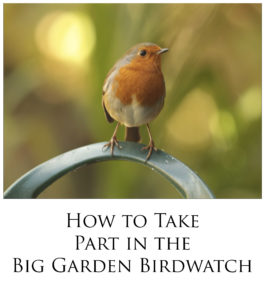
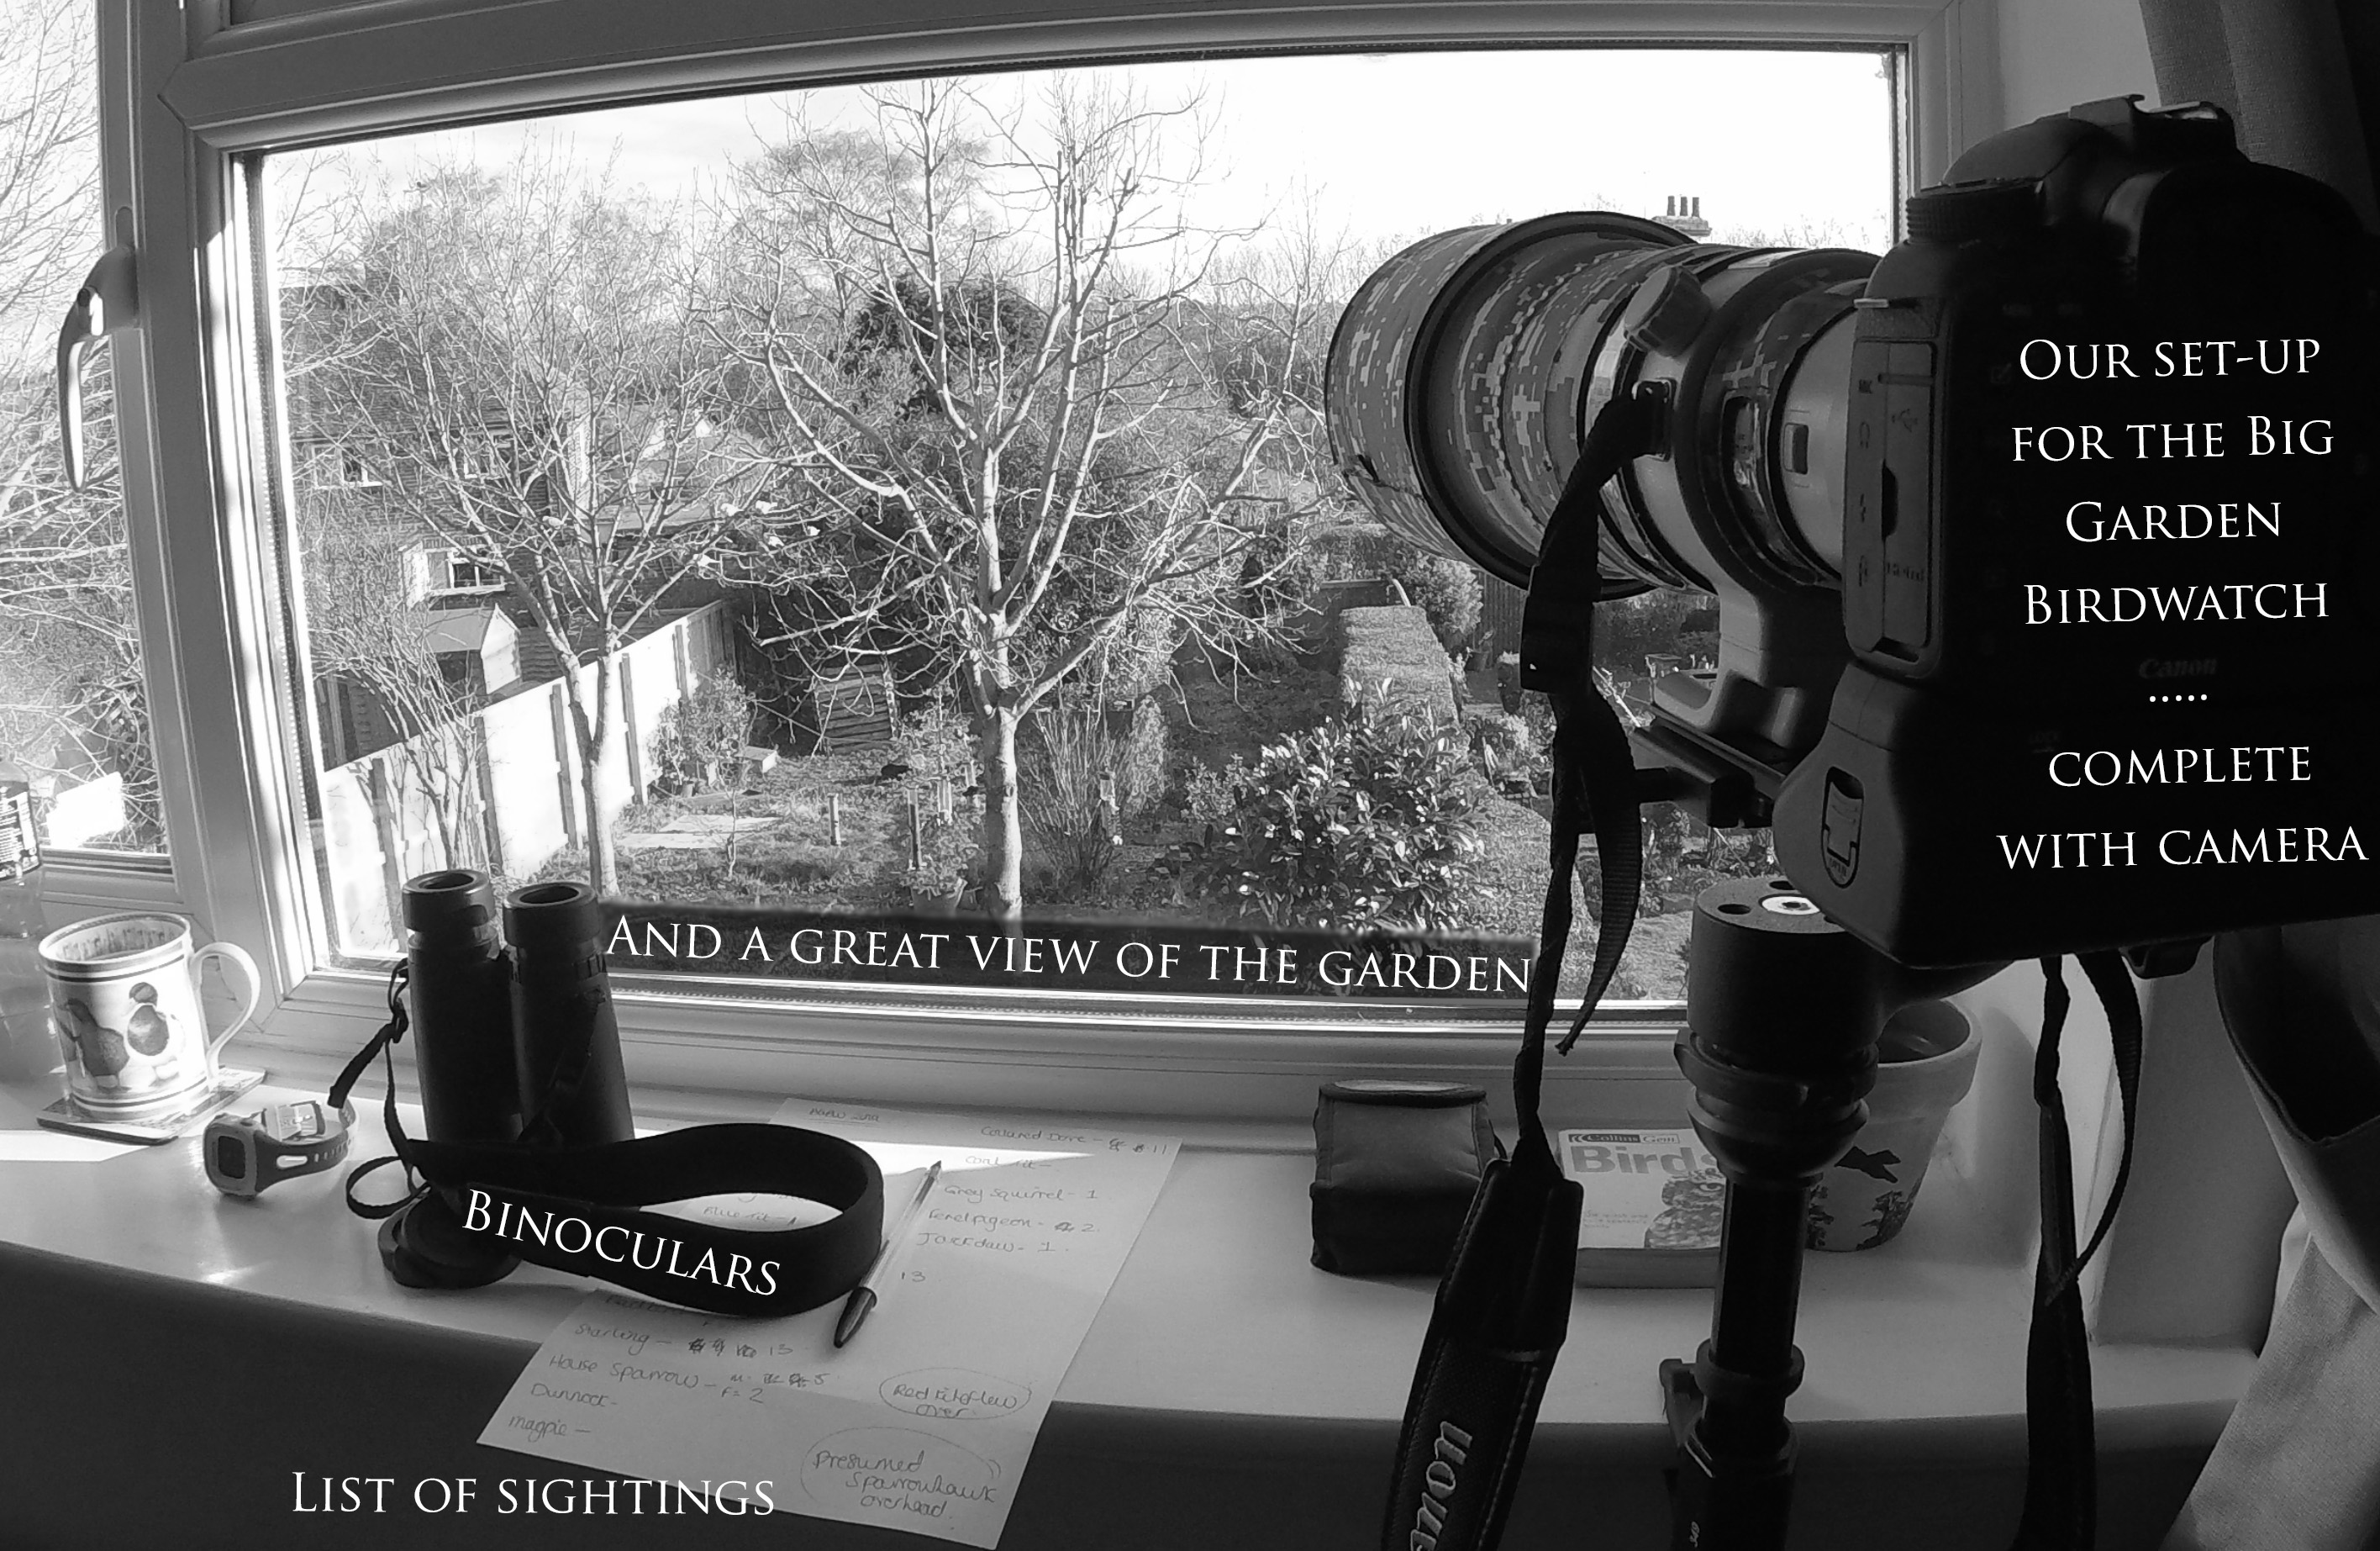
Well it’s almost that time of year again where Great Britain gets the binoculars ready, a cup of tea and stands guard for an hour to count the species visiting local gardens and parks. Yes, that’s right, it’s time for the ‘Big Garden Birdwatch’.
The Embrace Nature UK team will be ready as always to see which of our usual visitors appear during the hour and whether any unusual visitors turn up.
The ‘Big Garden Birdwatch’ began in 1979 and has allowed the RSPB to monitor bird and animal populations across the UK with the help of the general public.

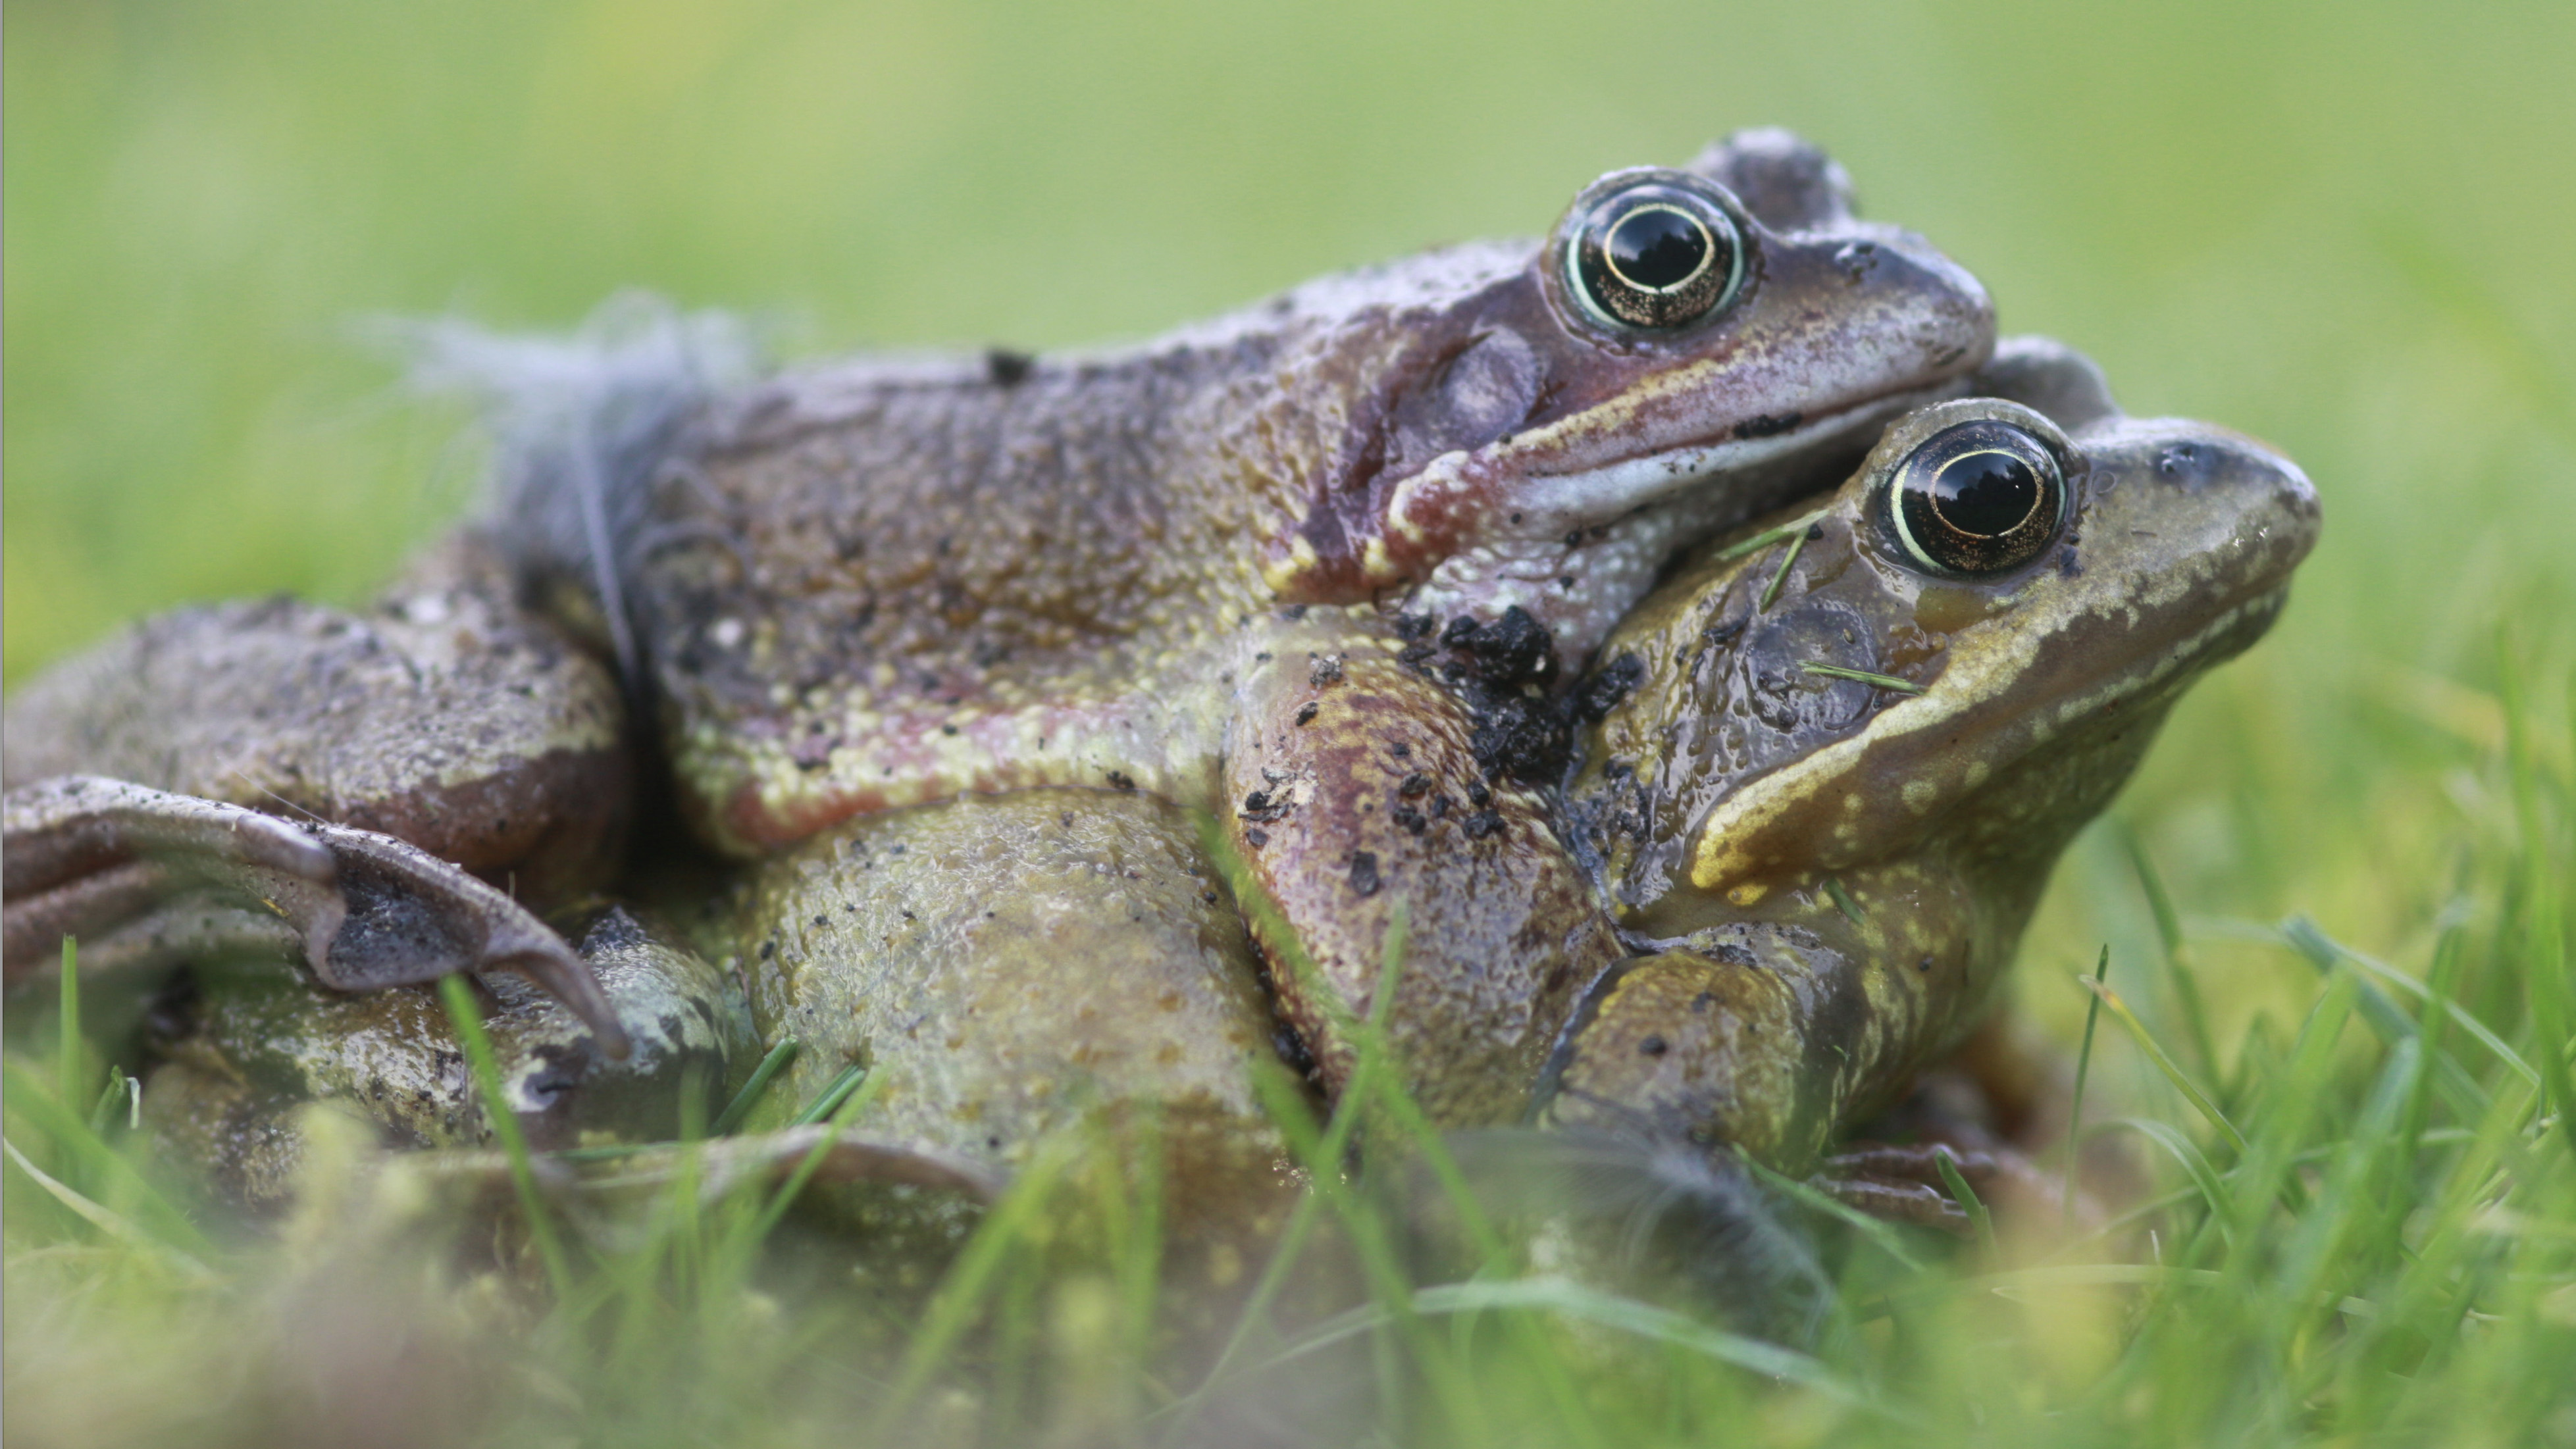
The data shows us which species need the most help and any populations that have recovered slightly. For example there were less frogs and toads seen in 2018 than 2014 but more hedgehogs. Perhaps this shows that people’s efforts to create spaces for hedgehogs are paying off!
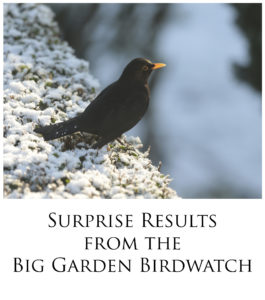
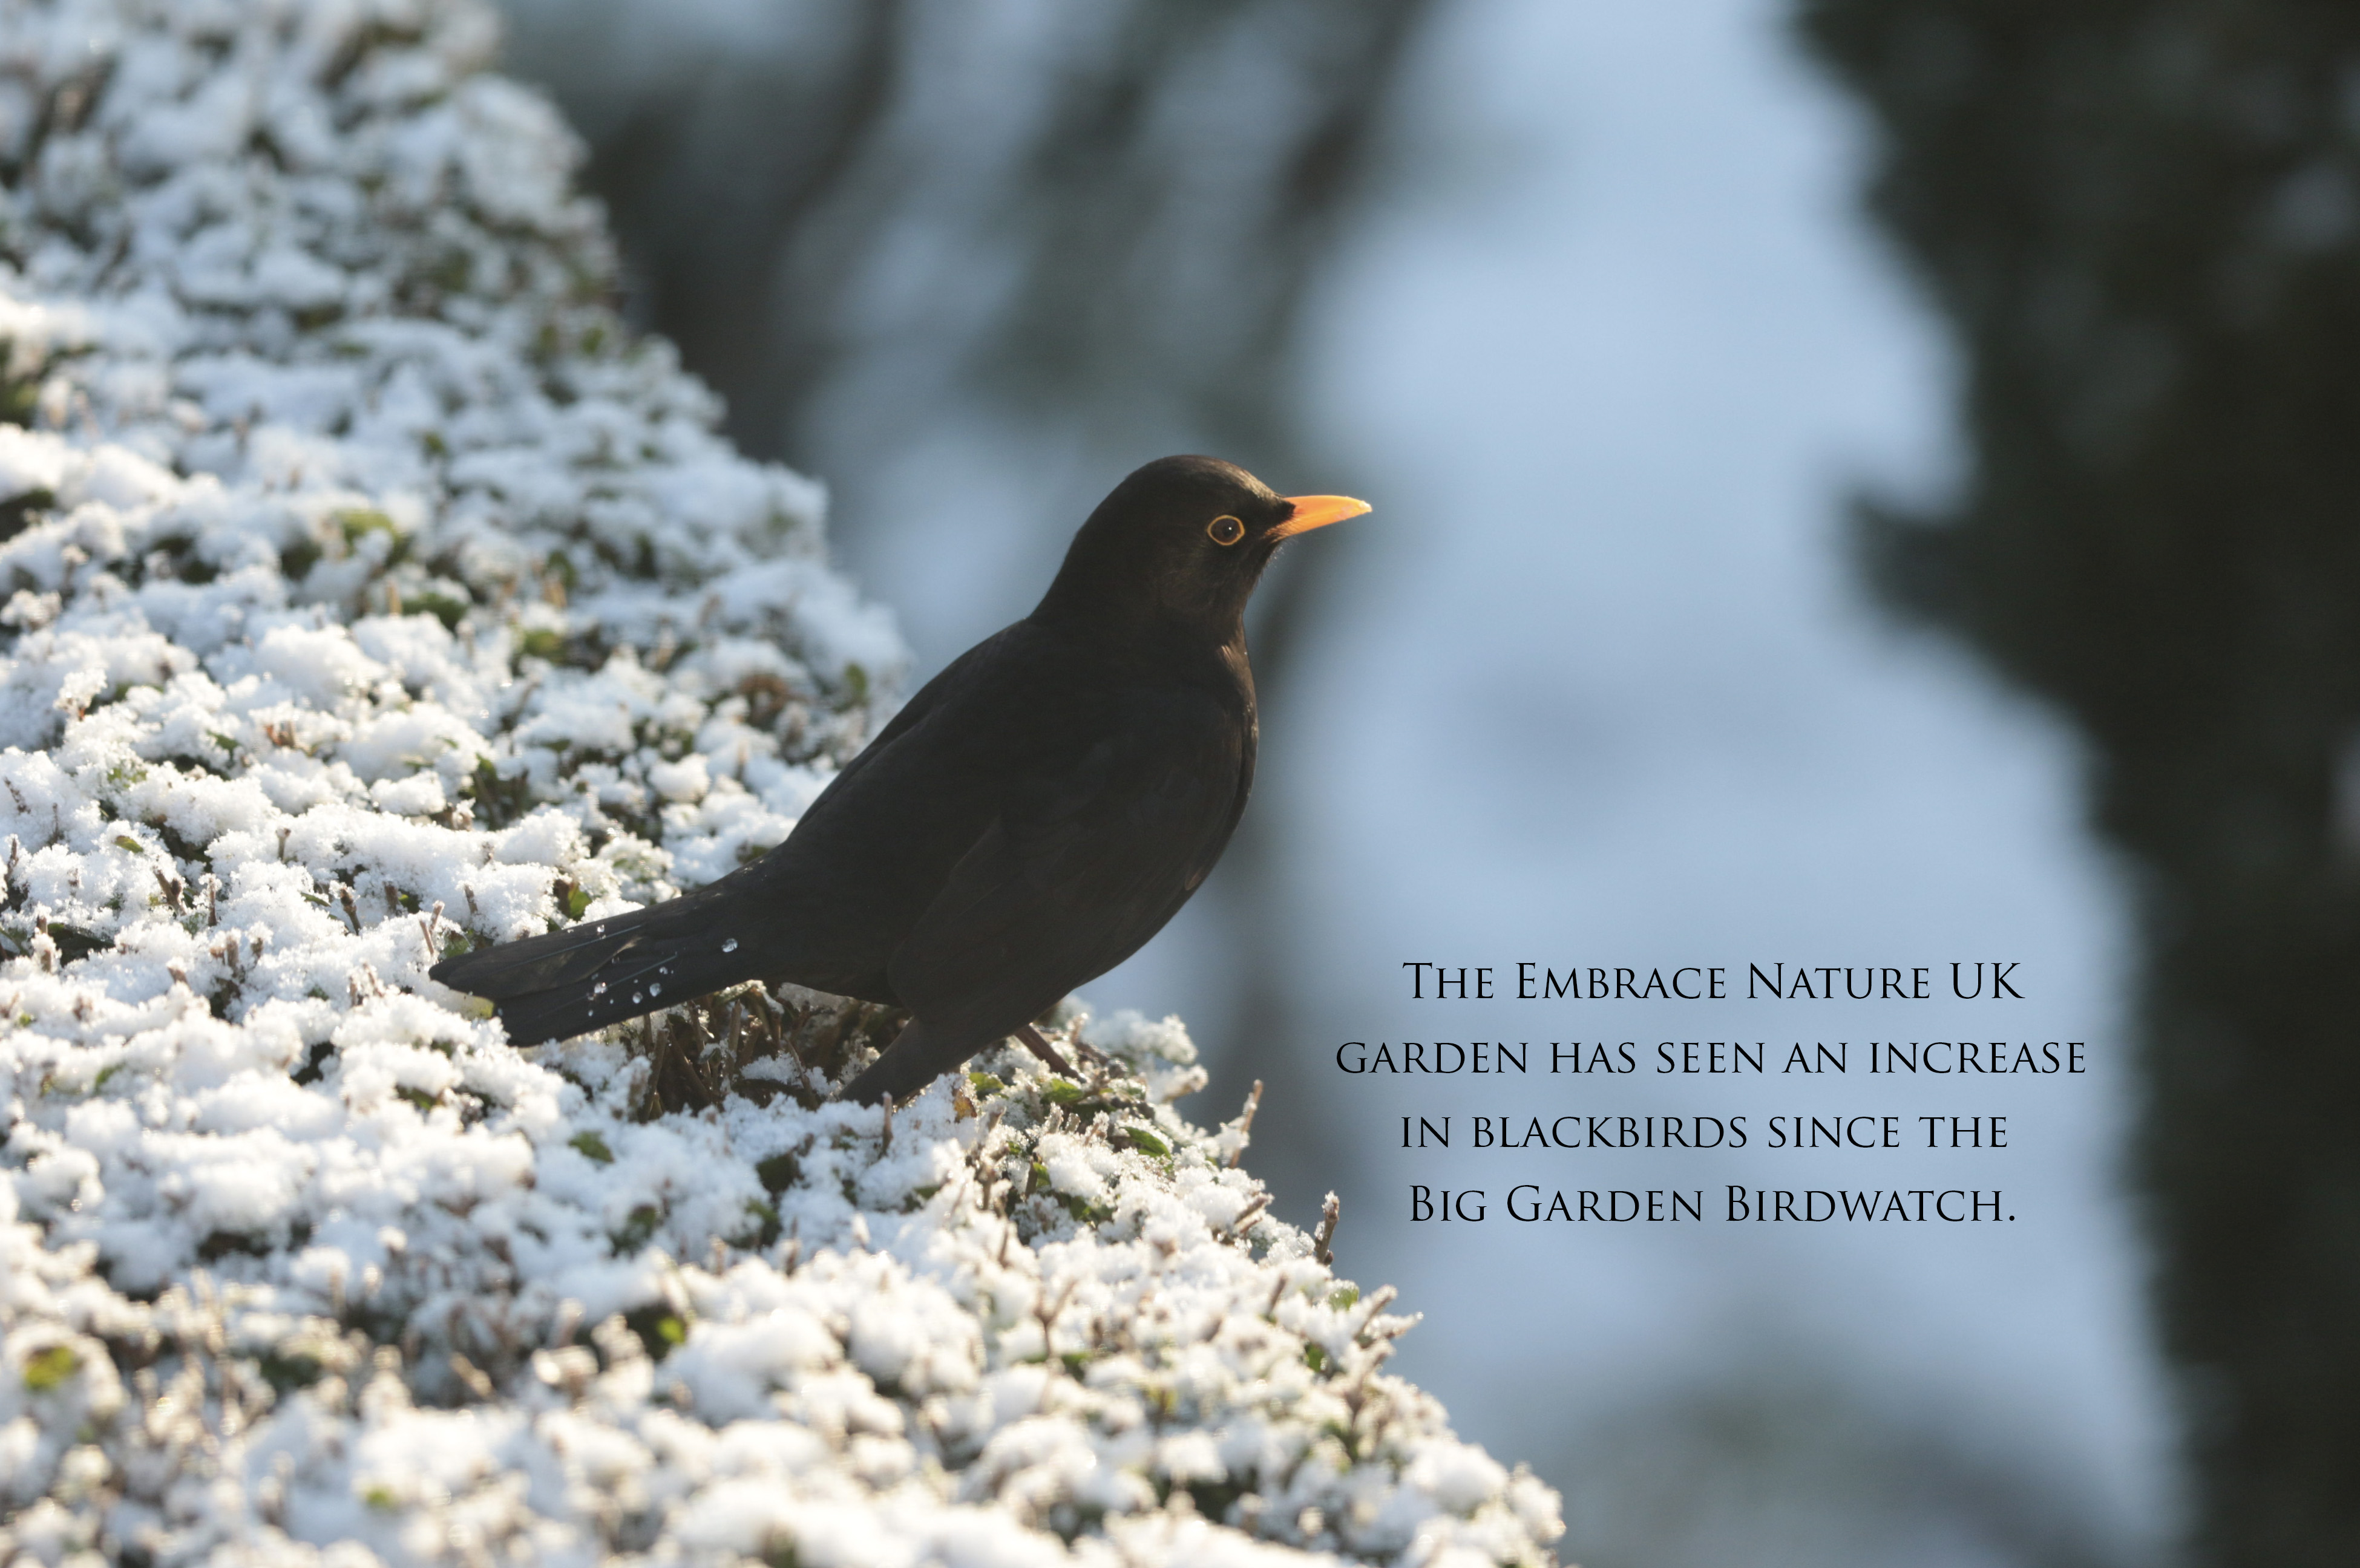
2018 saw a drop in blackbirds by 18% and robins by 12%. With bird populations in general still declining, there’s clearly plenty of work to be done. Even the more numerous house sparrow and starling populations are still reducing.
So here’s the opportunity to get involved and get bird-watching to help these populations to recover!

Join In
Follow this link to the RSPB website to get involved in the Big Garden Birdwatch
Prepare for 2019’s Big Garden Birdwatch
There’s still time to get a few bits and bobs that will help you along with identifying the visitors to your garden for your Big Garden Birdwatch hour.
Binoculars:
Identify birds more easily with a pair of binoculars. We have the RSPB Avocet binoculars, which we love. However, there are loads of great binoculars out there that will bring you closer to nature…

Bird Field Guide:
For those species that don’t appear on your RSPB ‘Big Garden Bird Watch’ sheet, a field guide is a massive help…

Happy bird-watching! We hope you enjoy your Big Garden Bird Watch!
The celebrations are over and hopefully any accompanying hangovers, so now is the time to consider what we want to achieve in 2019. We like to think that it’s perfectly possible to keep new year’s resolutions as long as you make them realistic. So if you’ve not yet decided on a resolution for 2019, here are some ideas for you outdoor-enthusiasts.

Read More:
Watch how the Sussex Wildlife Trust builds their pond
Learn more about ponds from the ‘Freshwater Habitats Trust’ website
Register your pond to contribute to the ‘Million Ponds Project’
Are You Building Your Pond? If So, You Might Need:
Pond Liner:

Or the ready-prepared pond:

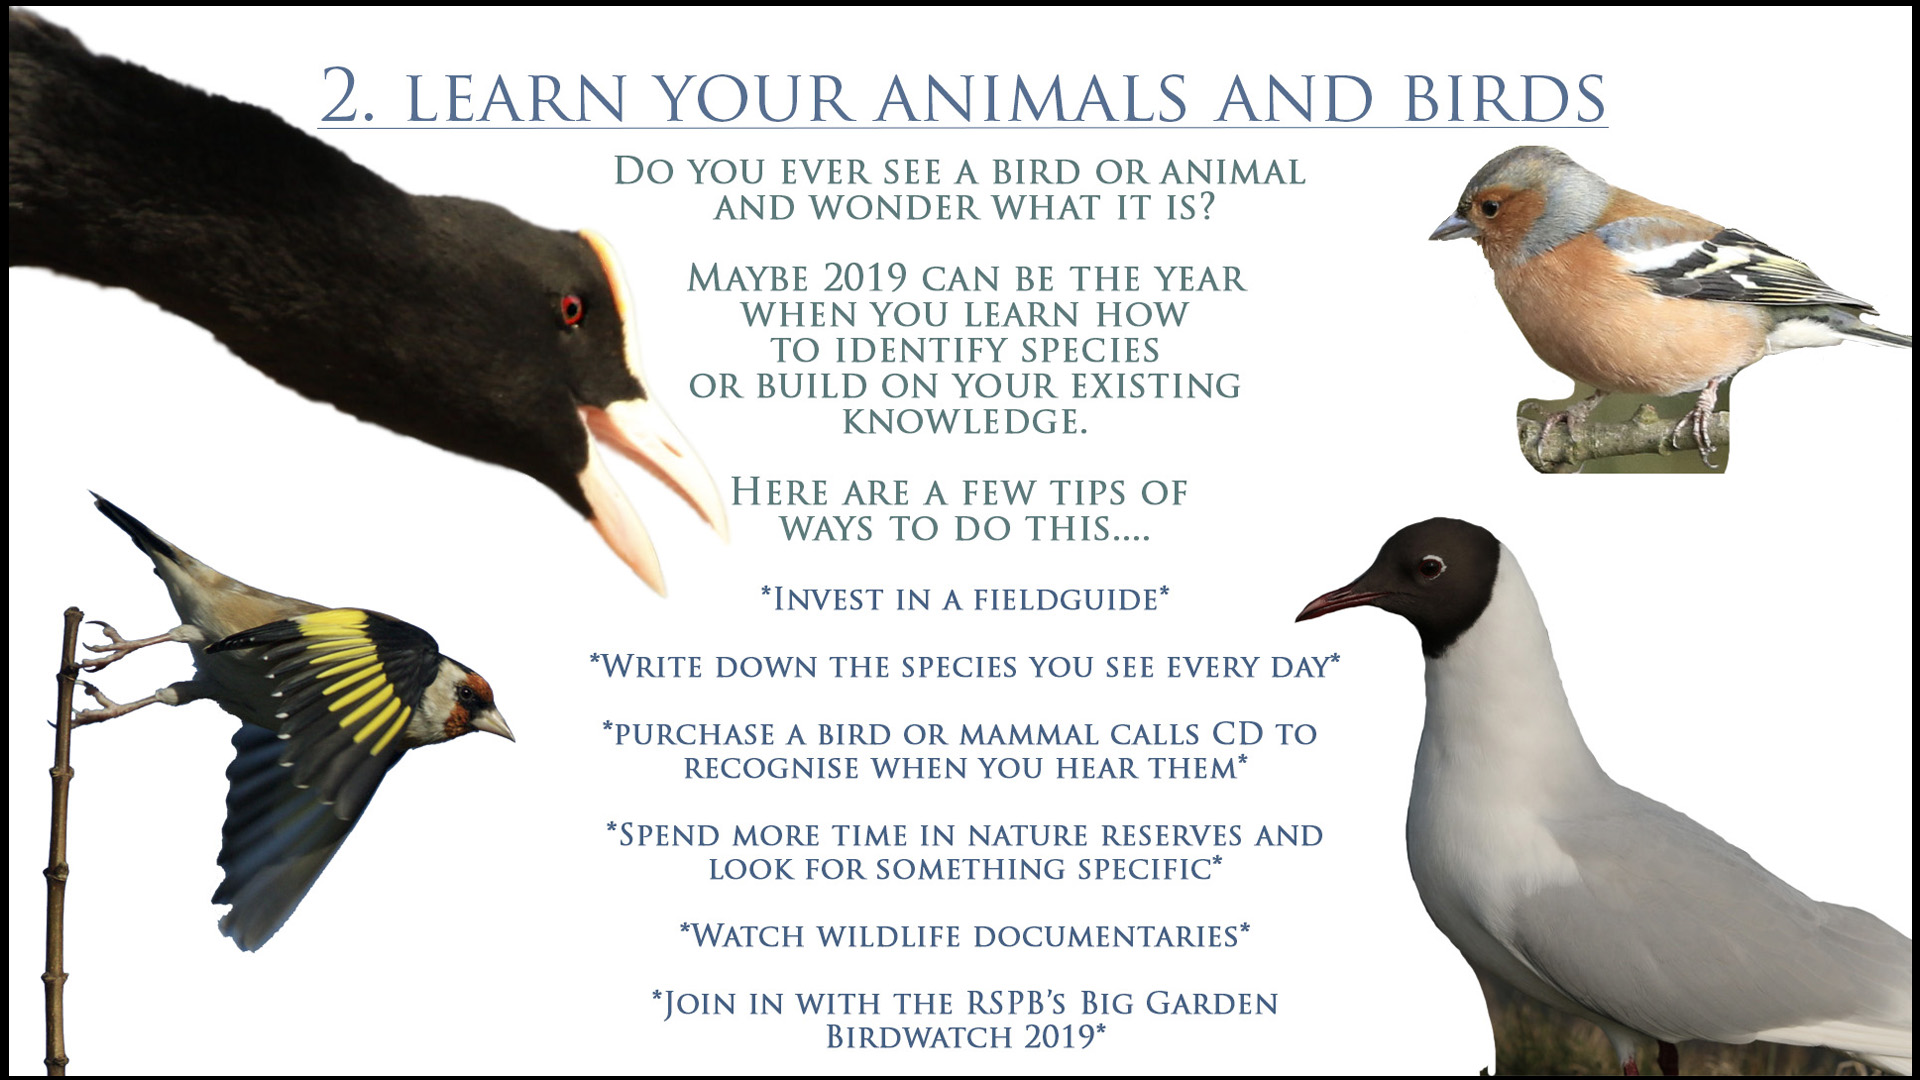
Prepare Yourself to Get to Know Nature Better:
Purchase a field guide so you can identify wildlife when you find it. Our favourites are the Collins / Paul Sterry field guides:
For the past three years I wrote down the species I saw each day in this notebook. It really helps you to become more familiar with how to identify them at a glance:

By listening to bird calls on a CD, it can help you identify the species quickly when out in the wild:

And the same can apply to mammals:

Alternatively you can always put your feet up and enjoy a good nature documentary whilst learning at the same time:

Join in with the Big Garden Birdwatch 2019!
Each year the RSPB runs the Big Garden Birdwatch, which involves anyone, anywhere in the UK. By signing up here, you can spend just an hour of your time watching your garden and recording the animals and birds that you see.

First and foremost, ensure you know where you are going. Map out the route so you are familiar with it before you get there. Having a map will keep you safer if anything goes wrong. Believe me, I’ve been on Ben Nevis without a map and would never make that mistake again!
Here are some maps for the main UK three peaks. If one mountain isn’t enough of a challenge for you this year, why not try three within 24 hours?
(check that the map covers the area you need before purchasing!)

Ben Nevis:

Snowdon:

Scafell Pike:

Check out the ‘Three Peaks Challenge’ website here!
Have a look at the OS Maps website here.

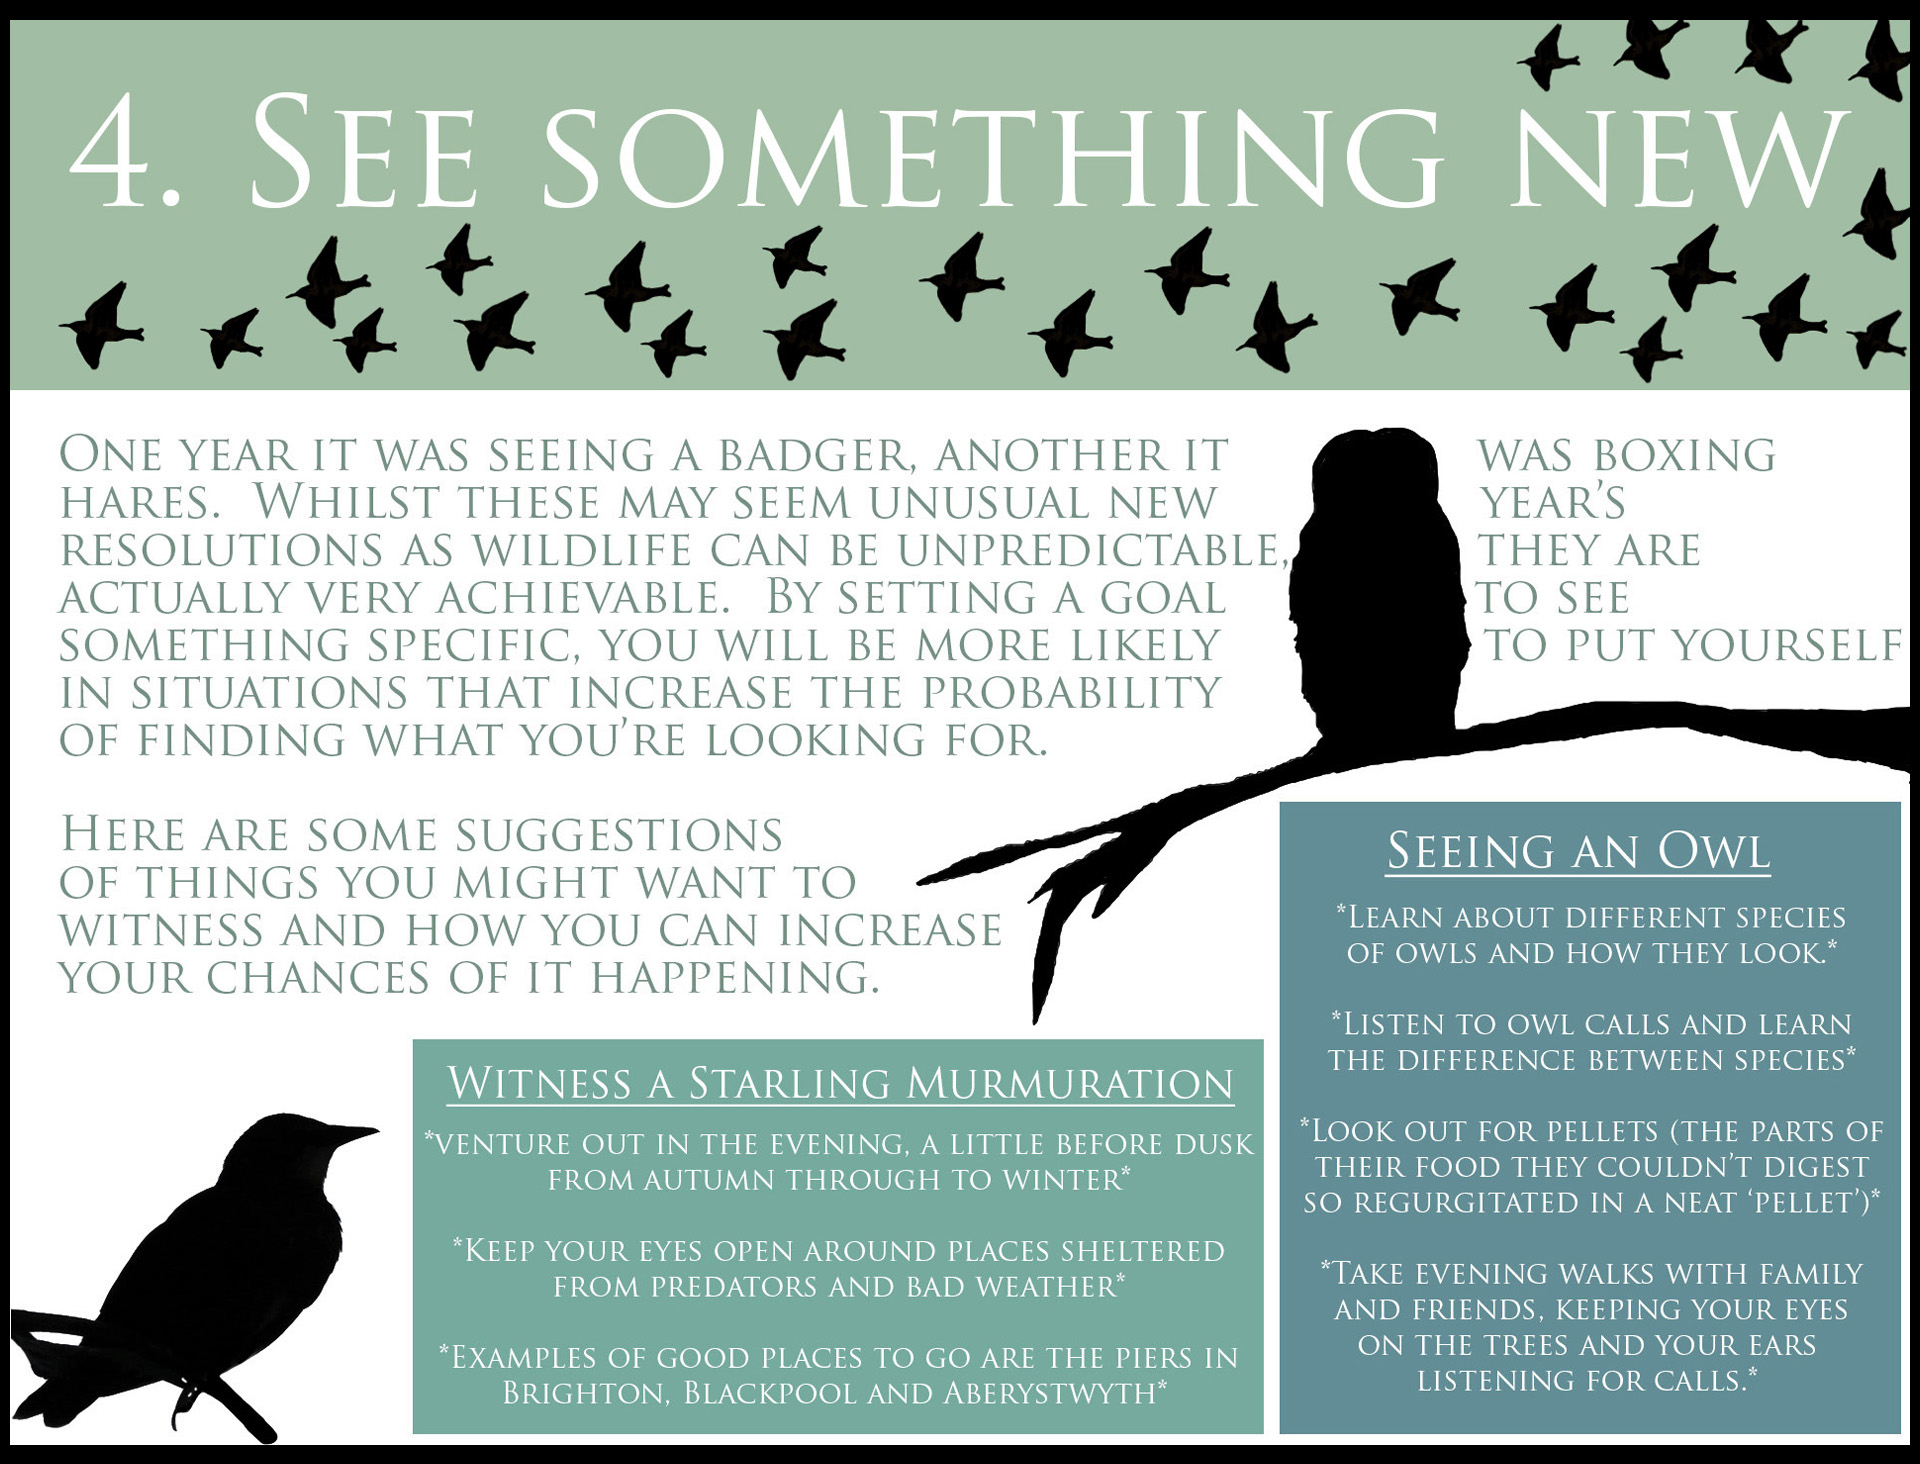
Find a Starling Murmuration Near You!
Check out the map on starlingsintheuk.co.uk

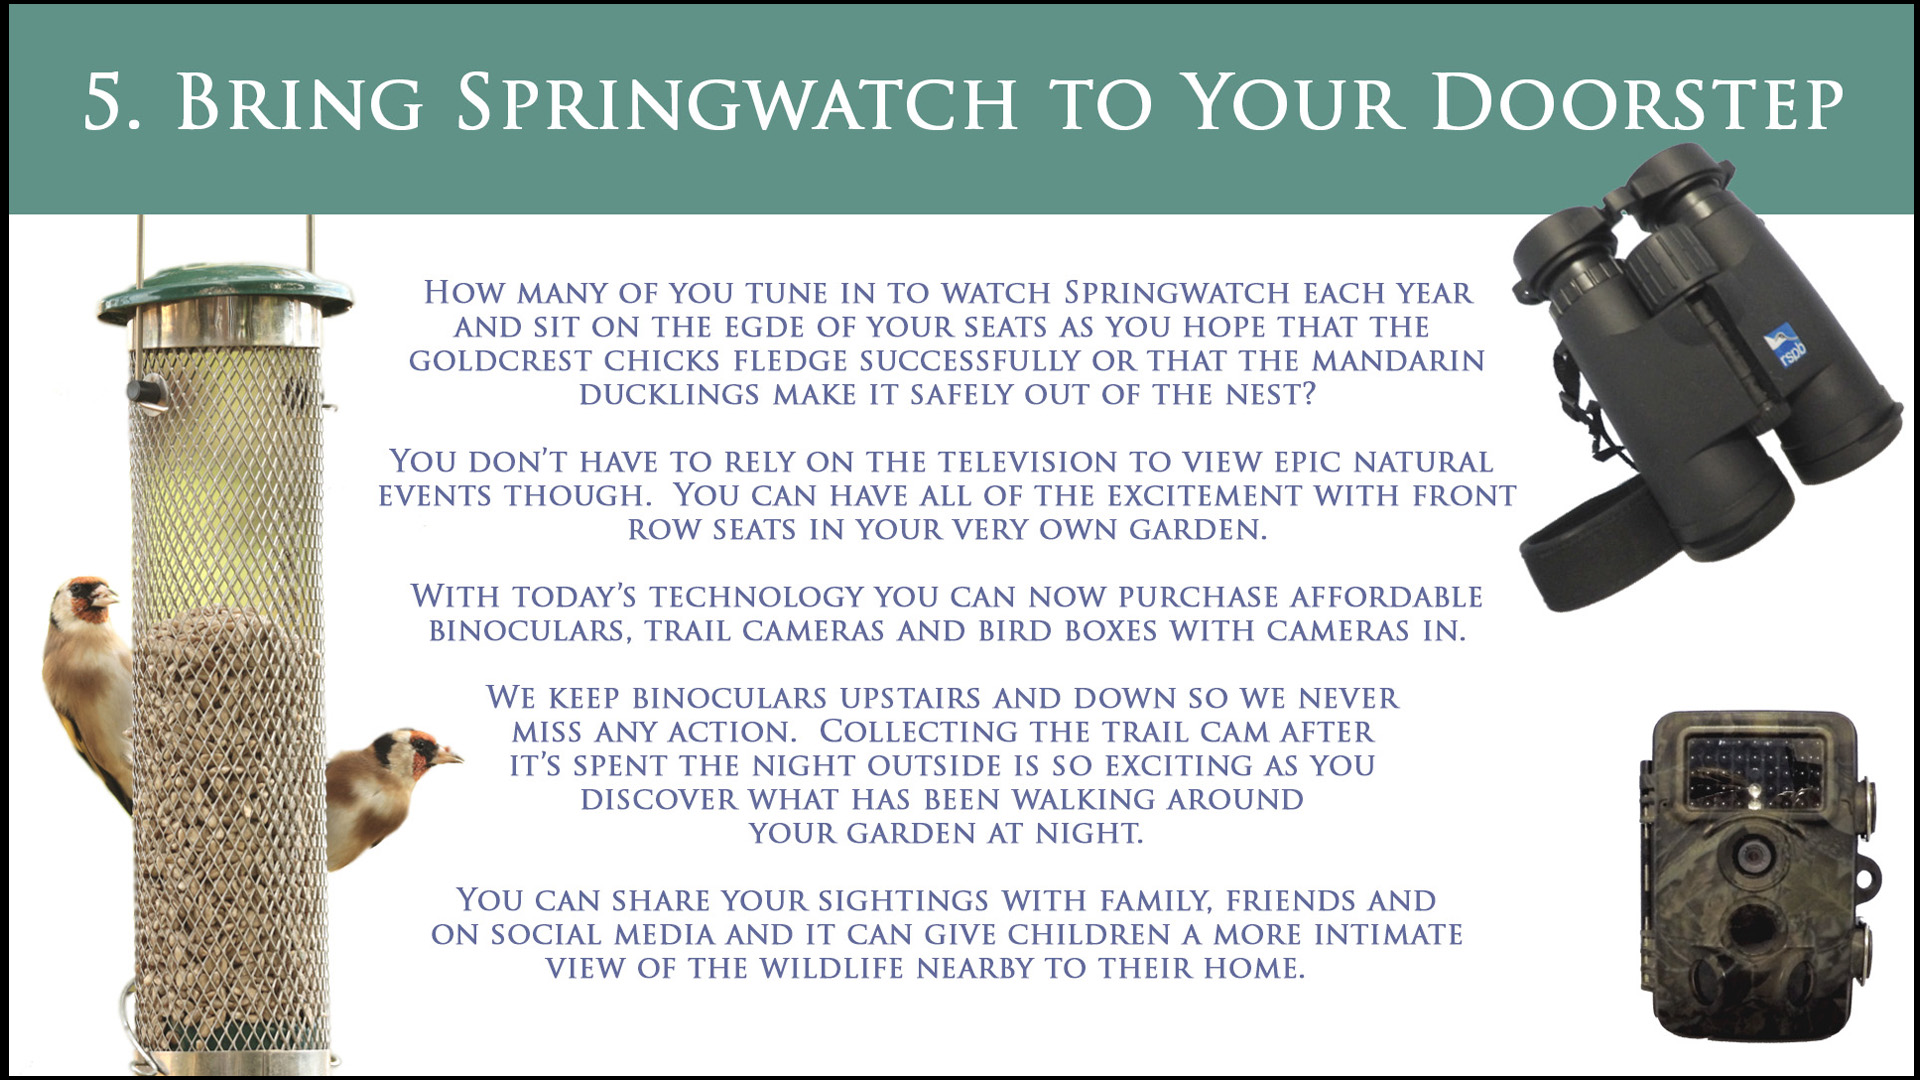
Keep in touch with what’s happening on Springwatch here
Start creating your own version of Springwatch with these items:
A Trail Camera

A Bird Box Camera

And Binoculars
SO GOOD LUCK, GO WILD AND HAVE A HAPPY NEW YEAR!
When it comes to feeding garden birds, there are so many options available that it can be a little overwhelming. Therefore we’ll be homing in on a few of our choices that attract birds to the garden and help them out throughout the year. This week we’ve chosen to look at sunflower seeds.

It used to be widely advertised that niger seed appeared to be a Goldfinch’s favourite food but apparently this has recently changed and we’ve seen this first-hand in the Embrace Nature UK garden. When we initially wanted to attract Goldfinches, we purchased a small niger seed feeder and rarely saw any birds on it. Once we introduced sunflower hearts though, everything changed. We now enjoy seeing many Goldfinches every day and even when the Sunflower heart feeder is already full of birds, they still choose to try and squeeze in before considering the other food options that are within close proximity.

There are lots of benefits to eating sunflower seeds.
* Oil content – the seeds are high in oil, which keeps beaks, feathers and their skin healthy
* Fast food – sunflower hearts in particular are quick to eat but whether you display black or striped sunflower seeds or the hearts, the birds can get maximum energy in only small quantities of food. When we see tits on the feeders they rarely stick around long so getting that extra boost when they’re back and forth must be a good thing!
* Nutrition – The seeds contain magnesium, iron, calcium, Vitamins A, C and B-6 amongst other things. They provide the right nutrients for birds to maintain a healthy nervous system, feathers, skin and strong beaks.
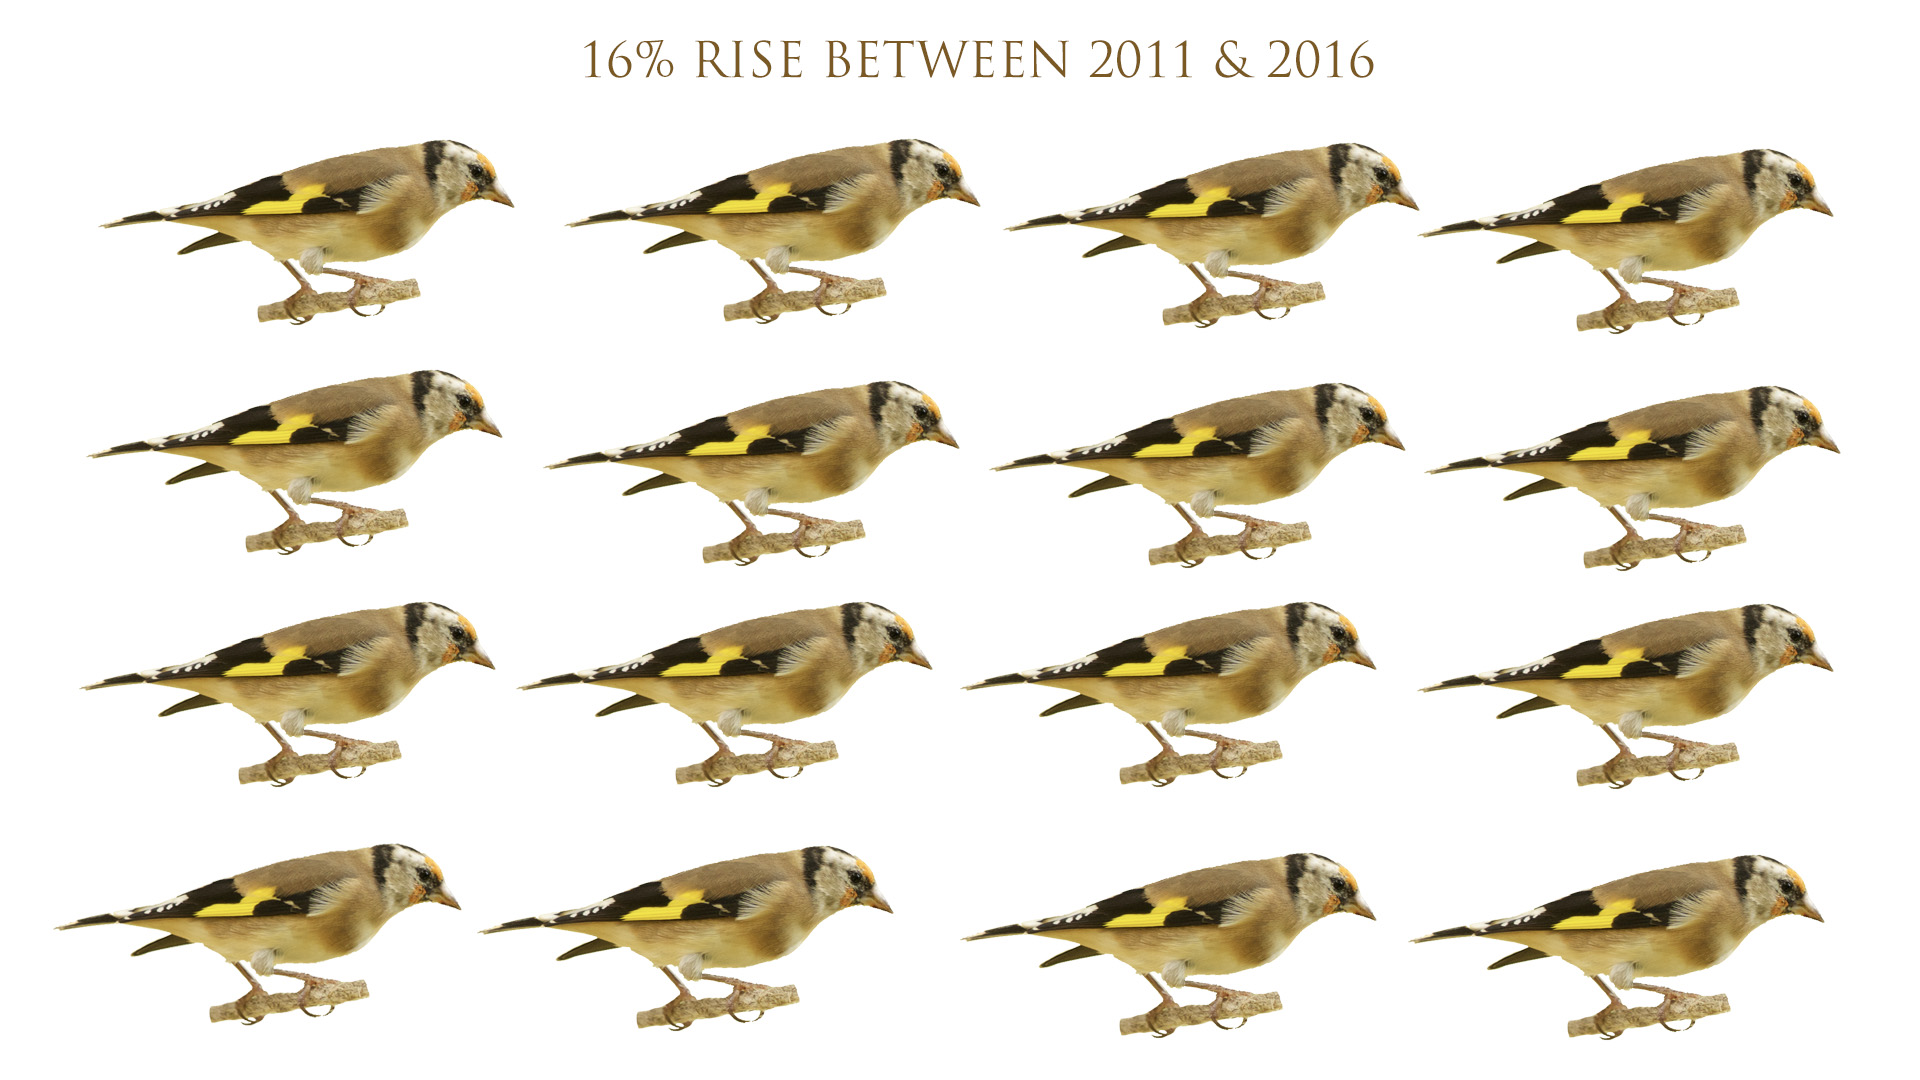
Sunflower seeds have potentially contributed to the recovery of a few species of birds including Goldfinches and Great Tits. At one time their numbers were declining but it’s thought that since sunflower seeds and niger seed has started appearing in our gardens, birds have been given a helping hand that aids them in surviving the harsher months.
The impact on species numbers has been impressive with the Goldfinch population increasing by 16% between 2011 and 2016. Our enjoyment of feeding garden birds has had a further impact as scientists believe that in the UK, we have been responsible for ‘rapid evolution’. Some bird species in Britain have been found to have beaks of up to 0.3mm longer than the same species in the rest of Europe.
So if you’re thinking of introducing sunflower seeds to your garden, what do you need?
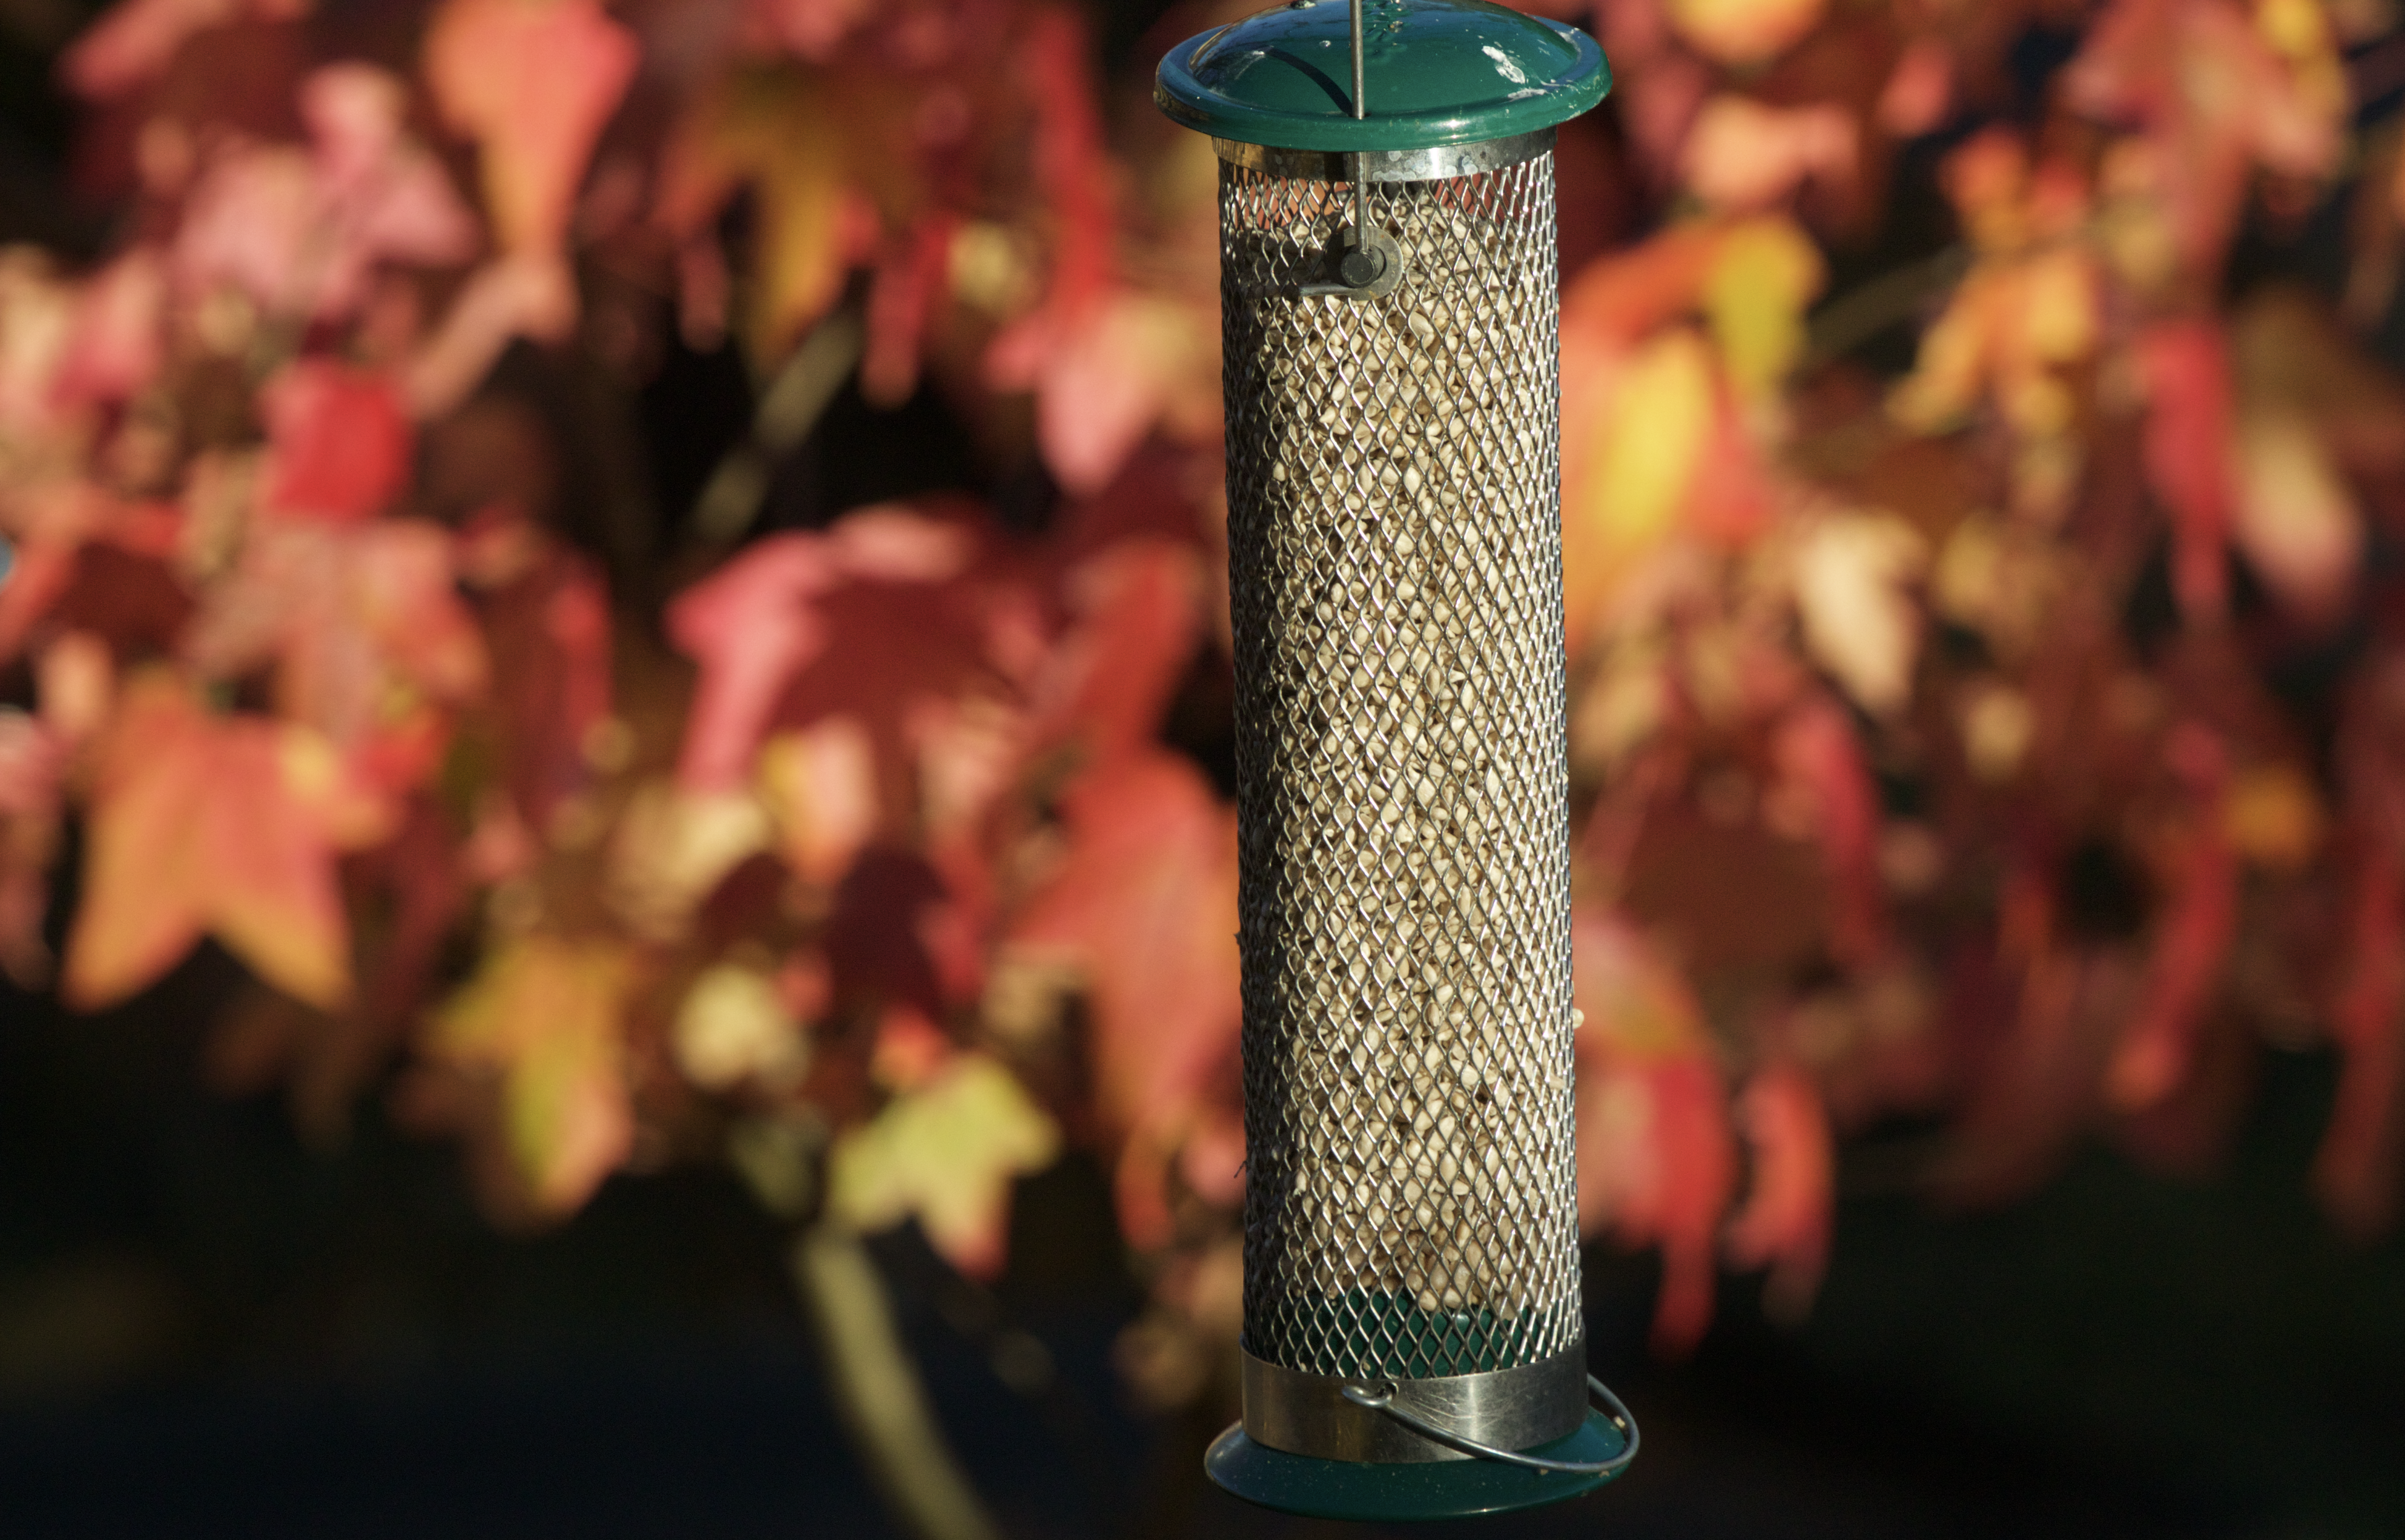
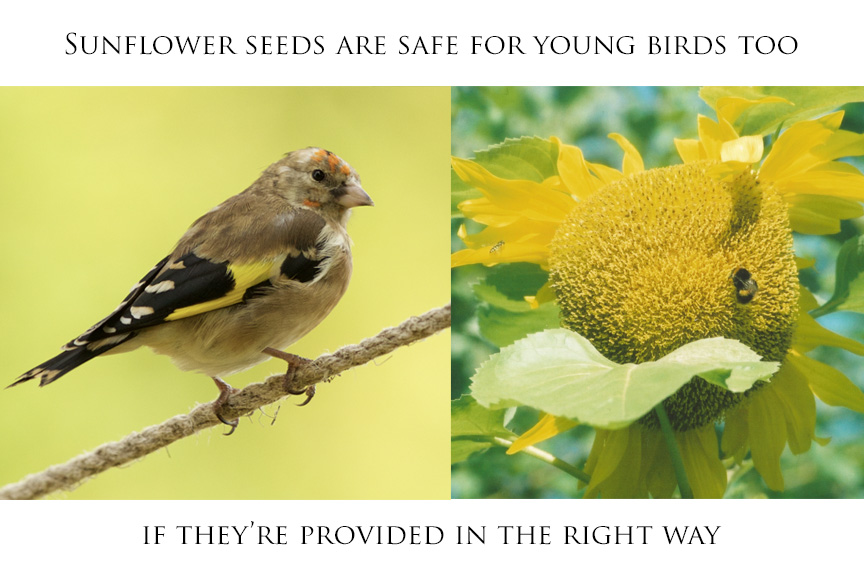
You can purchase black sunflower seeds, striped sunflower seeds or sunflower hearts. The sunflower hearts produce the least mess and are the easiest and fastest for birds to consume, though may not last for as long as in warmer weather can rot quickly. Whichever food you choose, you will most likely find that a diamond-hole cage feeder is most appropriate for these seeds as they may slip out of the holes in something bigger. This sort of feeder will also ensure that the food is completely appropriate year round as the birds can only take small amounts out at a time. Therefore small chicks won’t be likely to choke on the food if the parents choose to provide it.
It’s important to keep bird feeders clean by washing them regularly. This can be made easier by using cleaning brushes. If you choose to feed birds they can become reliant so ensure that you keep feeding them and gradually reduce the amount of food before holidays so the birds don’t miss you too much!
Otherwise, get your binoculars ready and sit tight to enjoy the sight of birds getting their fill of those tasty sunflower seeds!
Interesting Reading
We now live in a time where we are conscious of the impact of our methods of disposing of waste and we have the opportunity to act.
Discussions about what happens to our recycling once it’s collected by councils around the country has been prominent in the news lately so it’s a good thing if we can take control over what happens to some of our waste.
This is where composting is ideal.
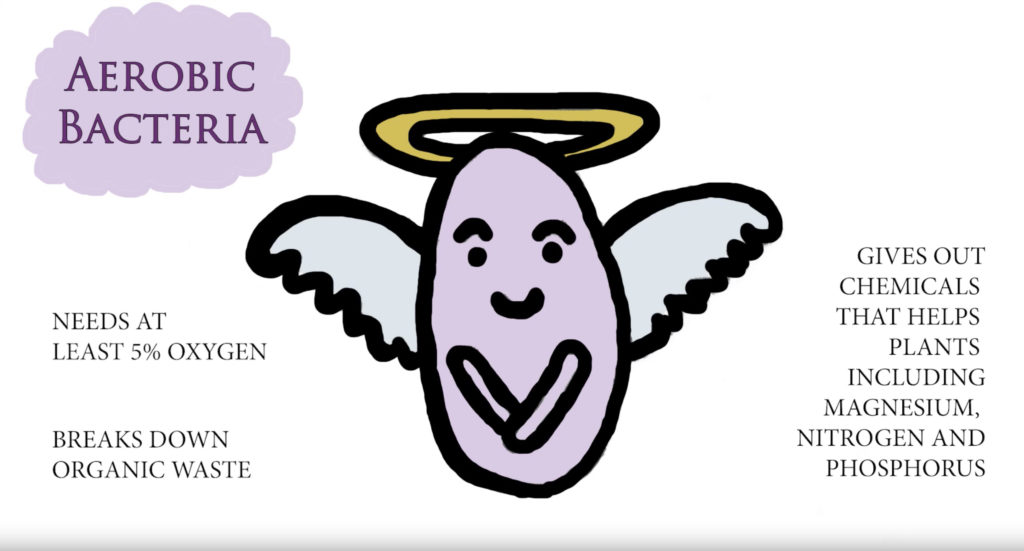
Composting is basically a way of speeding up the decaying process so we can transform our waste products into usable soil. We certainly do not do this alone. Particular microorganisms are essential to this process and take turns to break down items placed into our compost bins. This will only work effectively if we encourage them though.

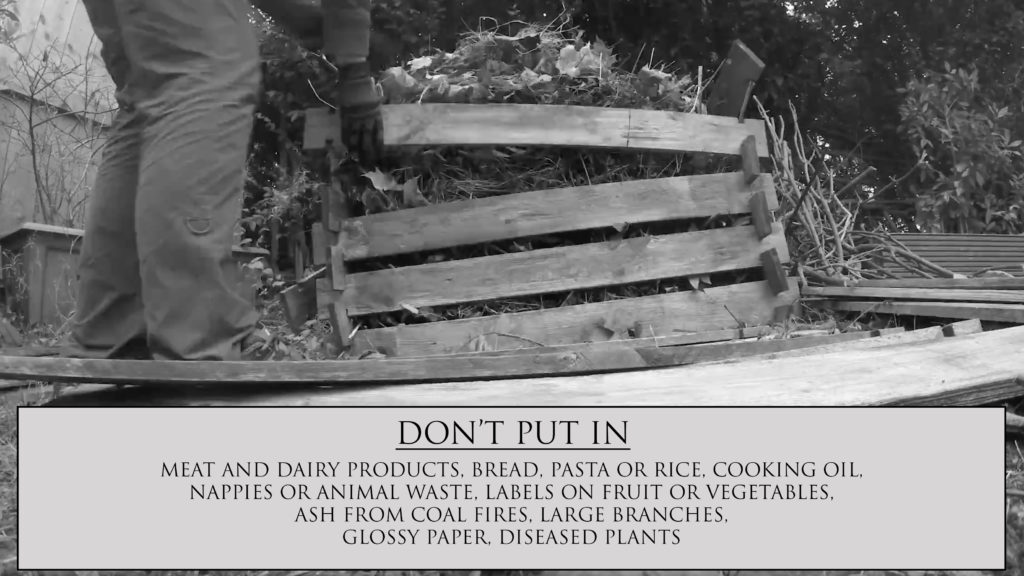
Here are some top tips for creating a compost heap that produces good results.
CREATE A BALANCE
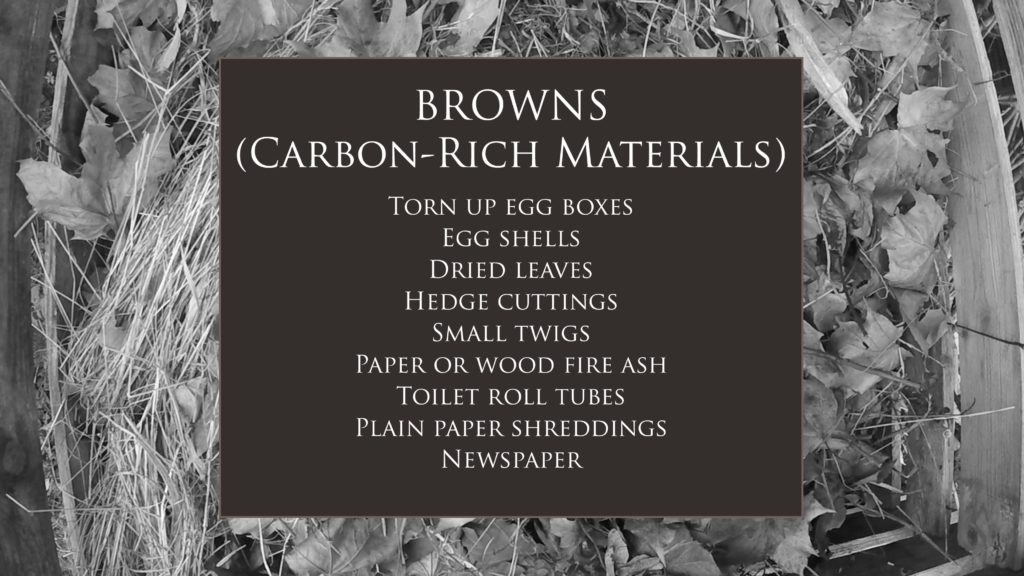
There are two types of waste products that we put into our compost bins. You will likely hear them referred to as ‘Green’ and ‘Brown’ materials. ‘Green’ refers to nitrogen-rich items and ‘brown’ refers to carbon-rich waste products. Both carbon and nitrogen are essential for the right microorganisms to thrive. Carbon provides them with energy and nitrogen gives them what they need to grow and reproduce.
So the power to help these microorganisms break down your compost is in your hands.
Which materials then class as ‘Green’ or ‘Brown’?

TURN YOUR COMPOST
Turning your compost can help it to decay for a variety of reasons. Firstly, certain microorganisms need oxygen to survive so it’s important to give your compost chance to breathe so those microorganisms can push forward with the composting process. Turning your compost also makes new material available to Thermophilic microorganisms so they can start work on breaking it down.
FEED YOUR MICROORGANISMS
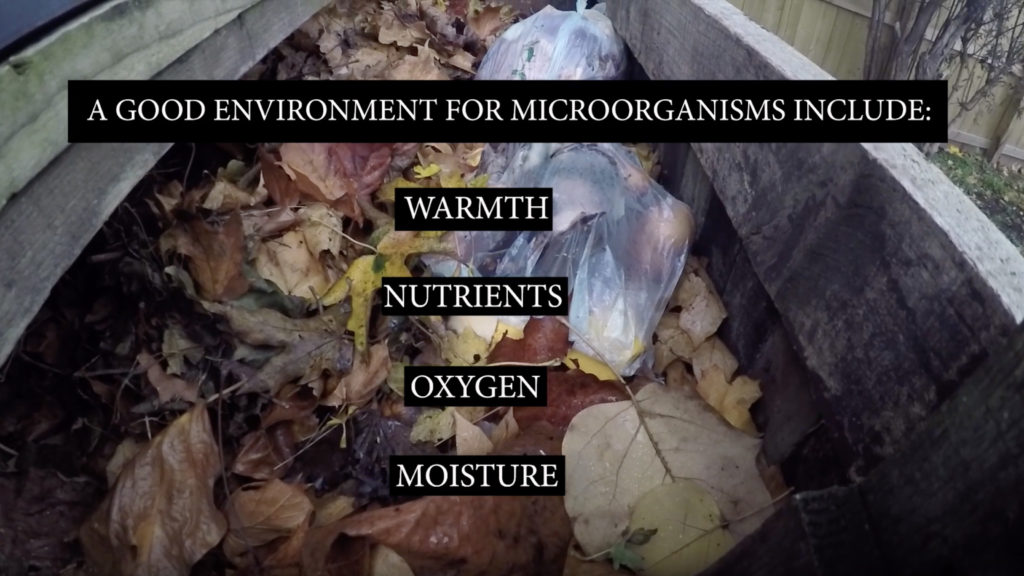
The microorganisms in your compost bin are going to be working hard for you, so in return it’s only fair that you provide them with the conditions that they need. You can make sure they get the correct nutrients by putting both green and brown materials in. You can help oxygen to reach the heap by having a compost bin that allows air in and by turning the compost regularly. You want your compost to be moist but not soaking wet. If there is too much water getting in, cover the compost to ensure it doesn’t end up too wet. Your compost also needs to be warm to invite productivity from friendly microorganisms. The decaying process can raise the heat a bit too much though, which is another good reason for turning your compost as this will keep the temperature at a good level. You might go as far as keeping an eye on the temperature, which you can do by purchasing a compost thermometer.
BE AWARE OF YOUR COMPOST’S CONDITION
There is one really simple way to tell if your compost isn’t working as efficiently as it should. If it smells bad it’s a sign that you might not be creating the correct balance between compostable materials and are maybe not creating quite the correct conditions for it to decay the right way. The reason for the smell is often down to Anaerobic bacteria, which release Hydrogen Sulphide, creating the bad odour.

ADD COMPOSTING TO YOUR LIFE
Not everyone has a compost bin but they could be missing a trick. Some councils offer food-waste recycling, but not all, in which case you can take control yourself and make disposal of your waste as environmentally-friendly as possible. By taking a step to begin composting you have control to turn waste materials from your home and garden into useful soil for plants. It is really simple to begin and can be started by doing the following:
Purchase or make a compost bin
If you feel confident about making your own compost bin, that’s brilliant! There are no specific rules about what your compost bin should look like but keep in mind that you will likely want to turn the compost and access the soil created at the bottom at some point. Therefore it’s best to create something where you can remove either all of the wood around it with ease, or remove the front of the compost bin.
Alternatively you might prefer to purchase a compost bin, which saves you the trouble of making it. Whilst there are many compost bins that are plastic with a hole at the bottom for taking out the finished compost, they’re not necessarily the best design and might not allow enough air for the decaying process to go ahead easily. From personal experience we’ve found a compost bin with wooden slats to be more suitable.

Start collecting and recycling your own food waste
Recycling merely requires habit. All you need to do is get yourself a food waste bin and pop it in your compost bin whenever it’s full. Even the RSPB now provide their magazines in compostable plastic, which allows you to use it in your food waste bin if you wish. You can easily purchase compostable food-waste bin liners from supermarkets or online too so the whole process is mess-free.
Enjoy the benefits of collecting your own garden waste
If you have the benefit of your council providing garden waste bins, you might still find that the bin isn’t big enough and won’t necessarily take all that you need to feed it during the months when your garden grows the most. This is another reason why having a compost bin can be a huge benefit. We have three large compost bins in the Embrace Nature UK garden and have no trouble filling them with grass clippings, food waste, leaves and other materials. It’s so much better recycling these things yourself and with great convenience than waiting for someone to collect your rubbish by their convenience.
So the benefits of composting are clear and managing it is simple. Get it right and not only should you end up with healthy compost for your plants in the garden as a result, but it also encourages wildlife as acts as a haven for insects and other creatures.